
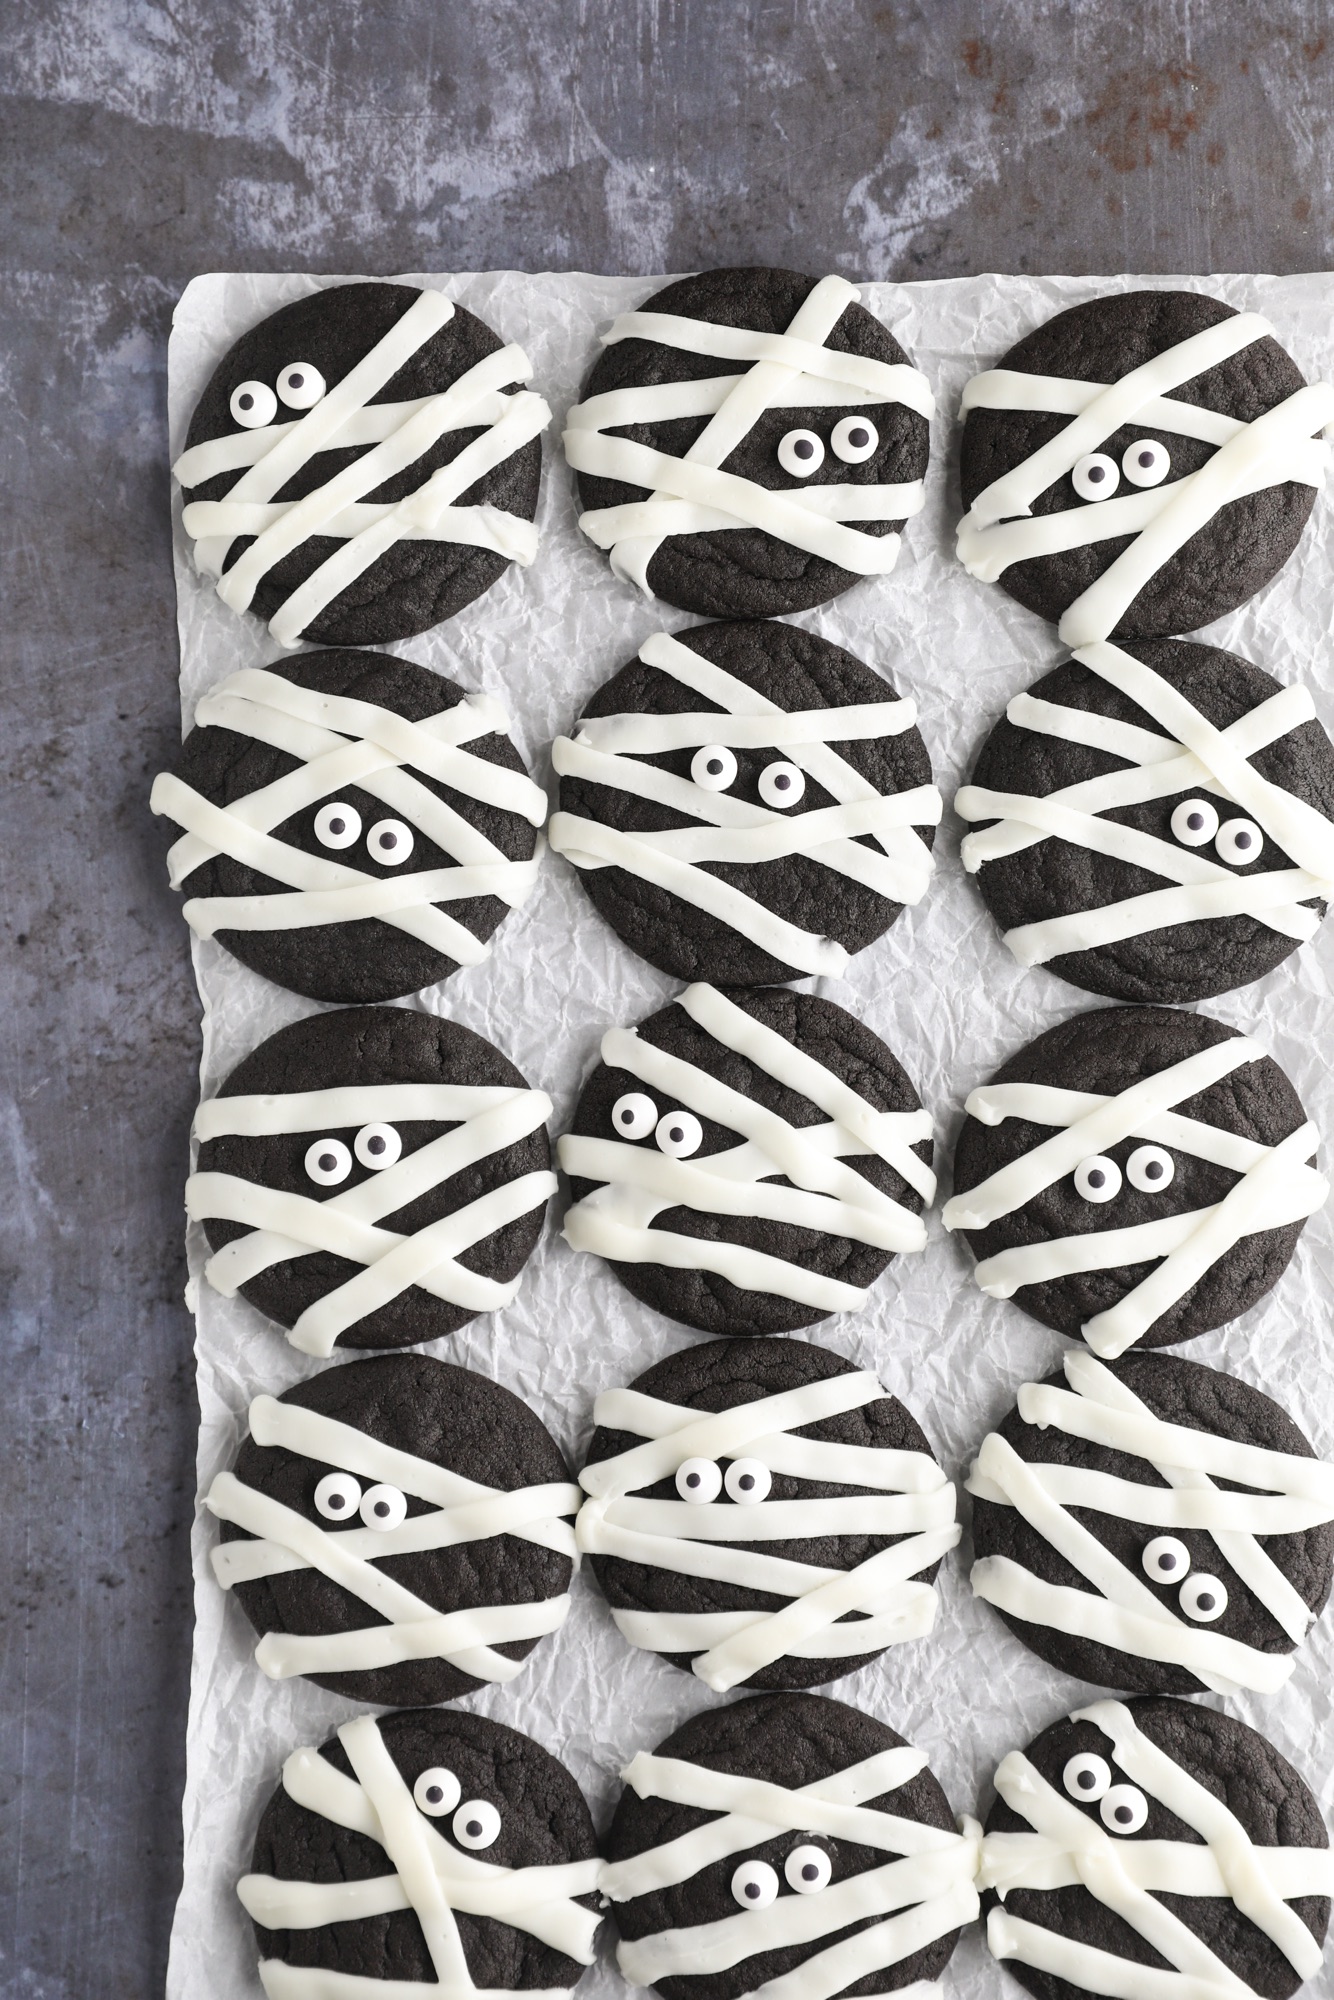
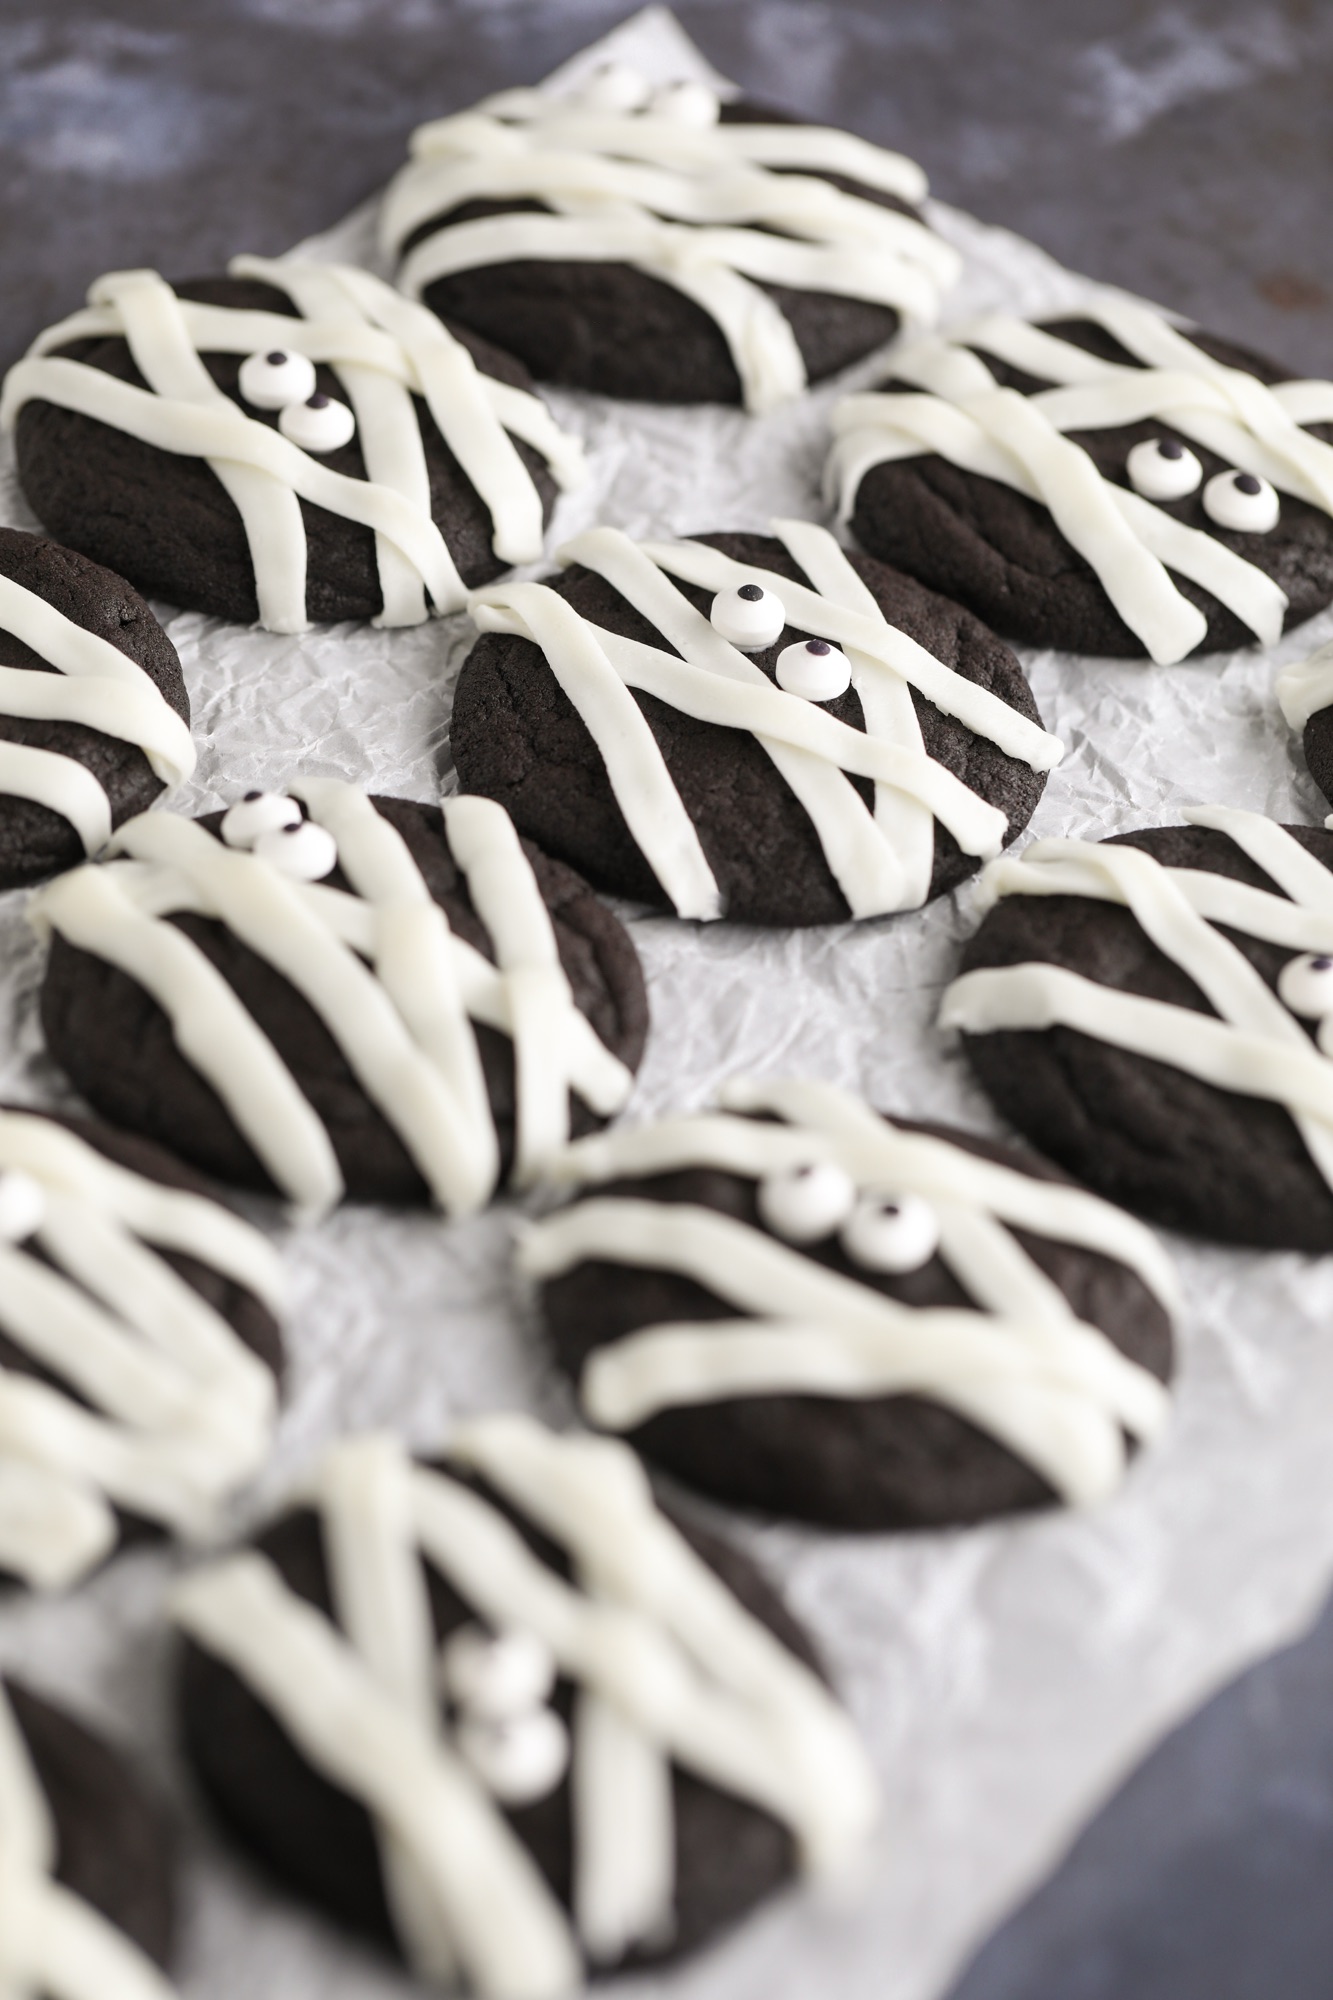
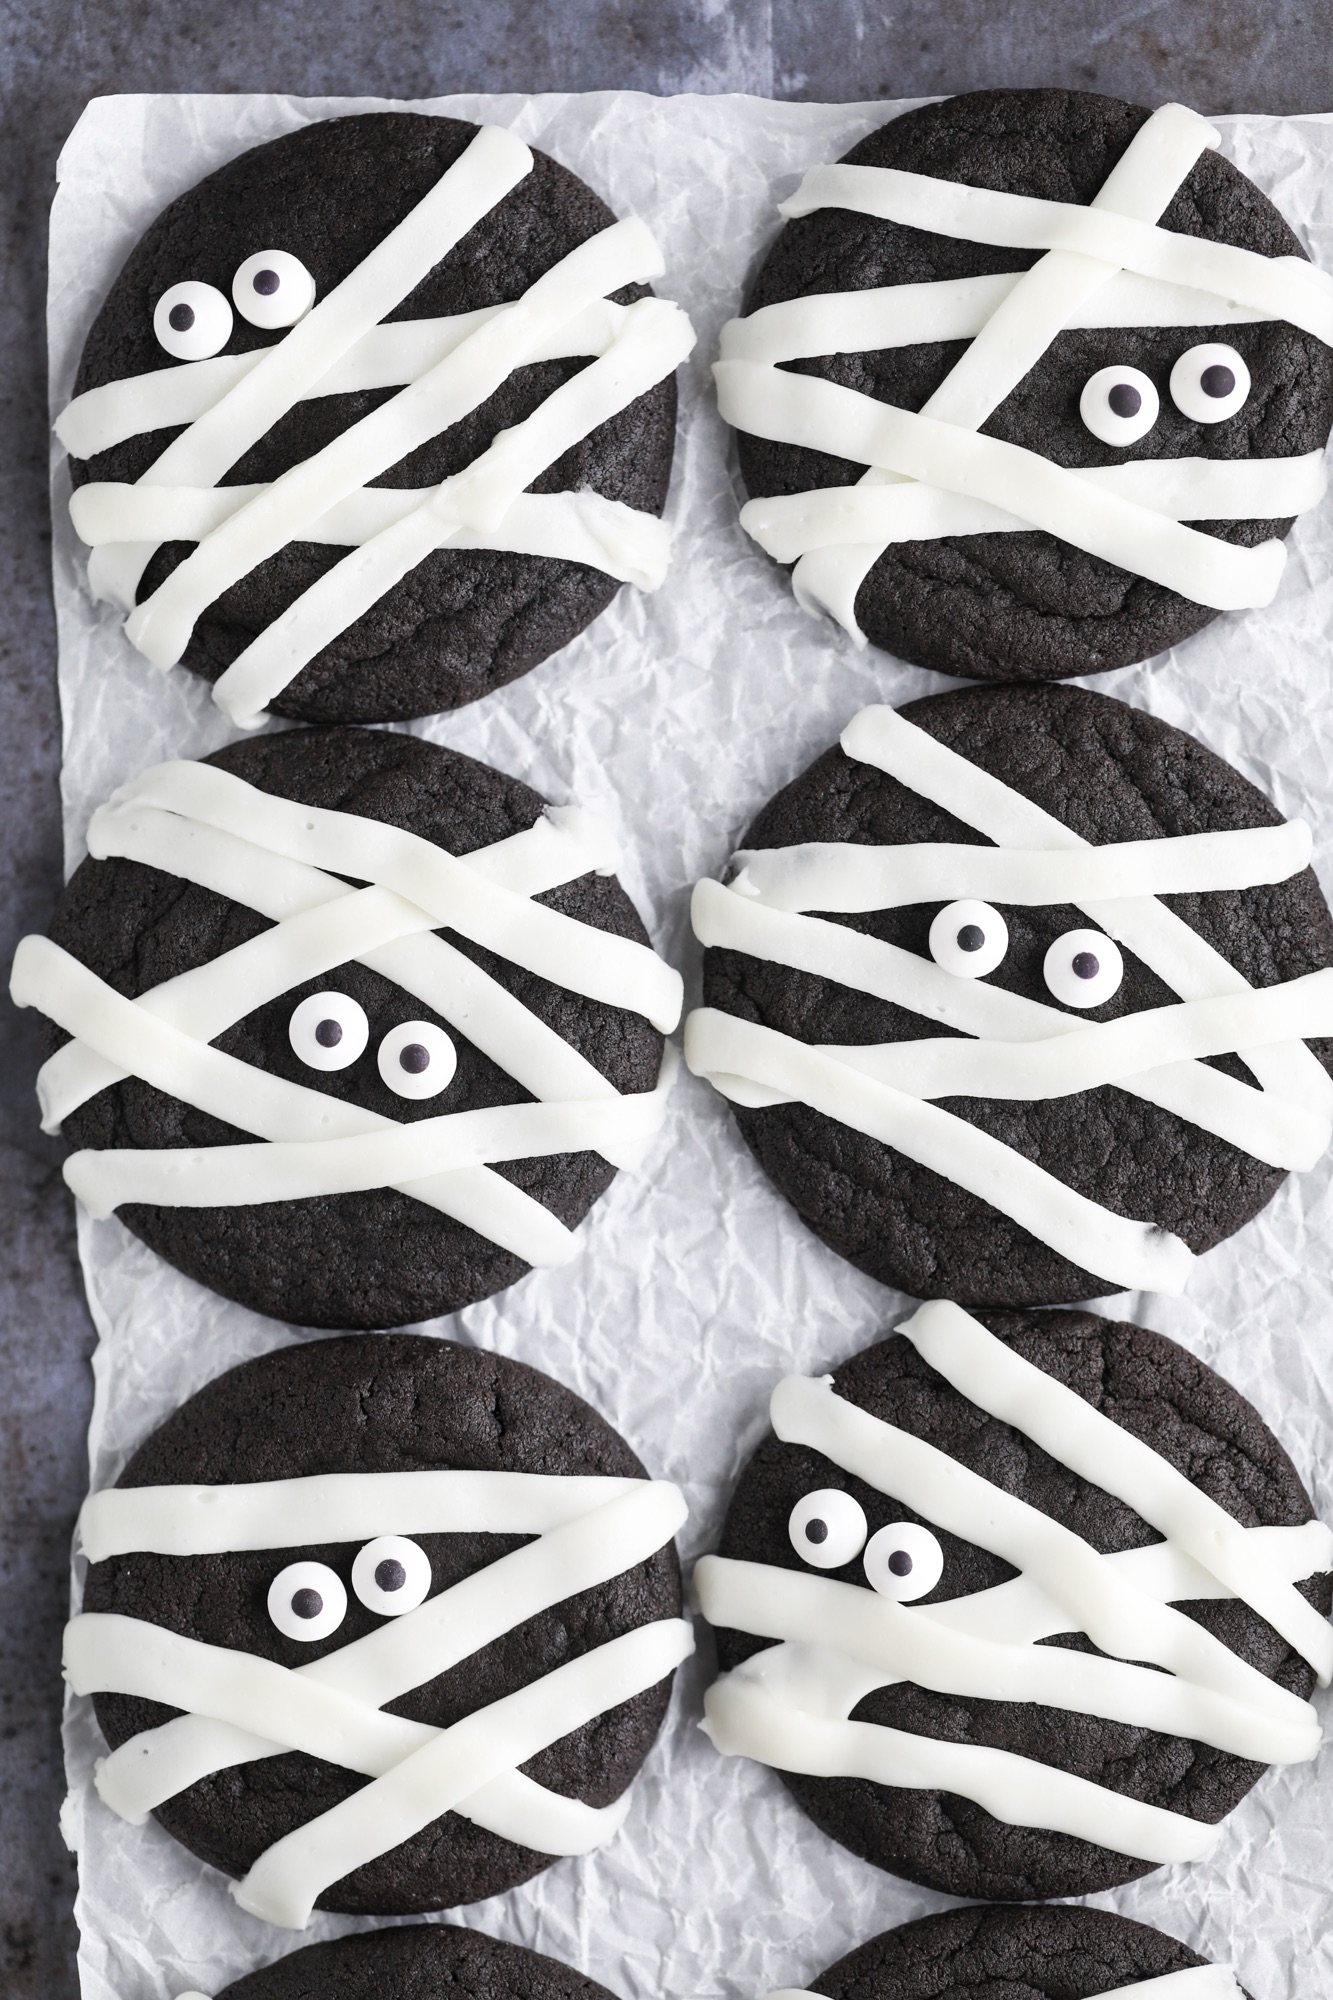
These Dark Chocolate Mummy Cookies are a fun and spooky treat for Halloween! Made with rich black cocoa powder, these soft, chocolatey cookies are decorated with a simple icing drizzle and candy eyes for a festive mummy-inspired look. They're the perfect combination of rich chocolate flavor and Halloween fun, making them a great addition to any spooky celebration!
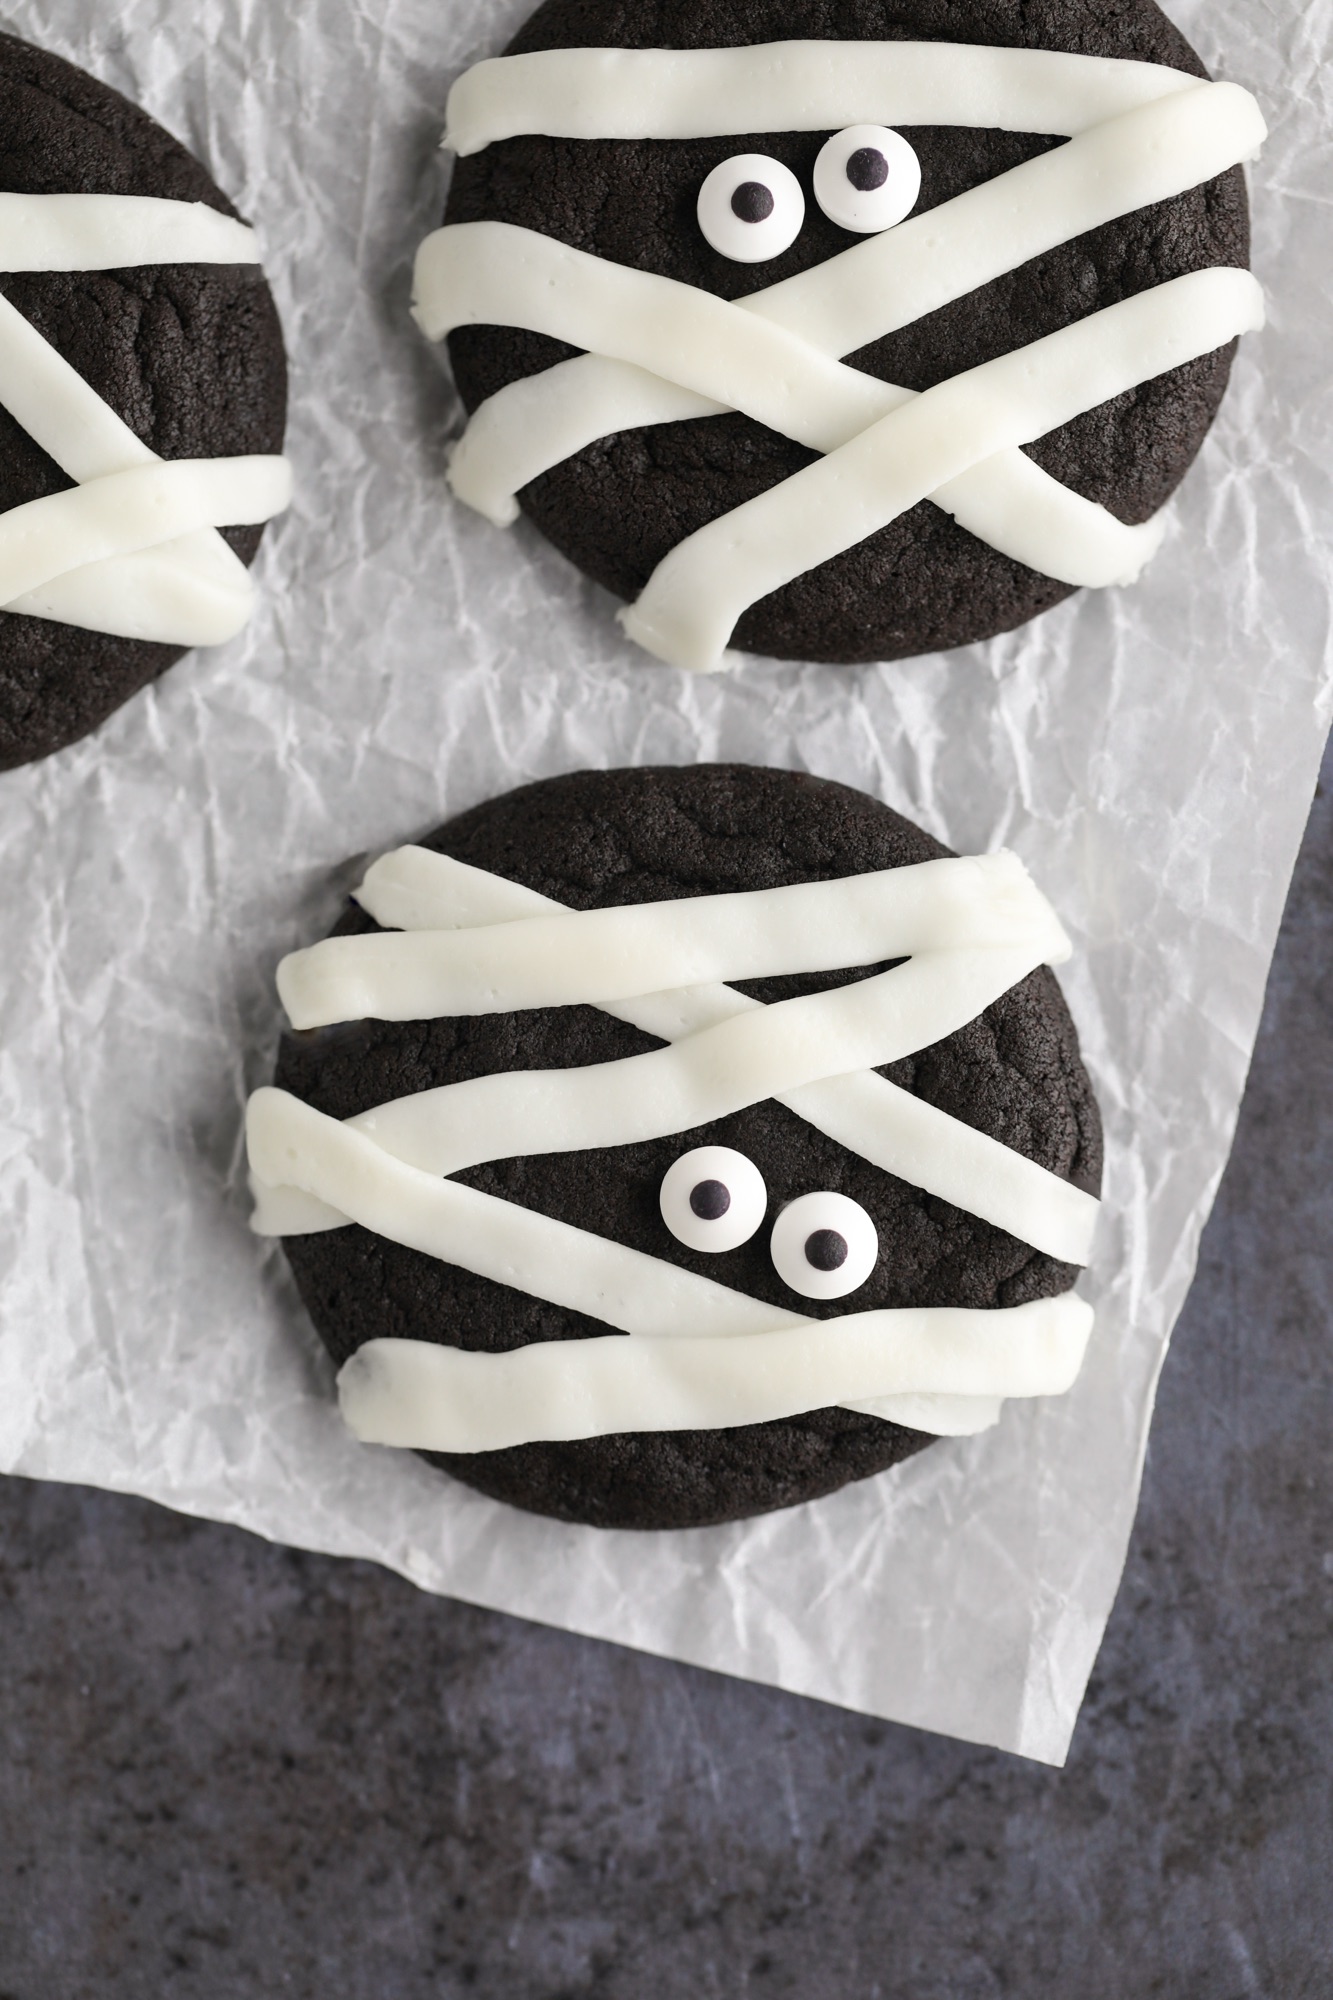
You'll start by making the cookies first. They come together quickly and once cooled you can make the super simple icing that gets piped on top. Candy eyeballs add the perfect finishing touch to give each mummy cookie its own personality.
A FEW NOTES BEFORE WE GET STARTED
- Room Temperature Ingredients:
- Butter: It’s important that your butter is softened. In a pinch, you can put your butter in the microwave for about 5 seconds on each side, but watch closely to make sure it is just softening and not melting.
- Egg: You also want to make sure that the egg is at room temperature to ensure that it is properly incorporated into your batter. If you forget to leave it out before you start baking, place it in a bowl of warm water for about 15 minutes until it becomes room temperature.
- Measuring Your Ingredients: I strongly encourage that you use a kitchen scale to measure your ingredients and ensure that you have the most accurate measurements possible.
- However, if you don’t have a scale on hand and will be using cup measurements, make sure to use the “spoon and sweep” method when measuring to avoid packing in too much of any dry ingredient.
- Oven Temperature: Make sure to preheat your oven for at least 15 minutes before you start baking.
- I recommend purchasing an oven thermometer to get to know your oven so you can adjust your baking temperatures accordingly. Some ovens run slightly warmer or colder so its important to know yours to make sure your baked goods come out right.
Preheat oven to 350°F. Whisk the flour, black cocoa powder, baking powder, and salt together in a large bowl and set aside.
In a stand mixer fitted with a paddle attachment or with a handheld mixer, cream together the butter and sugar on medium speed until light and fluffy.
Scrape down the sides of the bowl.
Add egg and vanilla extract and continue to mix. With the mixer on low, slowly add the flour mixture and mix until smooth, scraping down the sides of the bowl as needed.
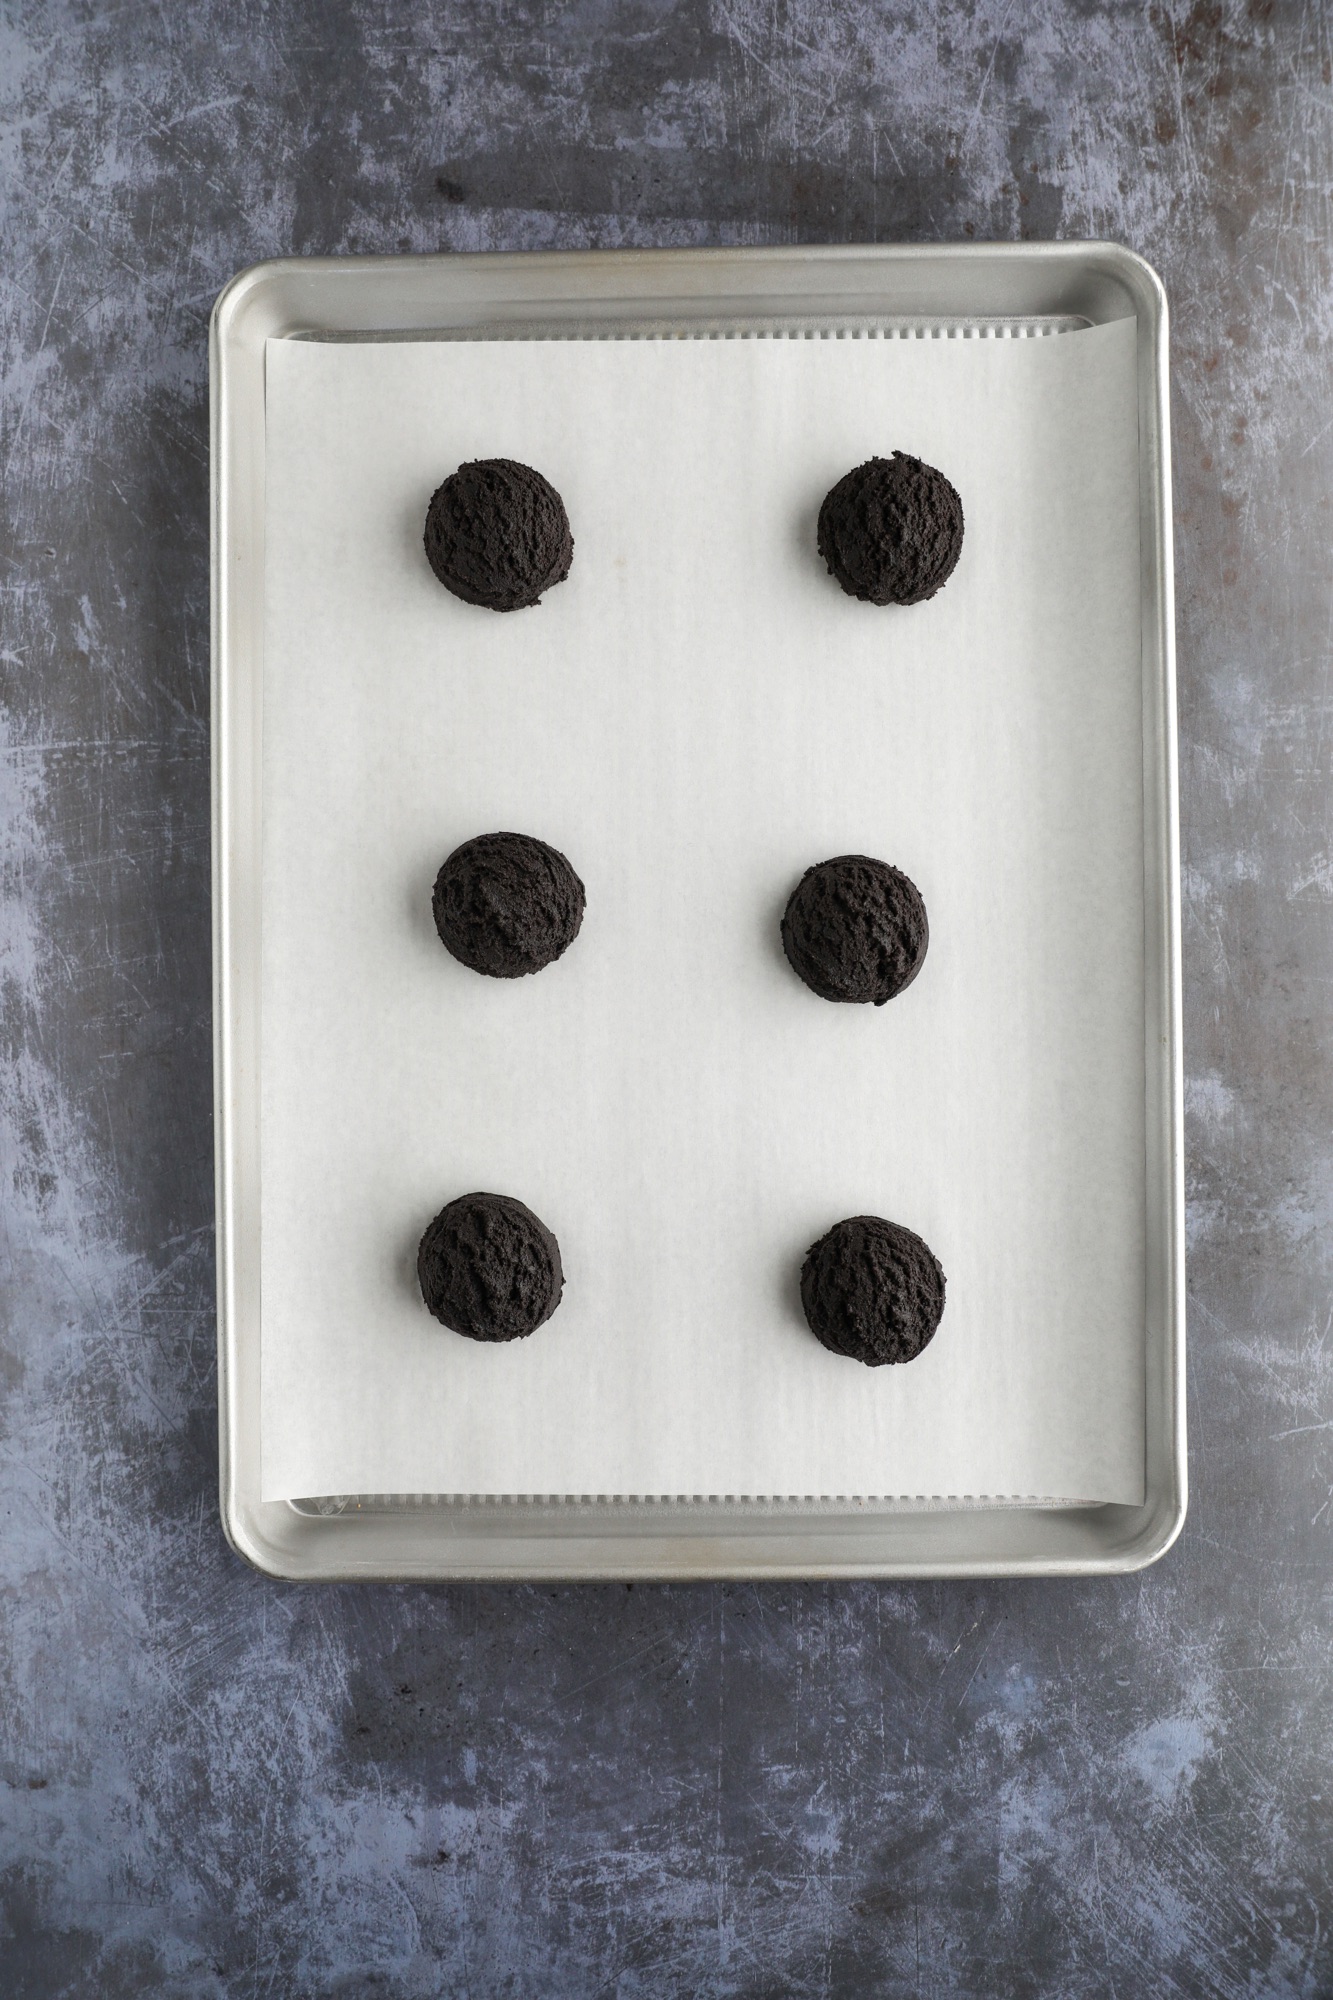
Using a 2 tablespoon scoop, scoop the dough and then use your hands to round them into balls.
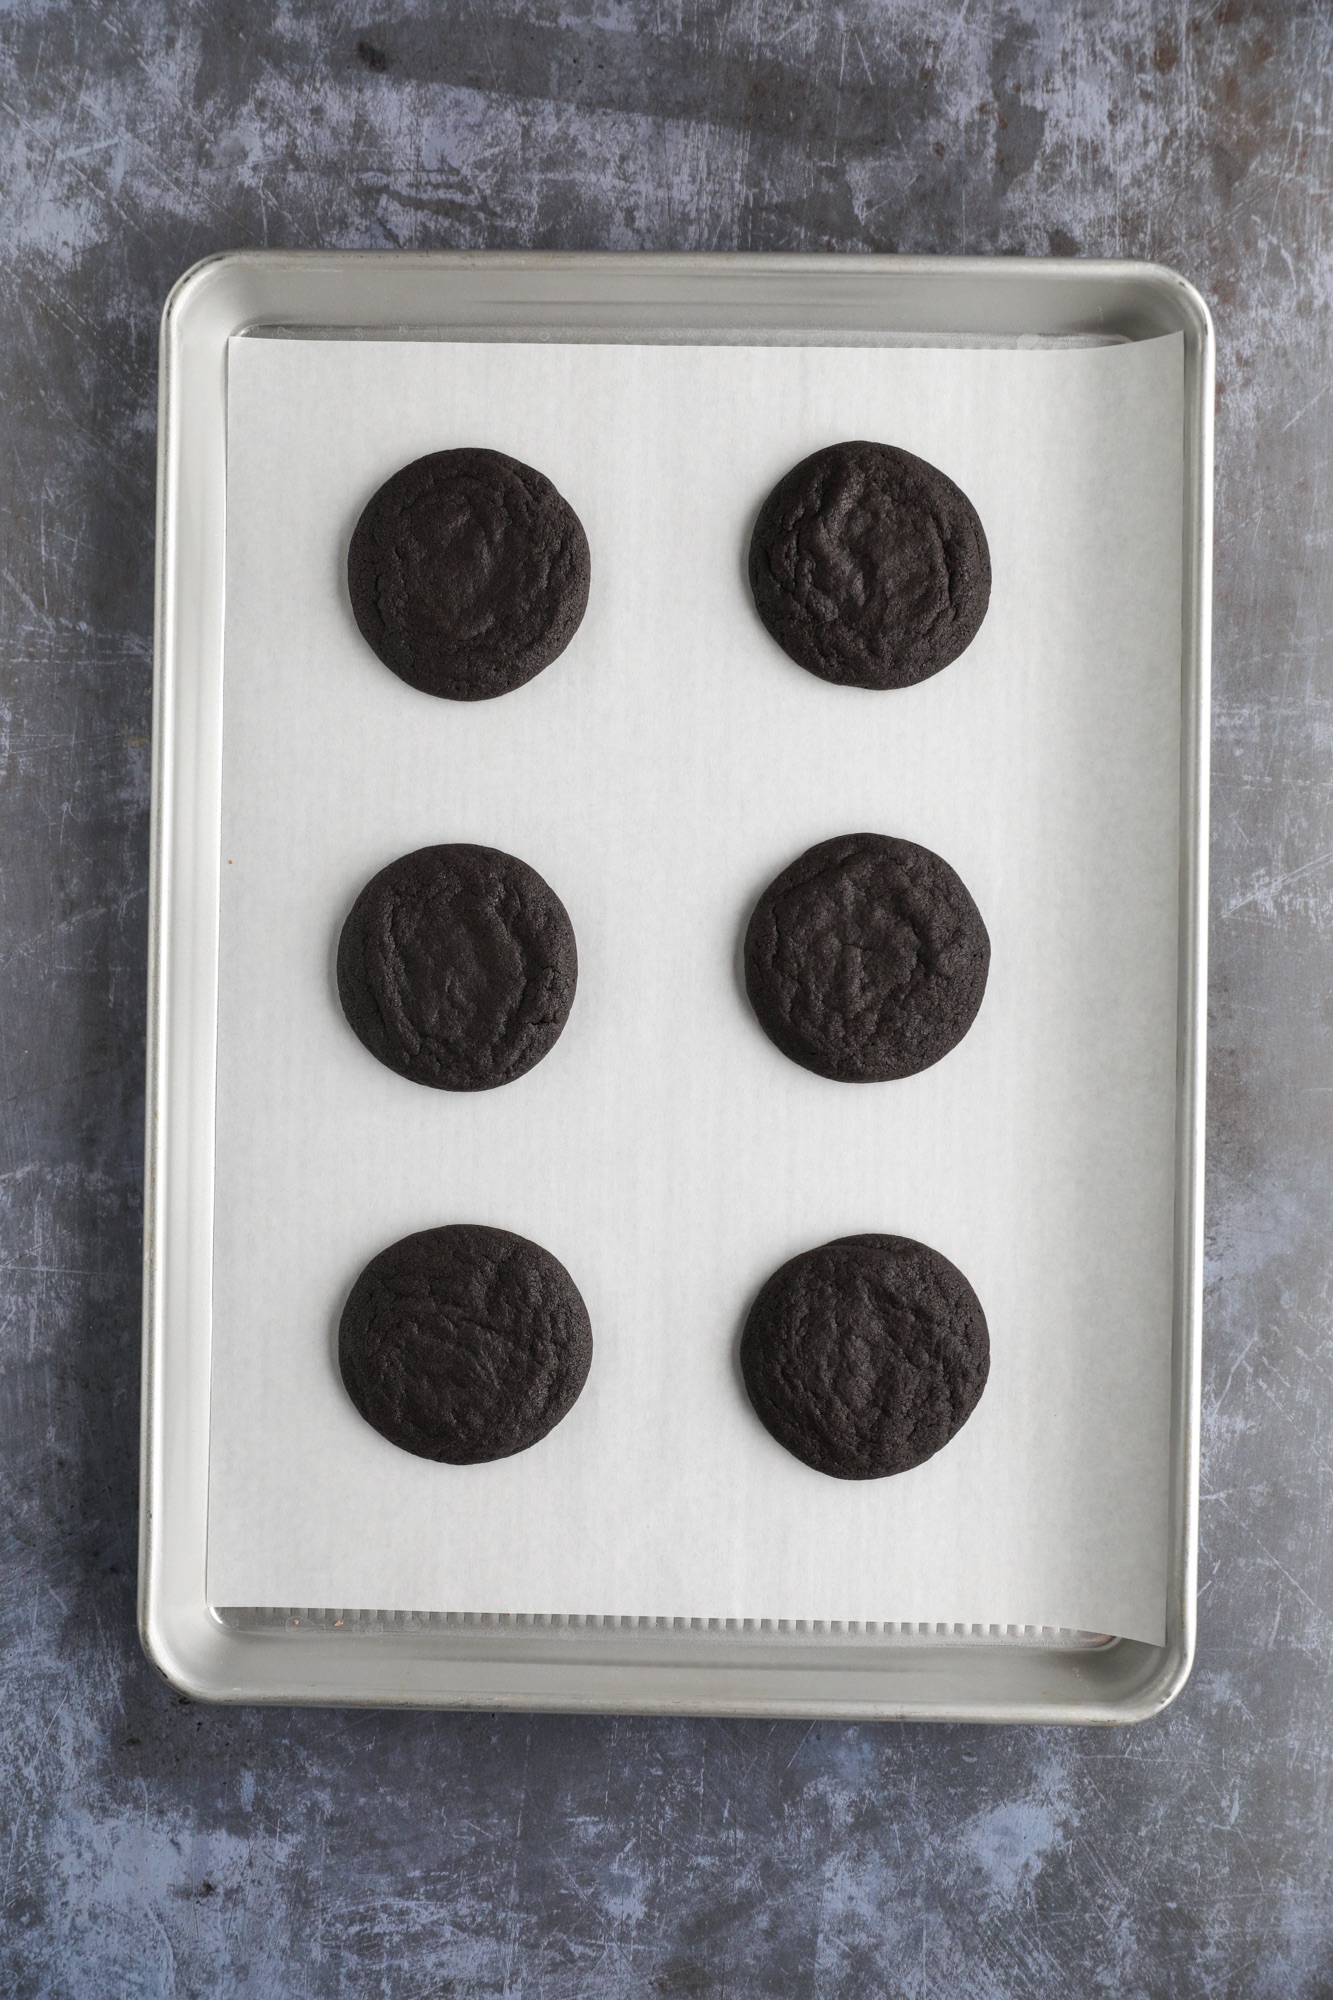
Place each cookie on a parchment lined cookie sheet. Bake for 11-12 minutes or until cookies are firm around the edges. Let the cookies cool for about 10 minutes on the baking sheet before carefully moving them to a cooling rack.
Dark Chocolate Mummy Cookies
- Prep Time: 30 minutes
- Cook Time: 12 minutes
- Total Time: 42 minutes
- Category: Dessert
Ingredients
Dark Chocolate Cookies
- 180 grams (1 ½ cups) flour
- 42 grams (½ cup) black cocoa powder
- 1 tsp baking powder
- ¼ tsp salt
- 4 oz (½ cup) unsalted butter, softened
- 247 grams (1 ¼ cup) sugar
- 1 egg, room temperature
- 1 tsp vanilla
Icing
- 85 grams (¾ cup) powdered sugar
- 1 ½-2 tablespoon heavy cream
- Candy eyeballs
Instructions
Dark Chocolate Mummy Cookies
- Preheat oven to 350º F.
- Whisk the flour, black cocoa powder, baking powder, and salt together in a large bowl and set aside.
- In a stand mixer fitted with a paddle attachment or with a handheld mixer, cream together the butter and sugar on medium speed until light and fluffy. Scrape down the sides of the bowl.
- Add egg and vanilla extract and continue to mix.
- With the mixer on low, slowly add the flour mixture and mix until smooth, scraping down the sides of the bowl as needed.
- Using a 2 tablespoon scoop, scoop the dough and then use your hands to round them into balls. Place each cookie on a parchment lined cookie sheet. Bake for 11-12 minutes or until cookies are firm around the edges.
- Let the cookies cool for about 10 minutes on the baking sheet before carefully moving them to a cooling rack.
Icing
- Sift the powdered sugar into a bowl. Add the cream and whisk until combined.
- Transfer icing to a piping bag fitted with a coupler.
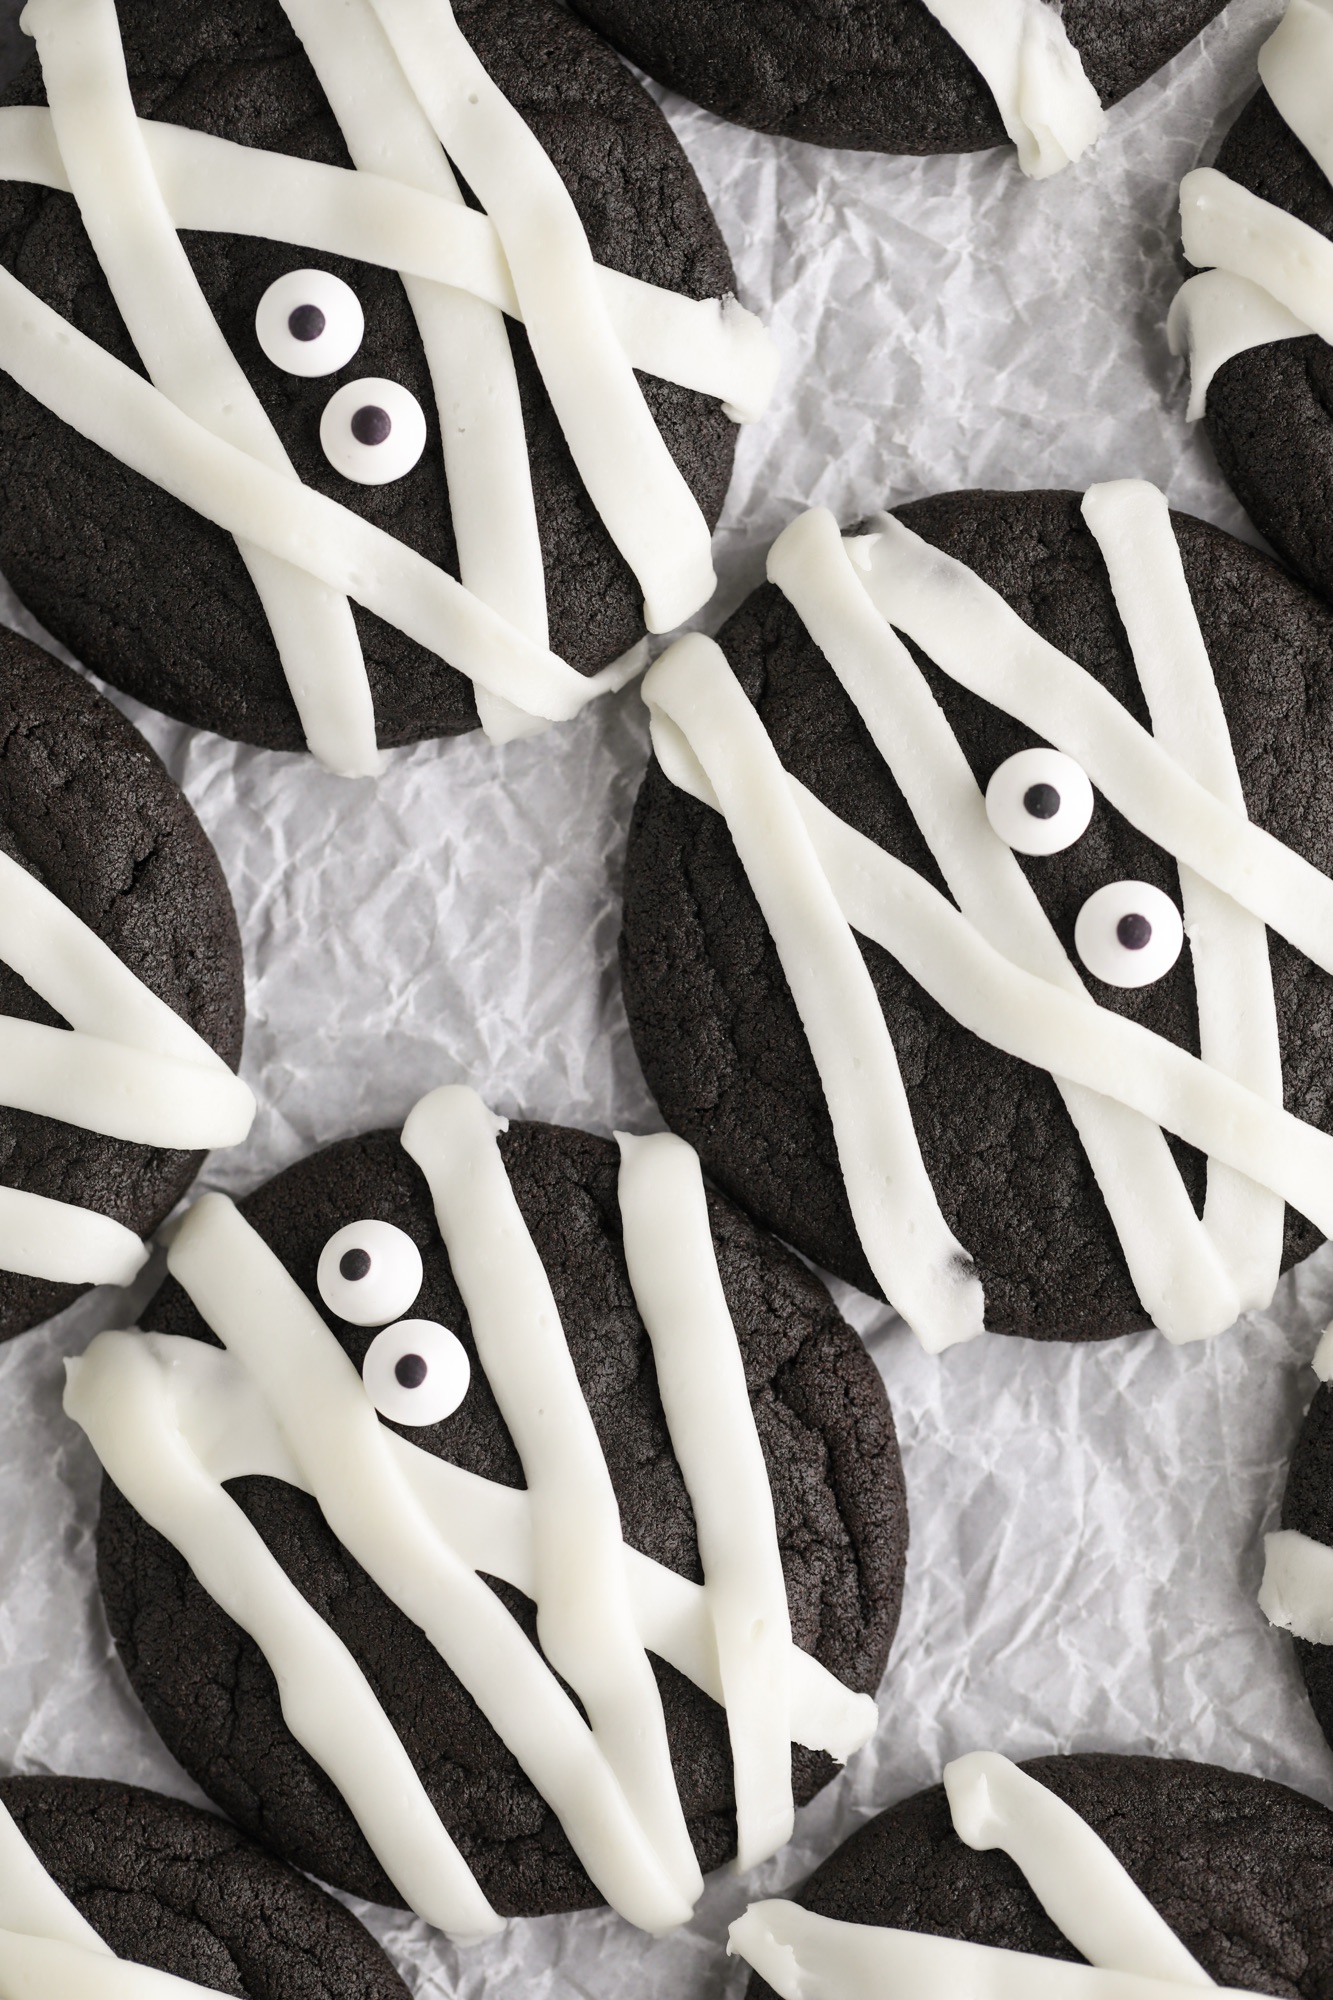
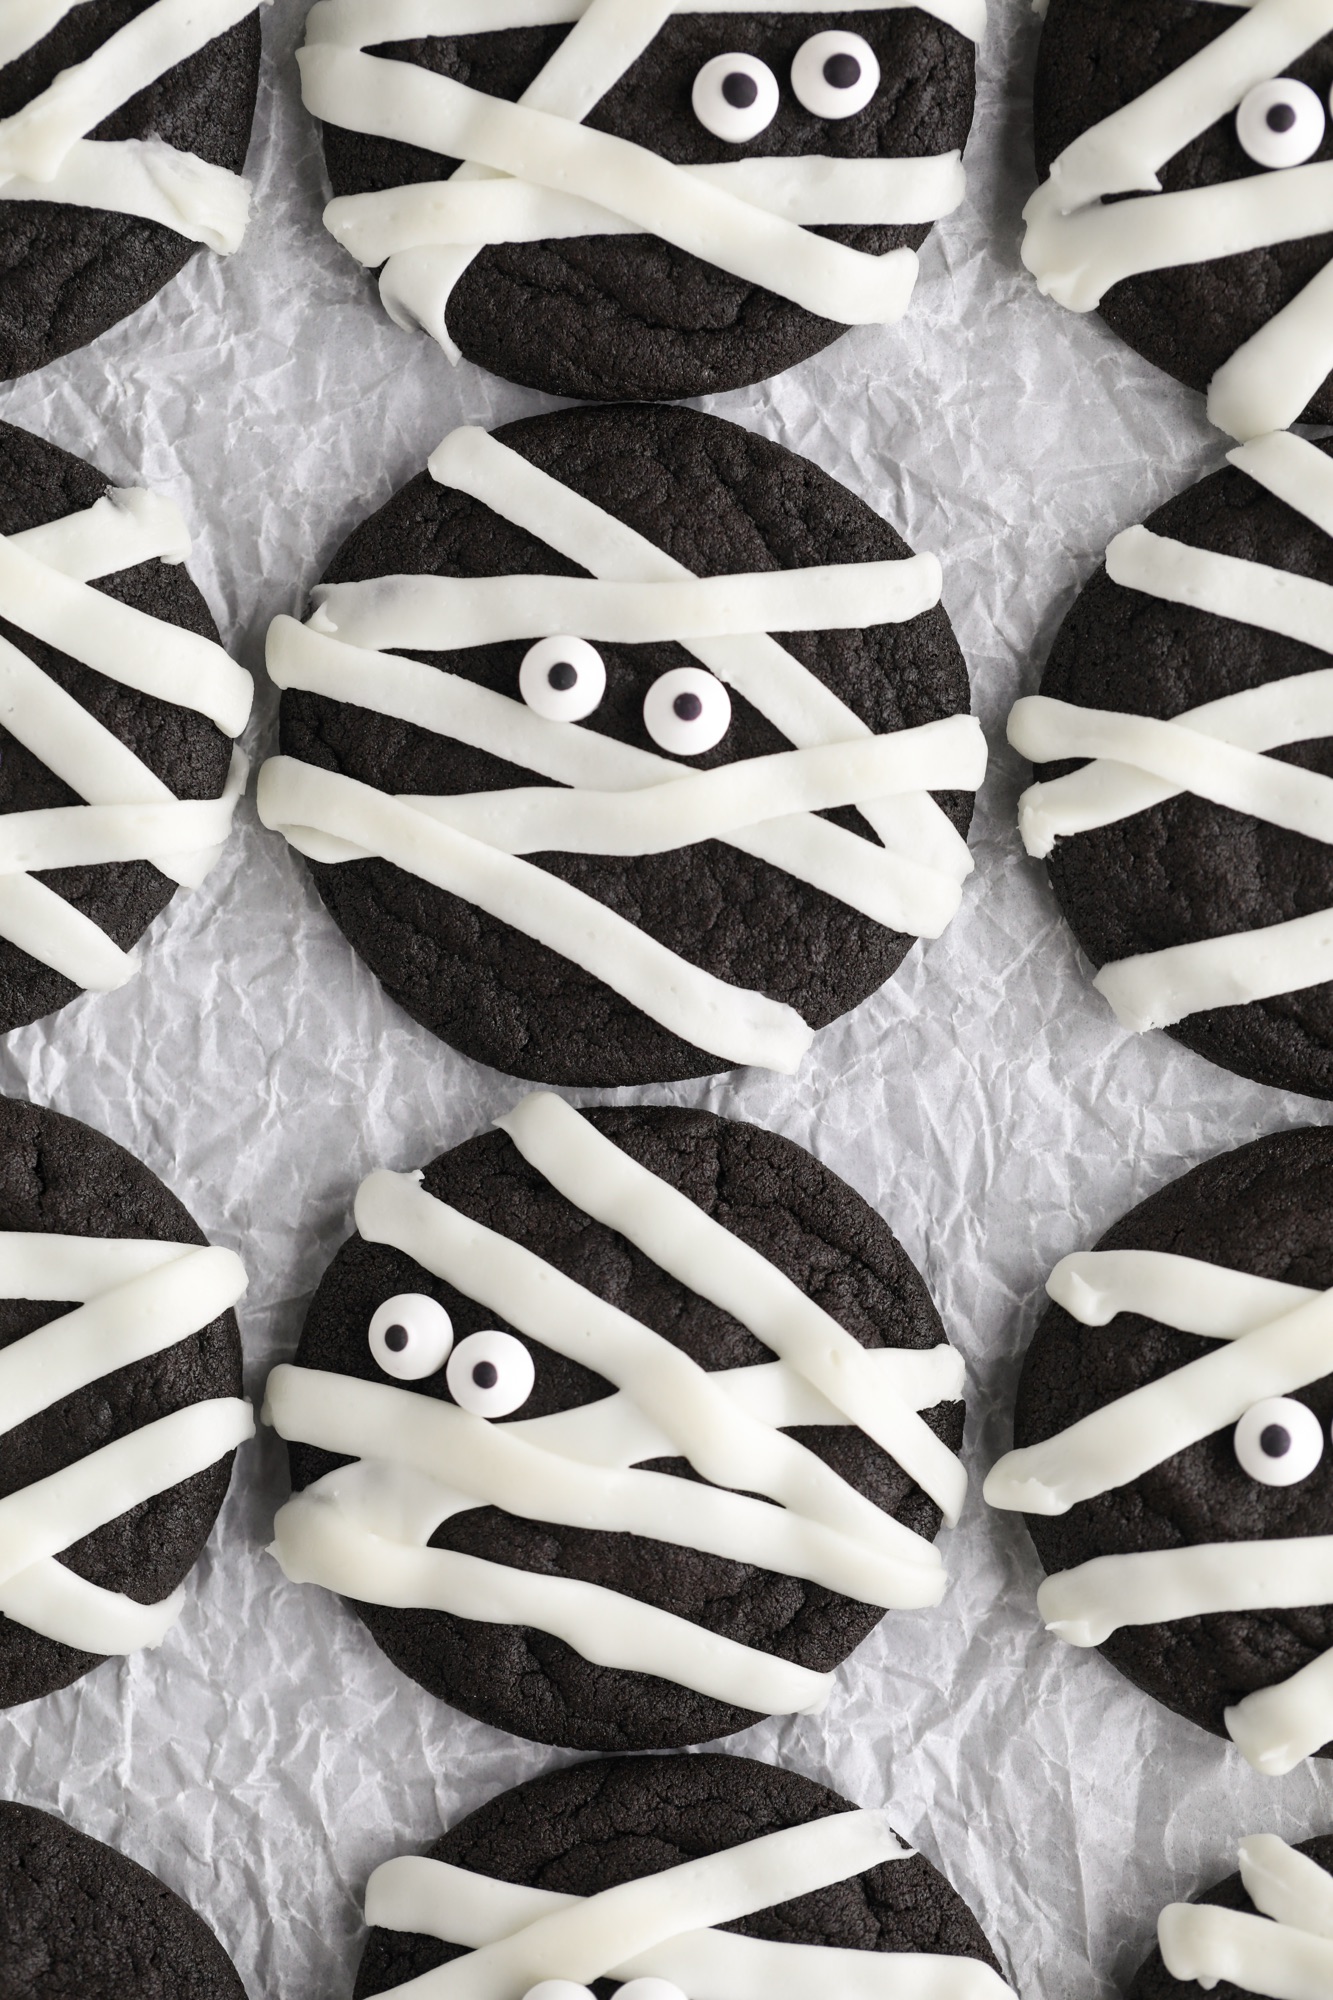
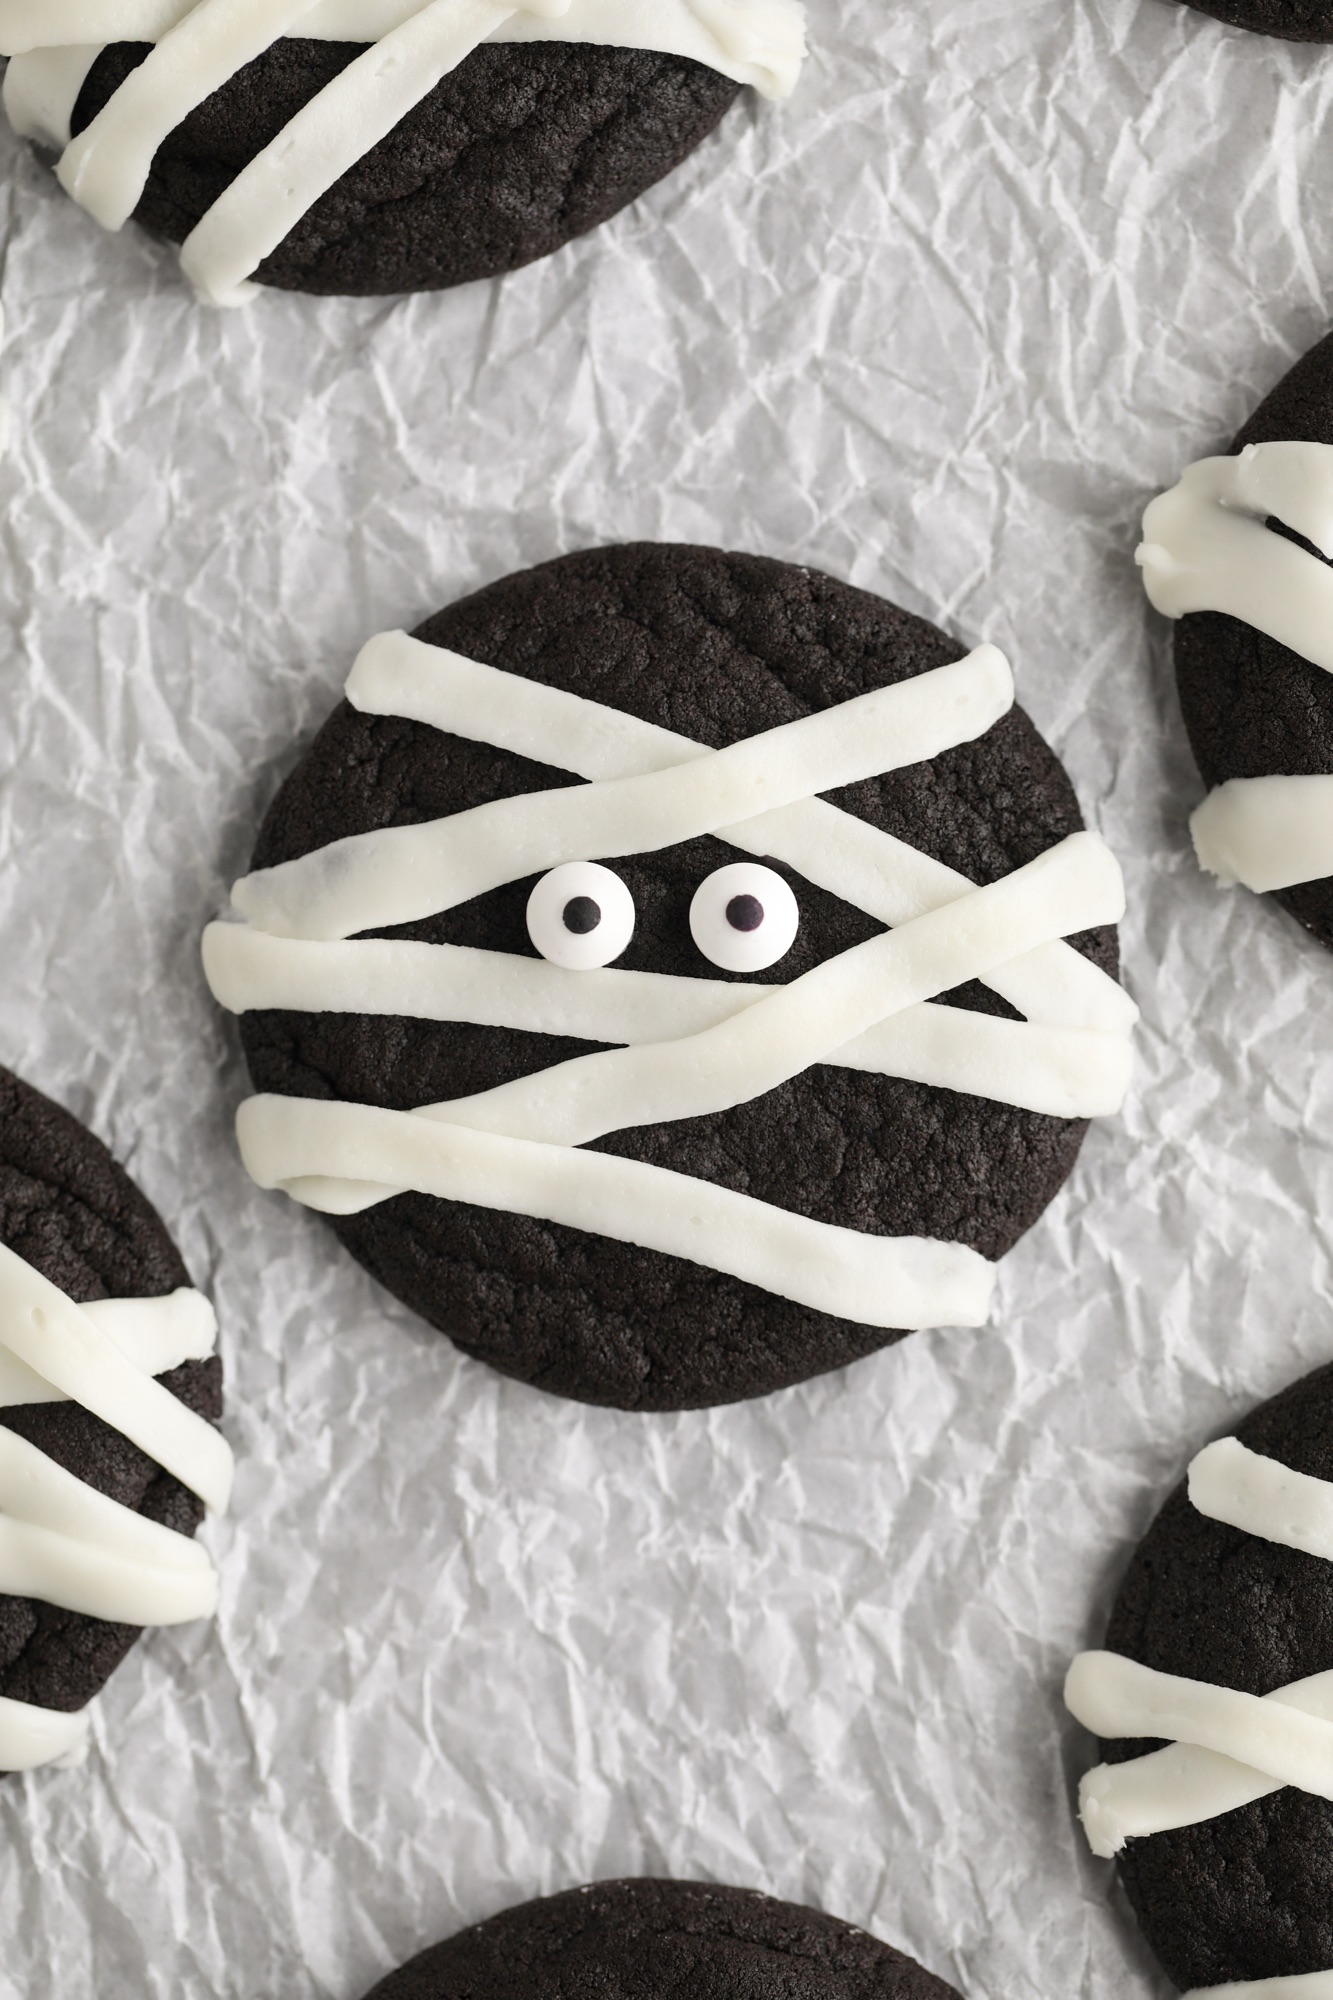
- Use an Ateco #2 and hold the piping bag almost horizontally to pipe various flat lines or bandages onto the cookie. Repeat with remaining cookies. Change the tip to an Ateco #4 to add a small dollop of frosting on the backs of two candy eyeballs and place them in between the bandages. Repeat with remaining cookies. Enjoy!
Notes
- Leftover cookies can be stored in an airtight container for up to one week but are best when enjoyed within the first few days. You can reheat them in the microwave for 10-15 seconds.
- Cookie dough can be made ahead, scooped, rolled in sugar and placed in a ziploc bag to be frozen for up to two months. Once you’re ready to bake, let the dough sit at room temperature for about 15 minutes and bake. You’ll need to add on an extra 5 minutes or so to the original baking time.




You must be logged in to post a comment.