
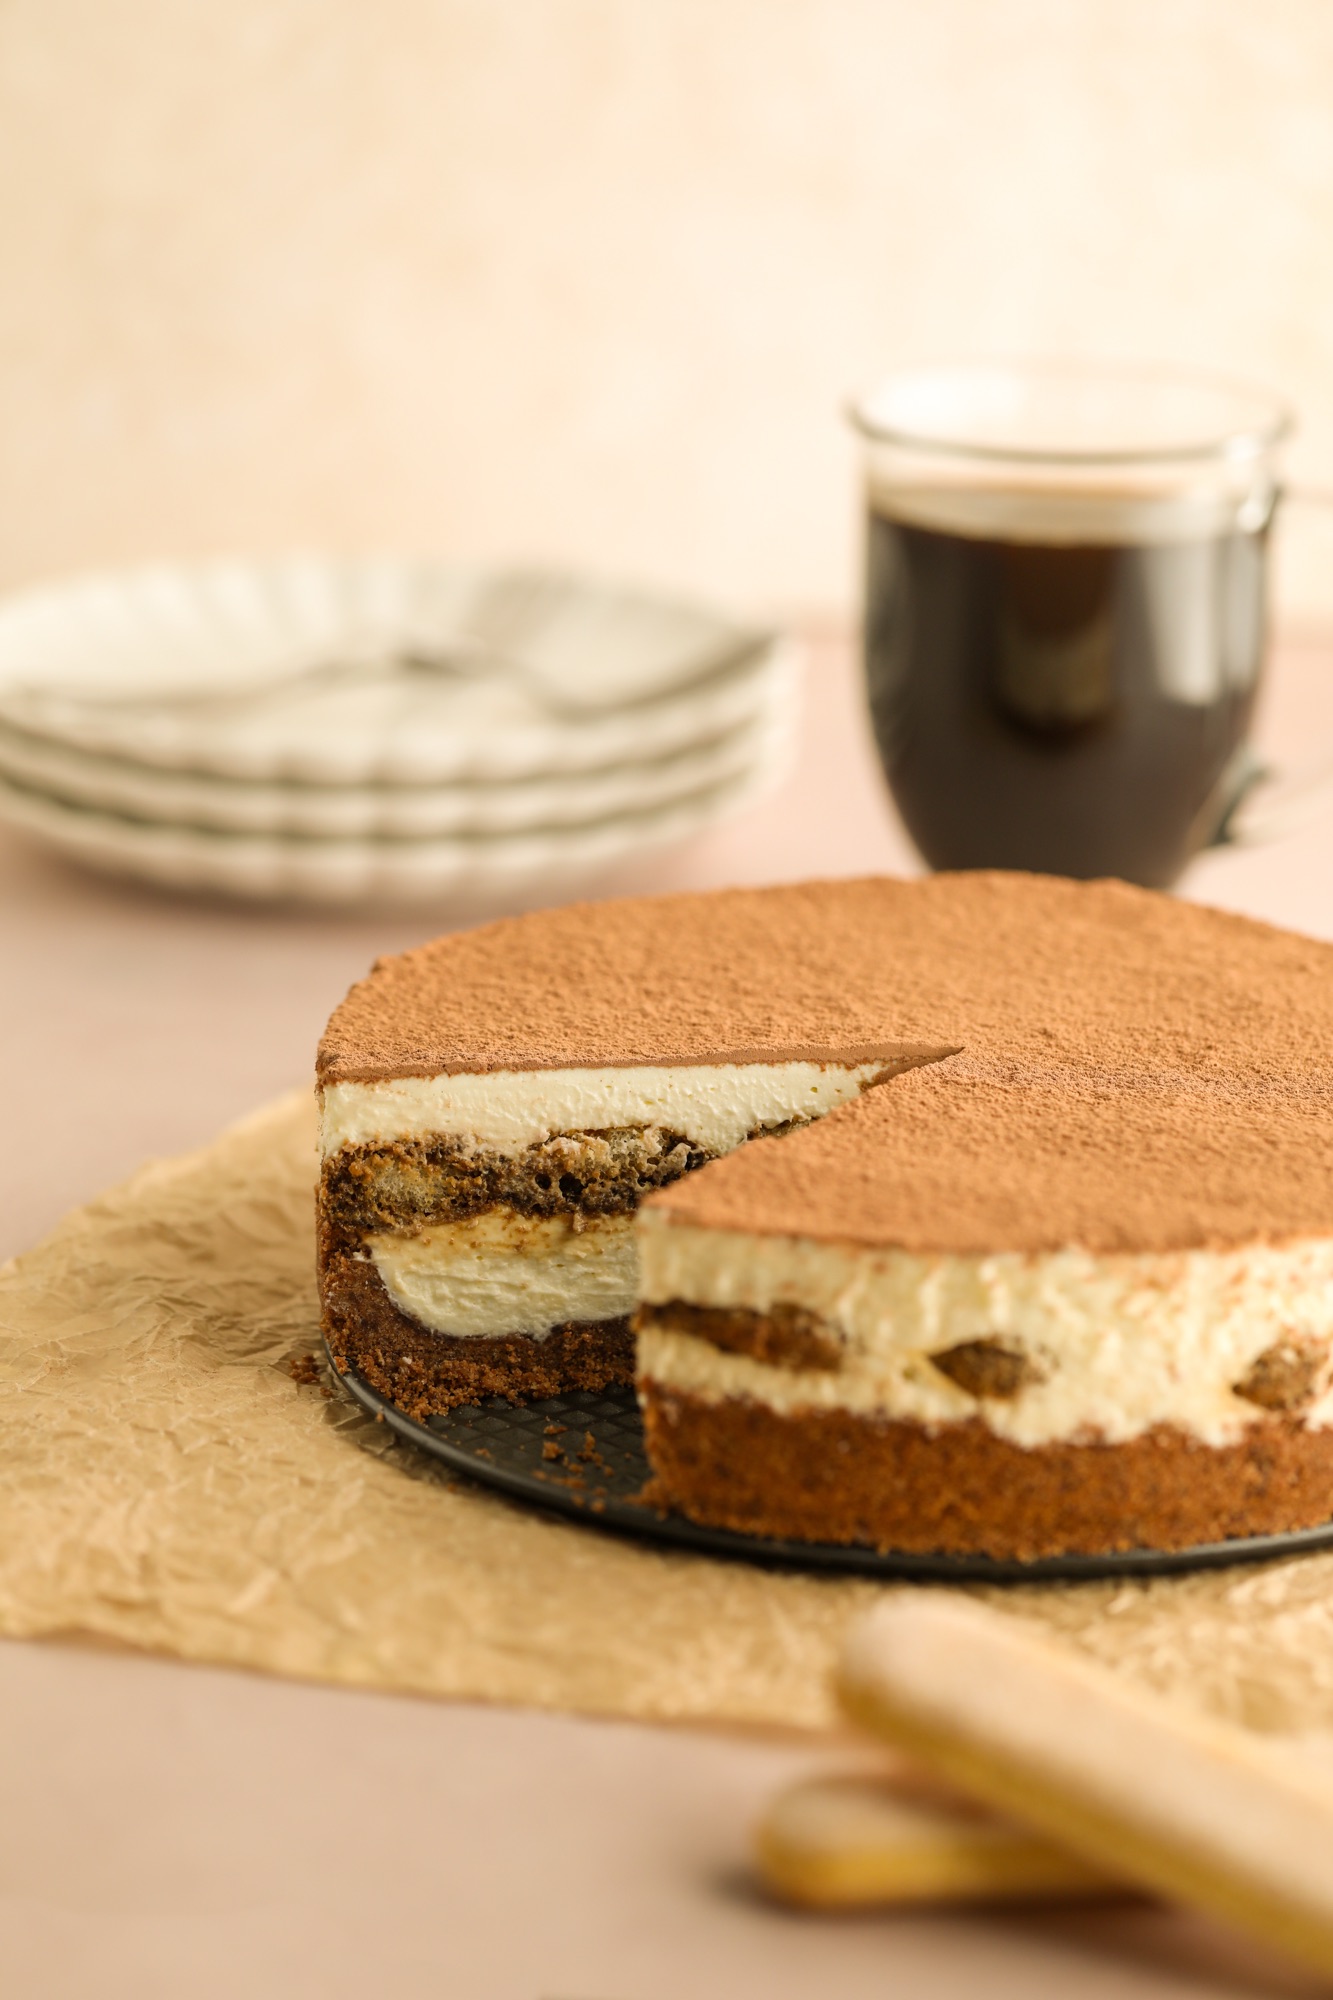
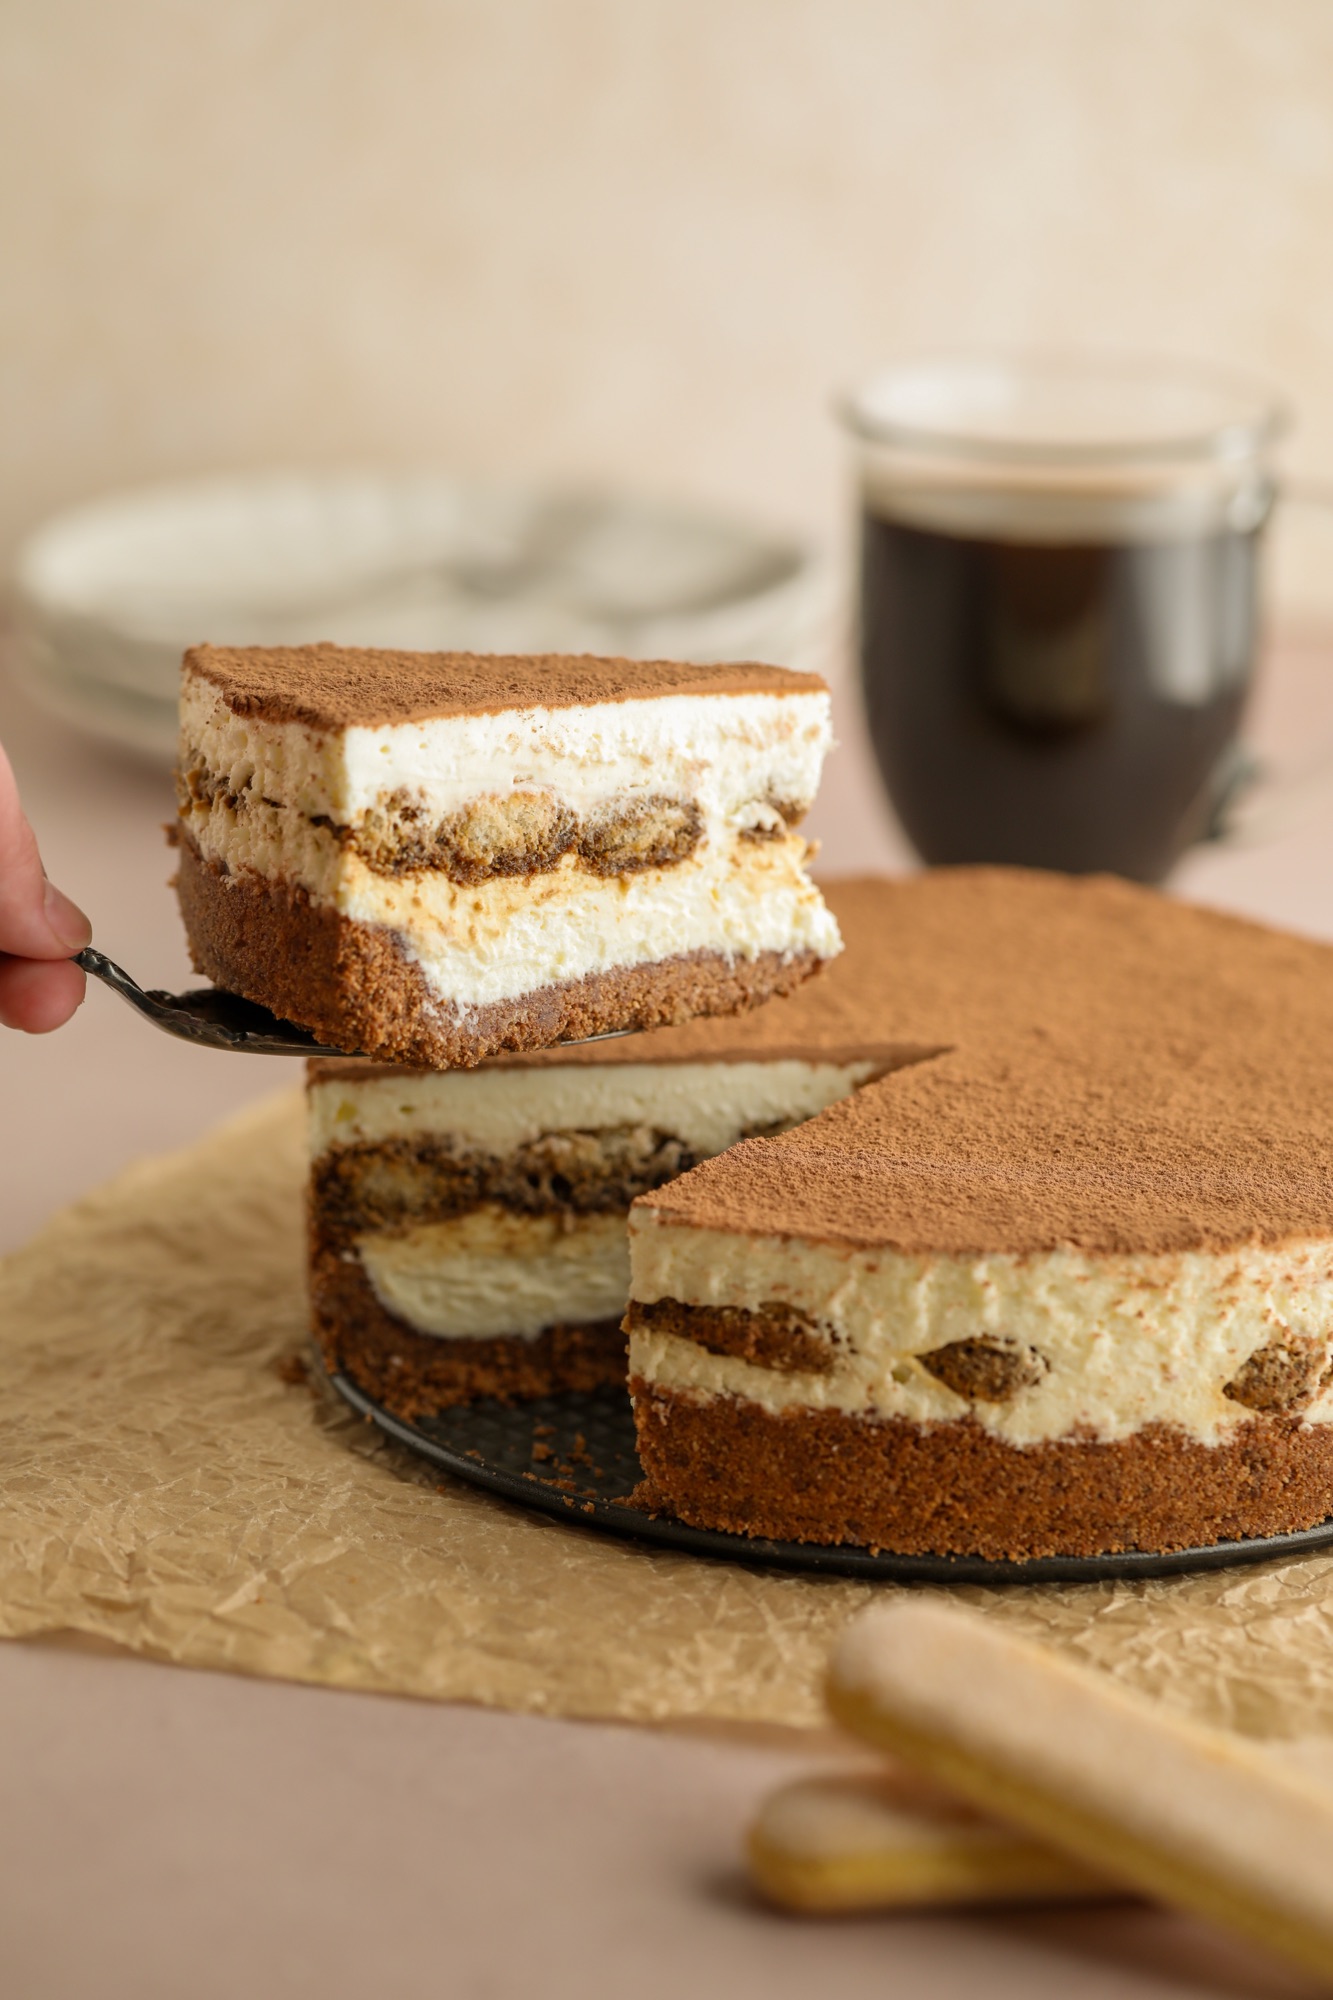
This No-Bake Tiramisu Cheesecake combines two classic desserts into one rich and creamy treat! With layers of coffee-soaked ladyfingers, a smooth mascarpone cheesecake filling, and a generous dusting of cocoa powder, every bite is packed with delicious tiramisu flavor. Best of all, there's no oven required, making this an easy yet impressive dessert for any occasion.
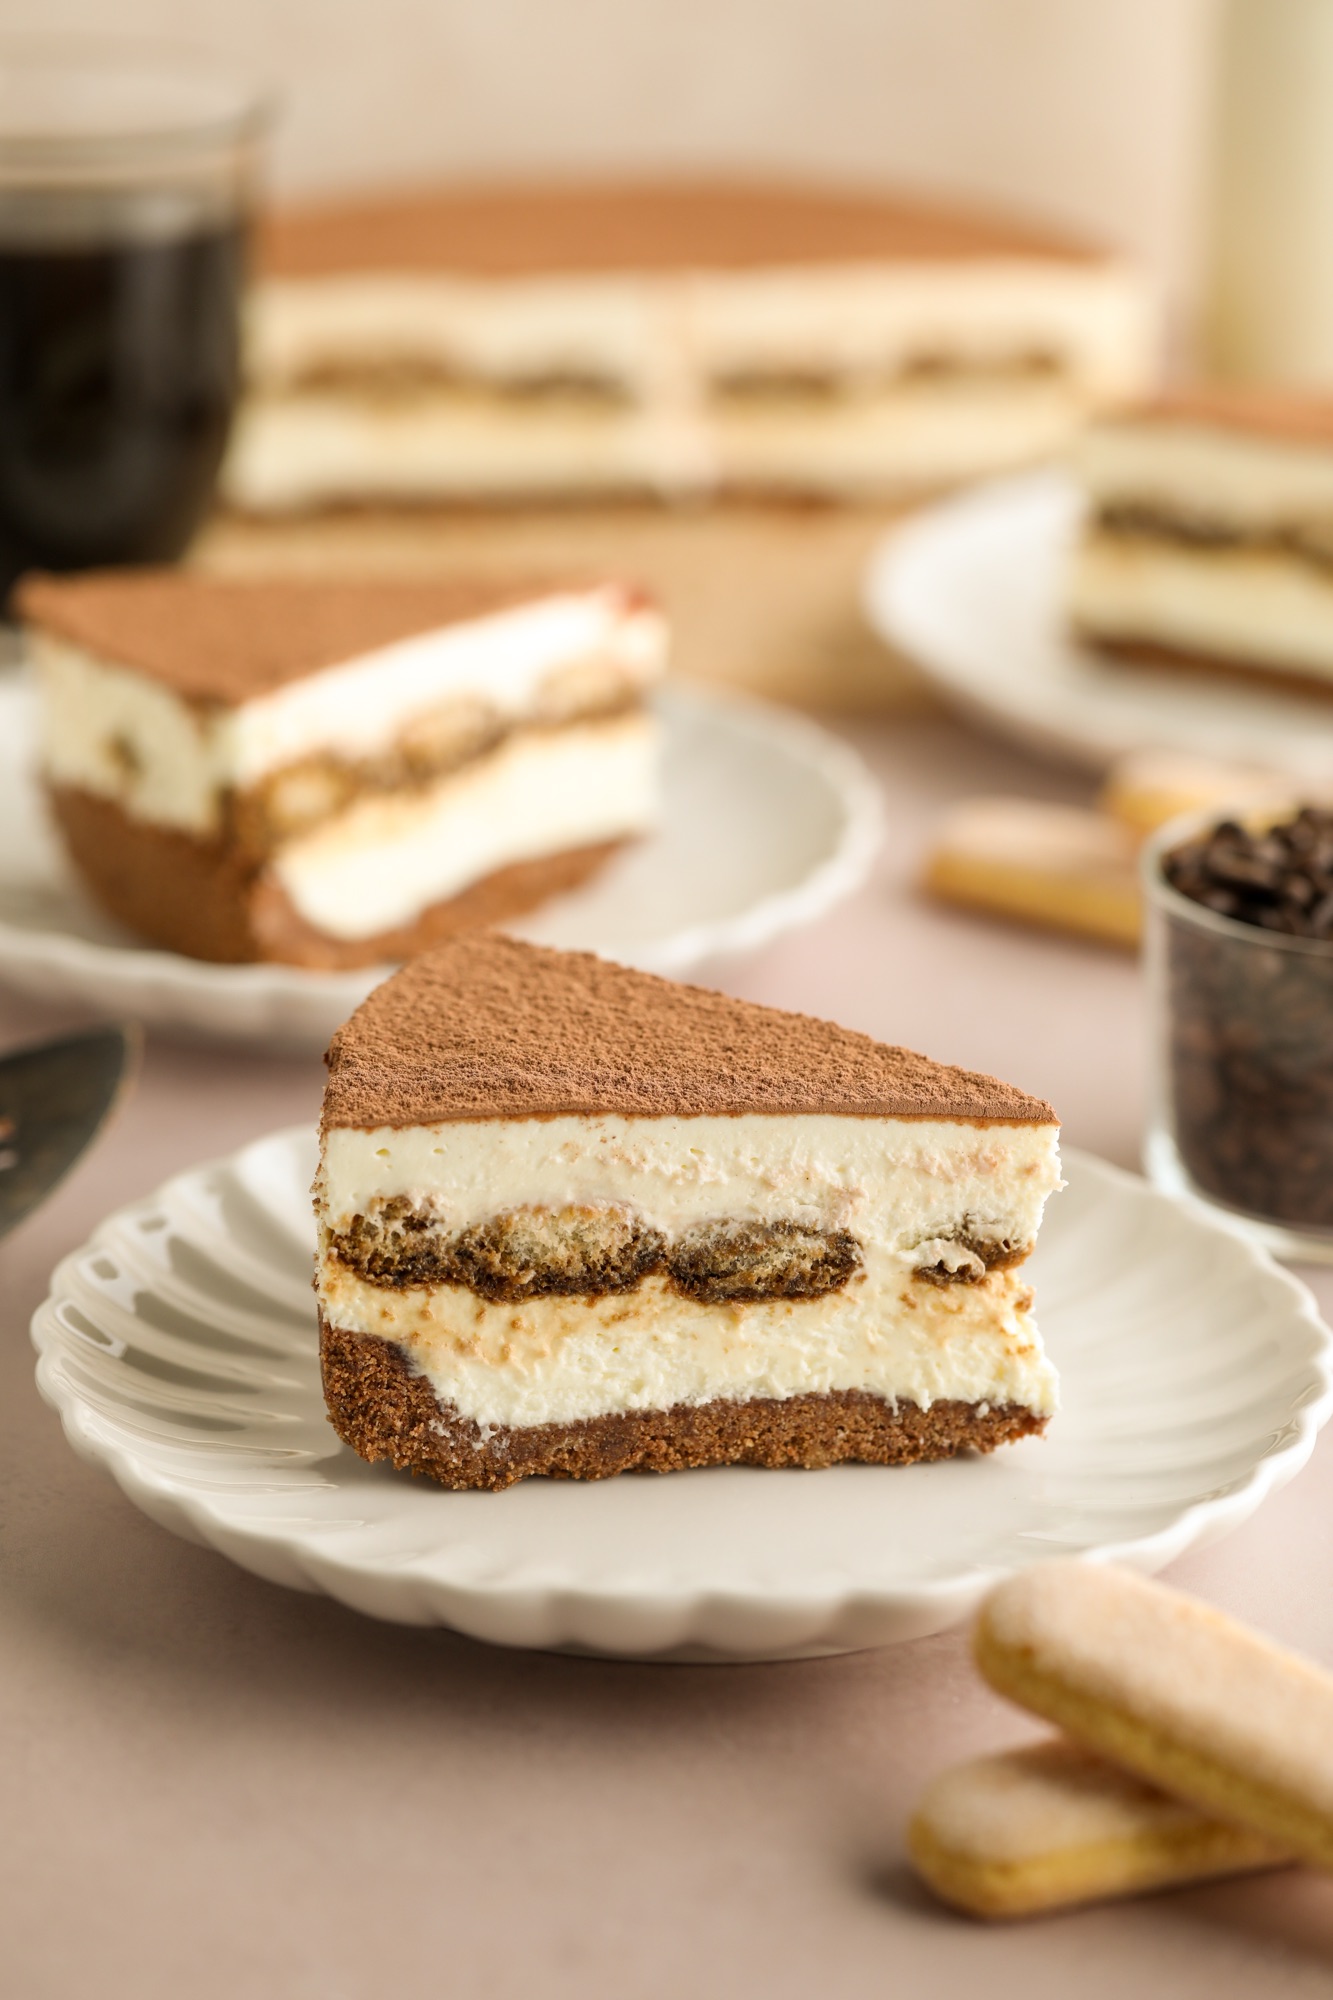
If you love traditional tiramisu and cheesecake, this recipe is the perfect combination of both. The bold espresso flavor pairs beautifully with the sweet, creamy cheesecake filling, while the softened ladyfingers add the perfect texture. It's an elegant make-ahead dessert that's perfect for holidays, dinner parties, or whenever you're craving something sweet!
A FEW NOTES BEFORE WE GET STARTED
- Room Temperature Ingredients:
- Cream Cheese: It’s important that the cream cheese is softened. Make sure to leave it out before you start baking so it has time to soften.
- Measuring Your Ingredients:
- I strongly encourage that you use a kitchen scale to measure your ingredients and ensure that you have the most accurate measurements possible.
- However, if you don’t have a scale on hand and will be using cup measurements, make sure to use the “spoon and sweep” method when measuring to avoid packing in too much of any dry ingredient.
Blend graham crackers in a food processor until they are a fine, sandlike consistency. Add in sifted cocoa powder, sugar, and melted butter and blend until the crumbs start to clump together.
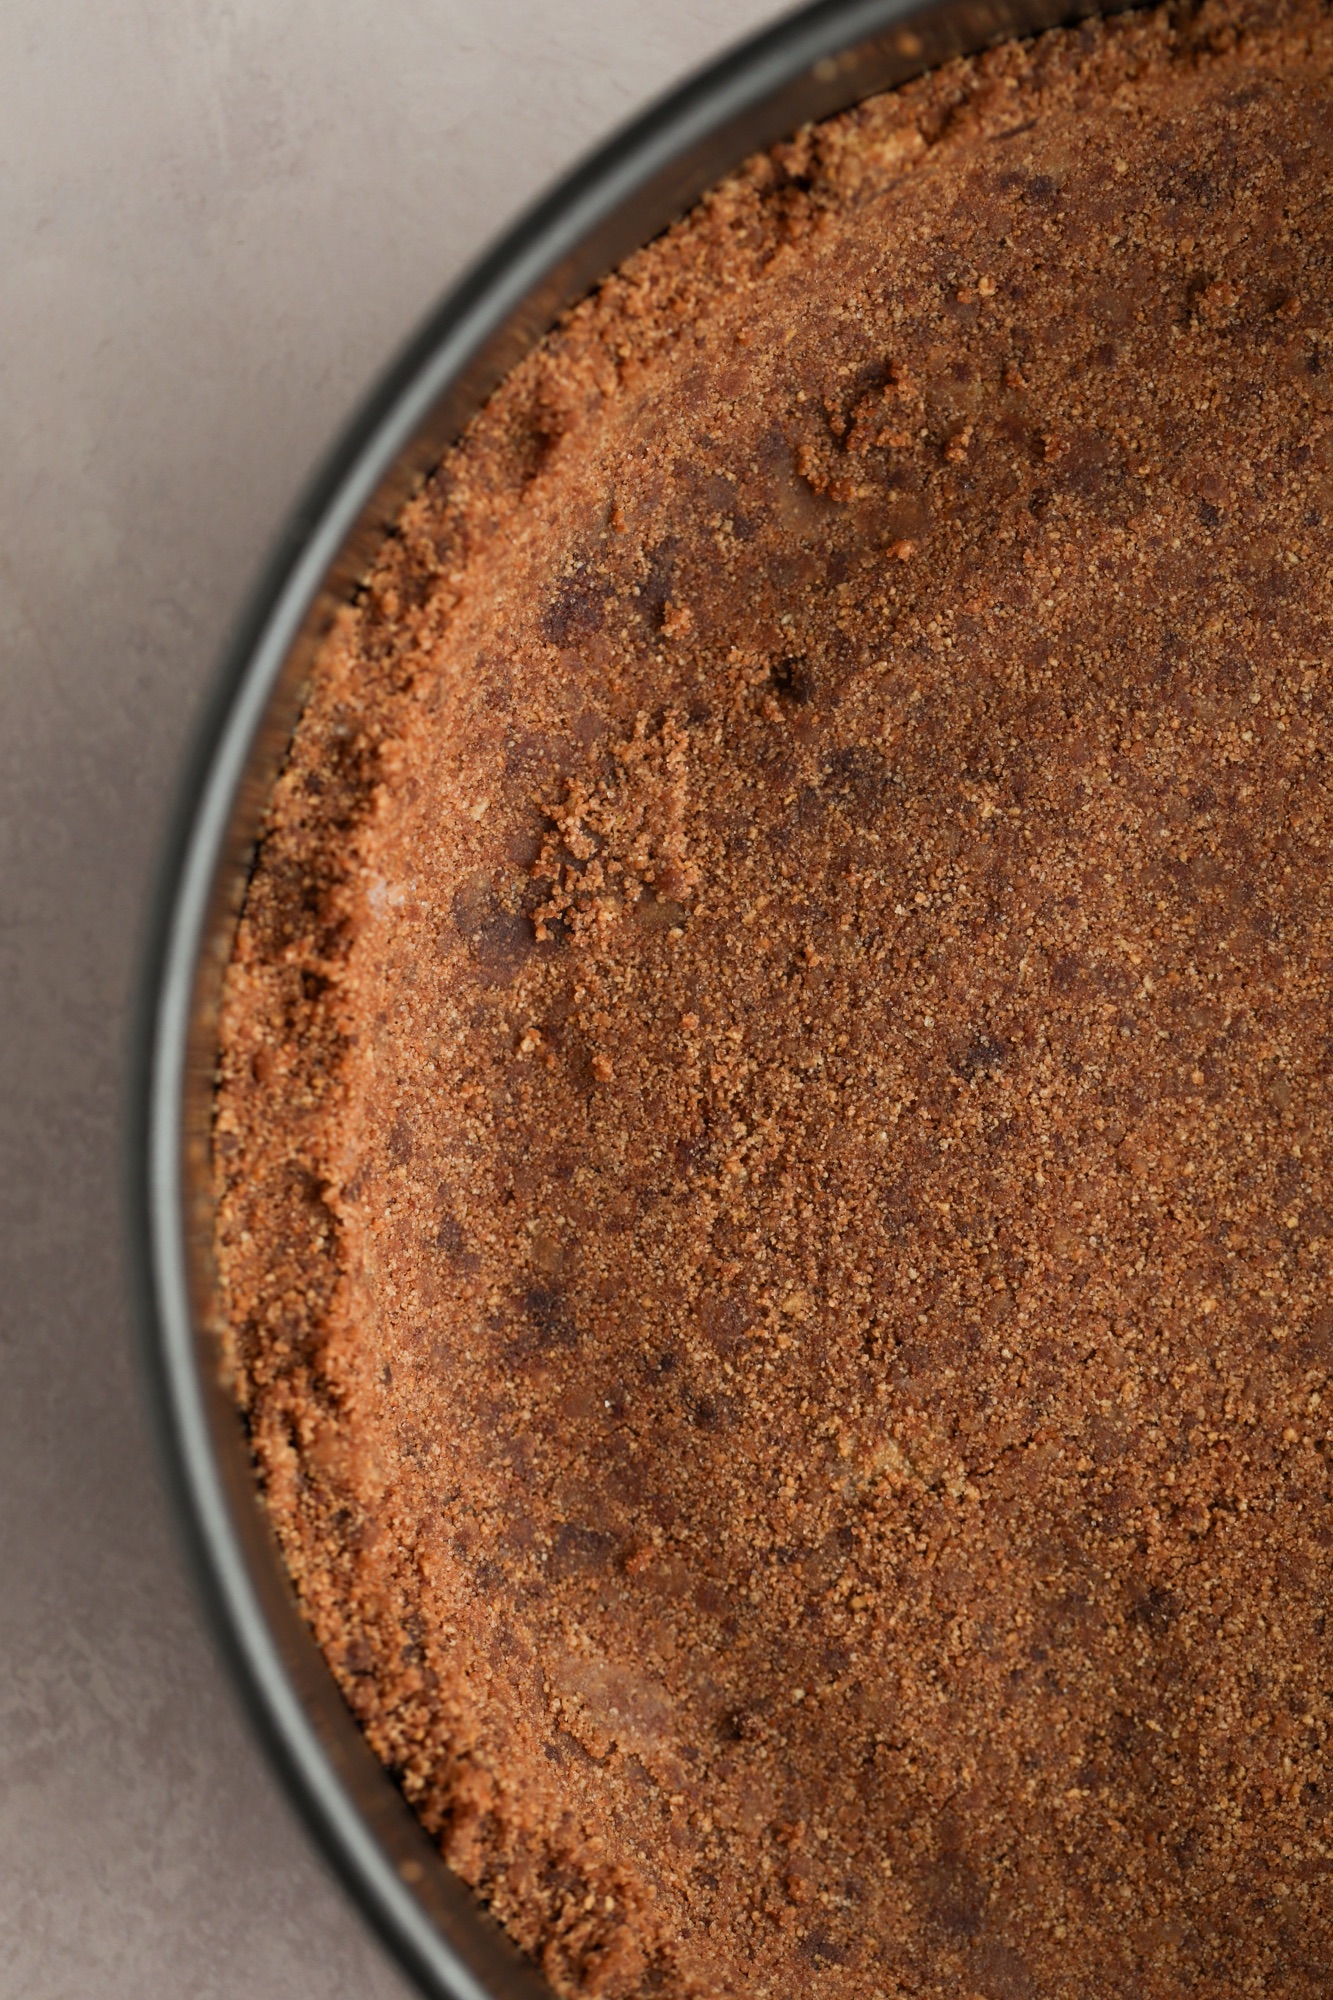
Spray a 9" springform pan with cooking spray and pour in the crumbs. Use a small measuring cup sprayed with cooking spray to carefully press the crumbs down until they cover the bottom of the pan and are compact. Place the pan in the freezer to chill.
Whisk together the hot water and espresso in a small bowl until the espresso has dissolved. Let cool. Use a stand mixer or handheld mixer with a large bowl to beat together the cream cheese, mascarpone, sugar, and vanilla on high speed for 2 minutes. Scrape down the sides of the bowl.
In a separate bowl, whip the heavy cream on medium-high speed until stiff peaks form.
Gently fold the whipped cream into the cream cheese mixture until it is fully combined. Be careful not to overmix.
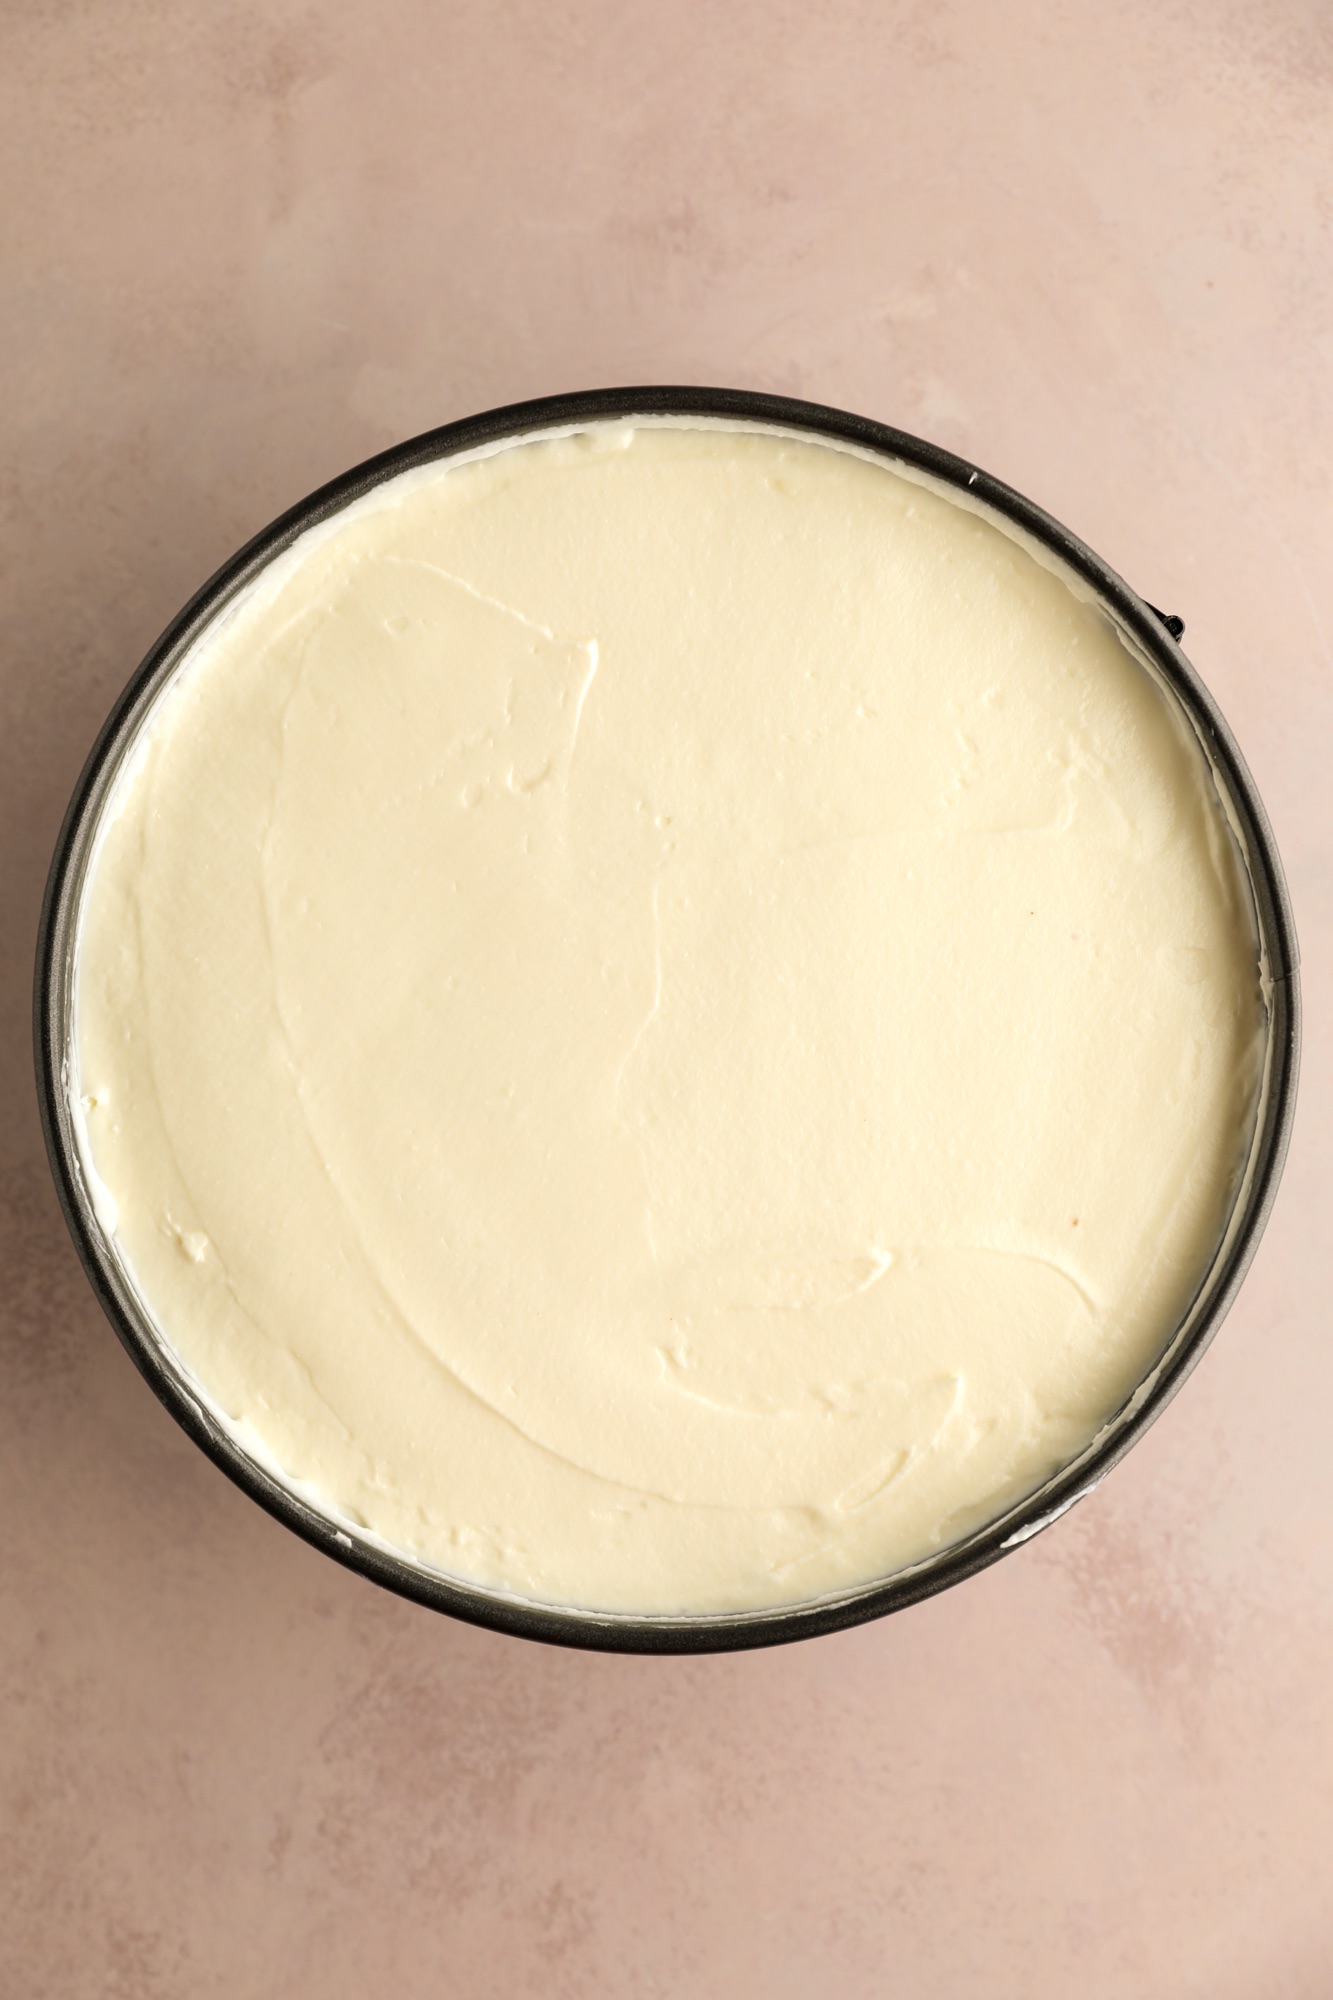
Transfer the filling to a piping bag. Pipe half of the filling onto the crust in a flat, level layer. Level with an offset spatula. Tap the pan on the counter a few times to remove air bubbles.
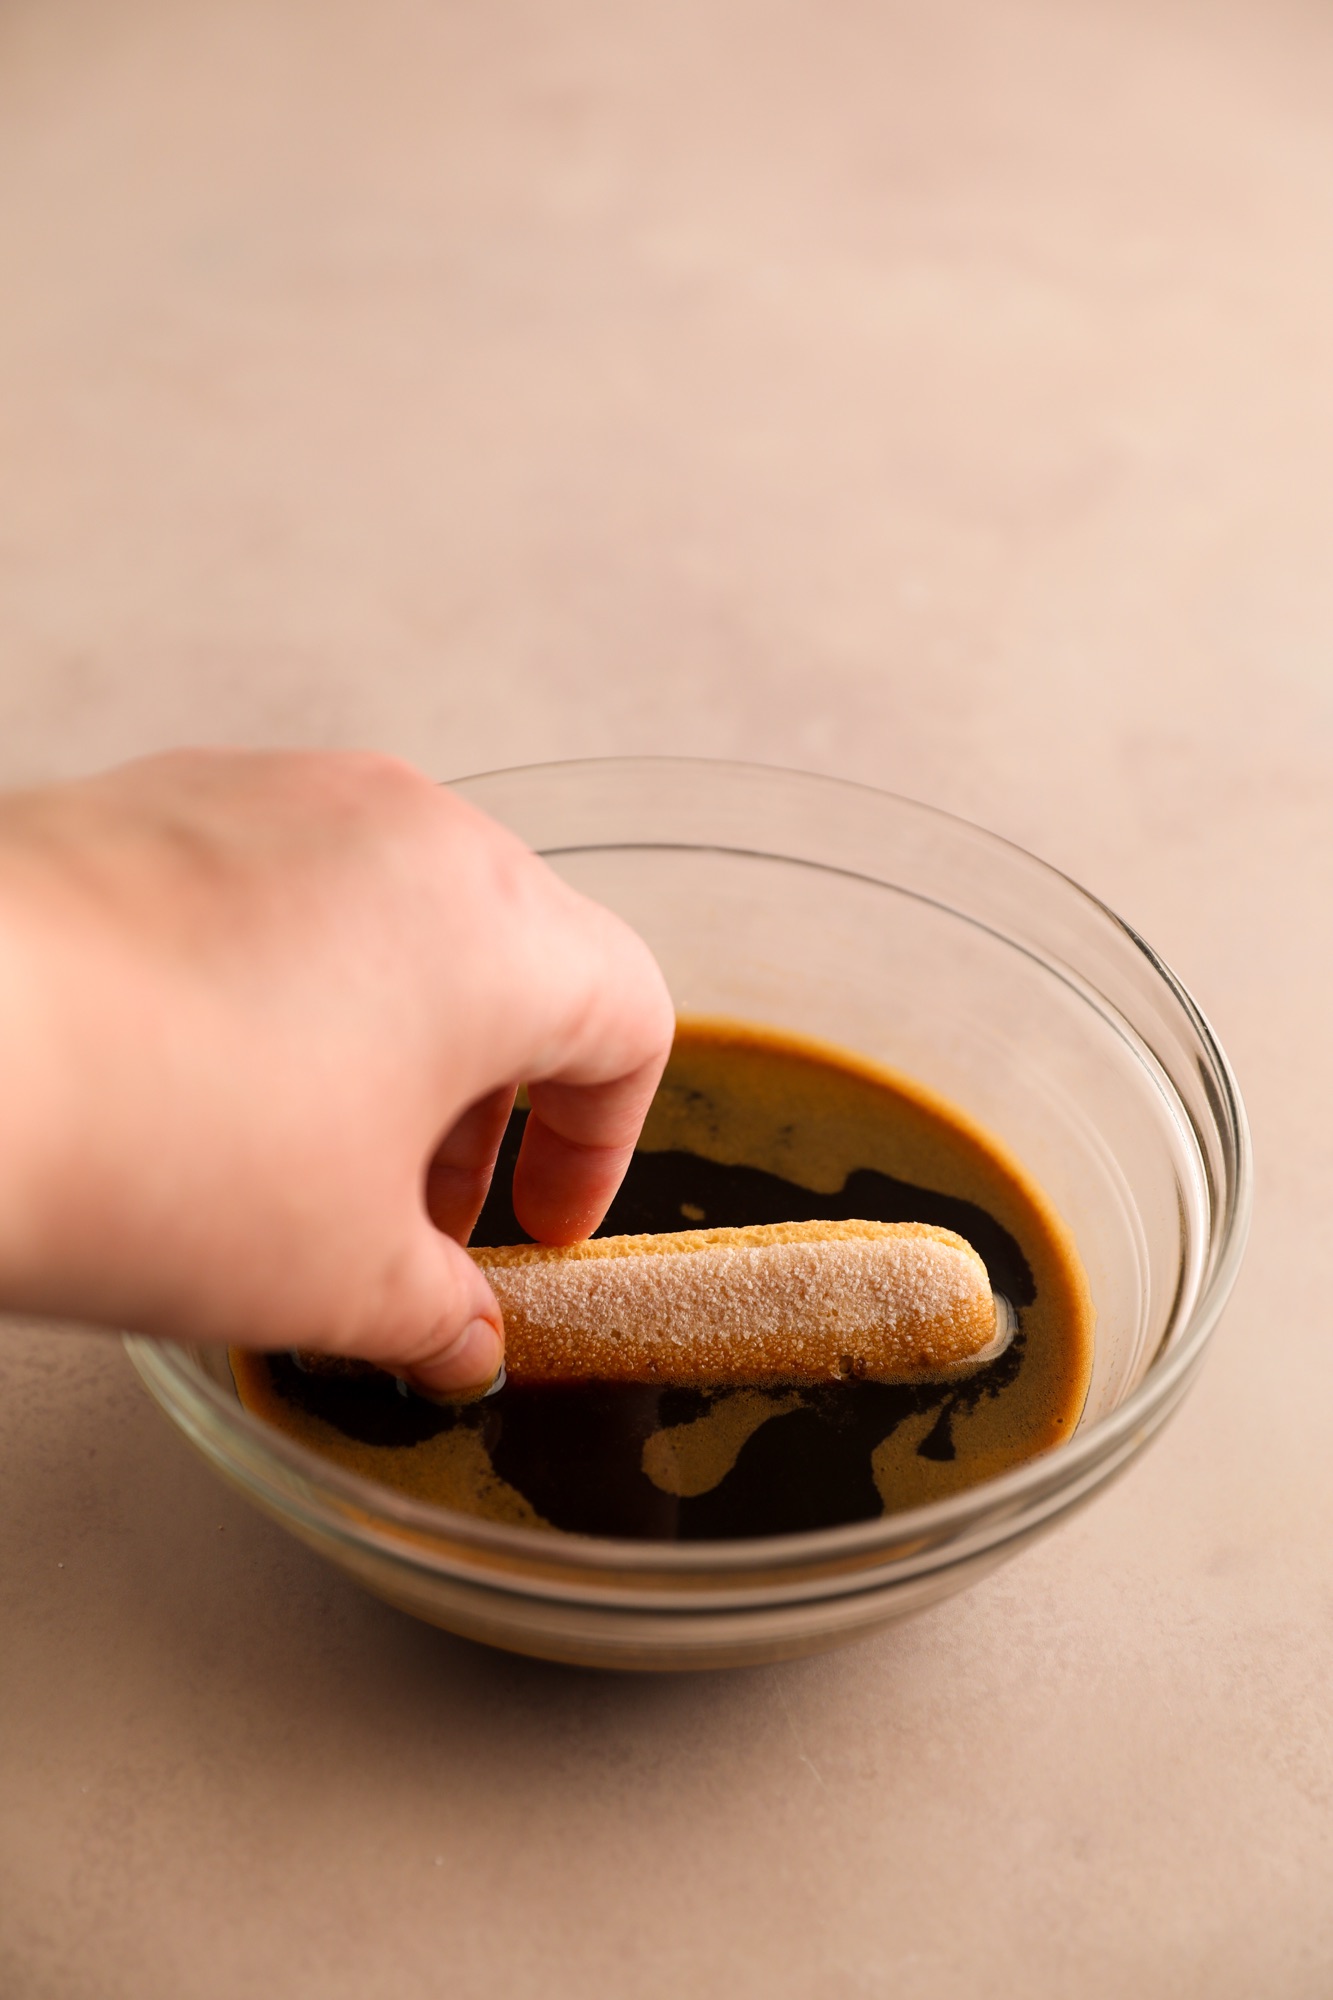
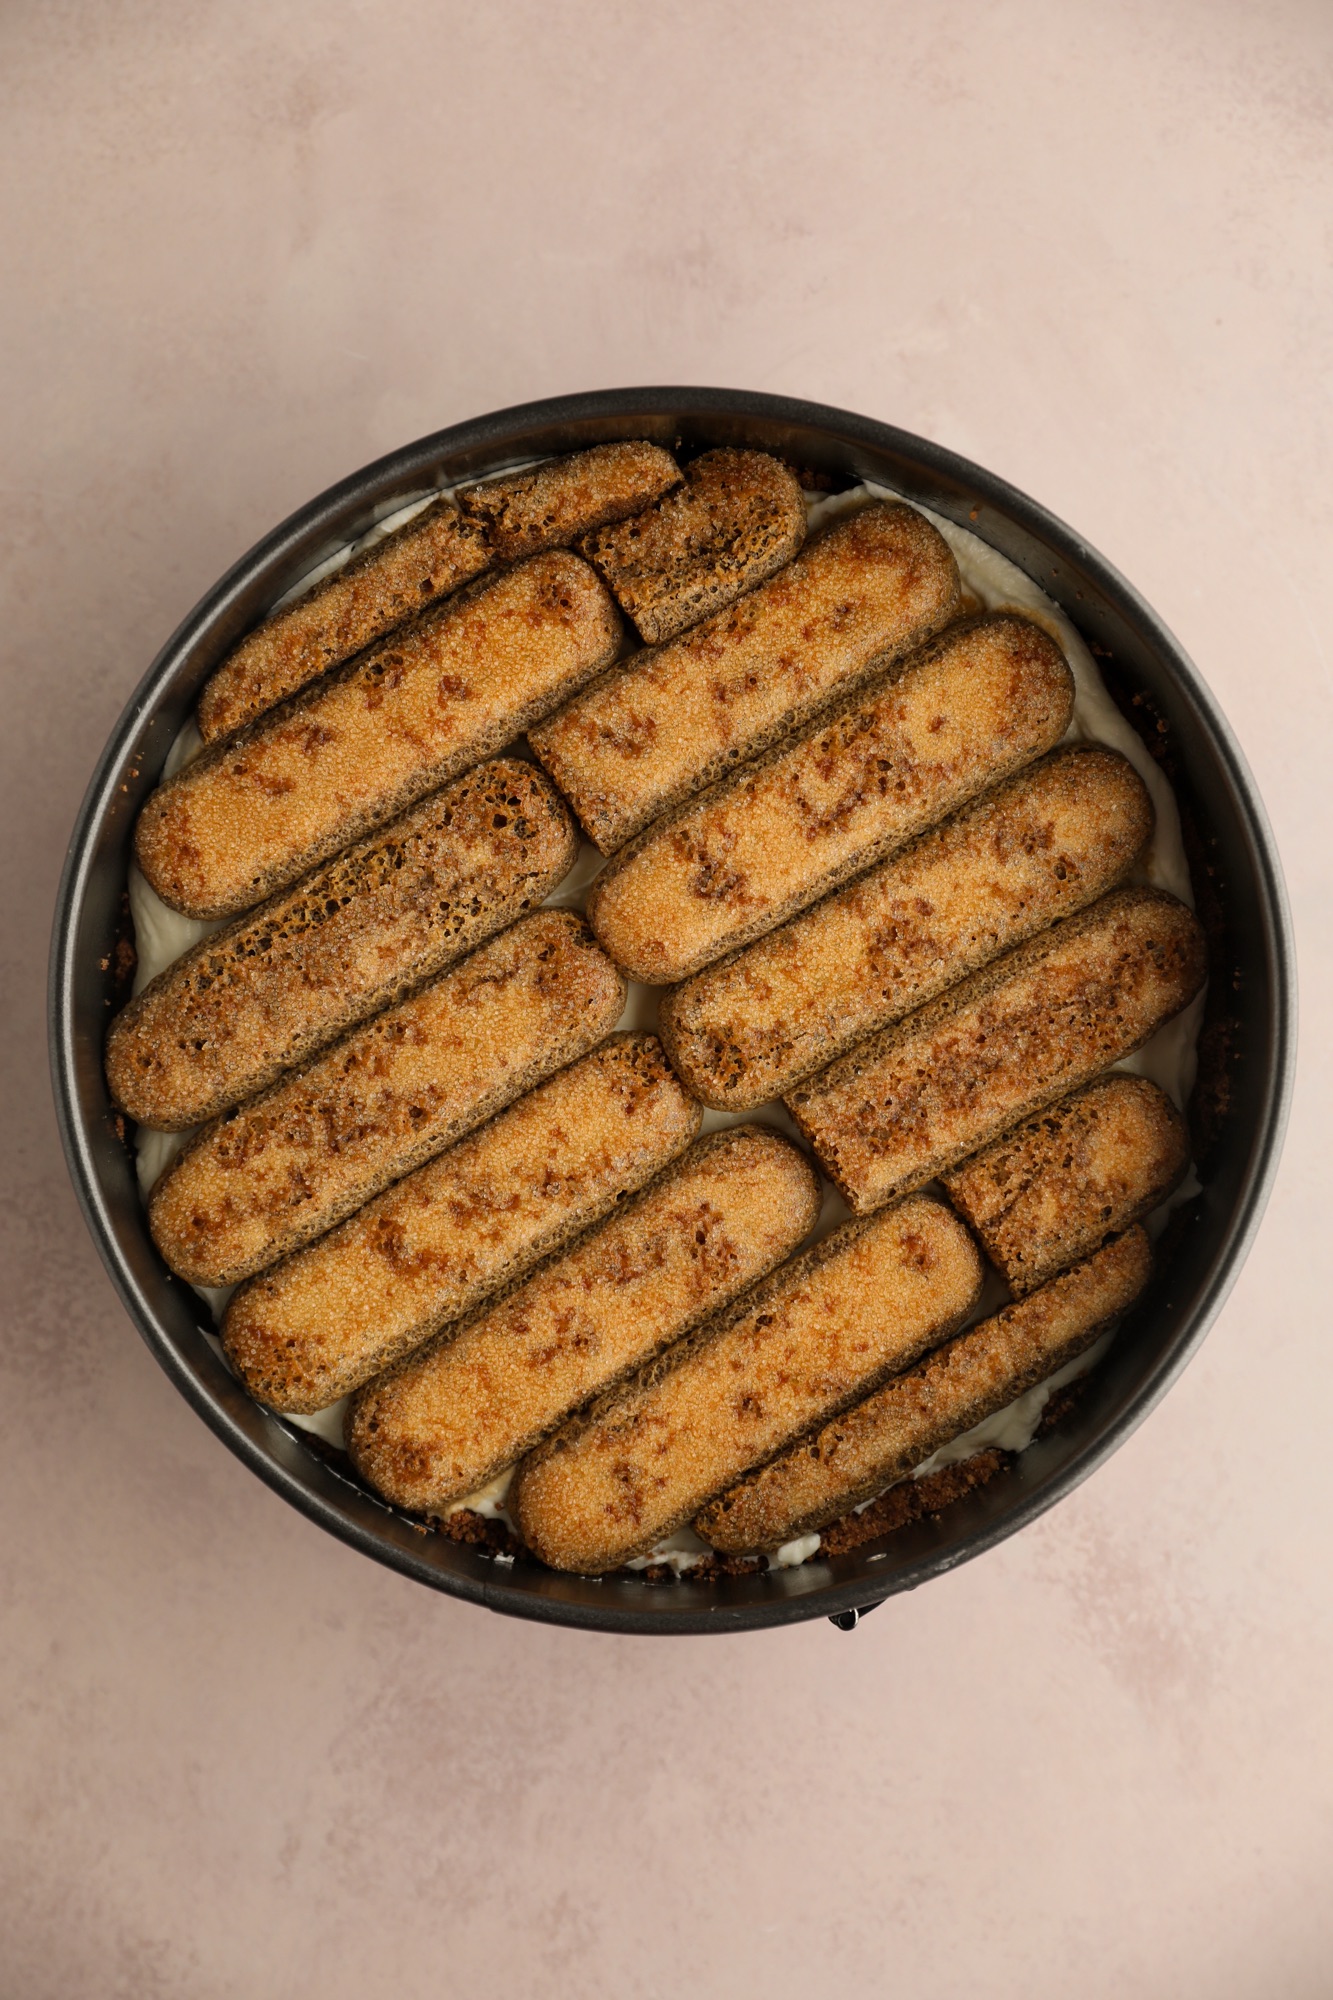
Quickly dip each ladyfinger in the espresso mixture, one at a time, briefly letting any excess drip off before adding them in an even layer on top of the filling. You'll need to cut some to fit in smaller spots.
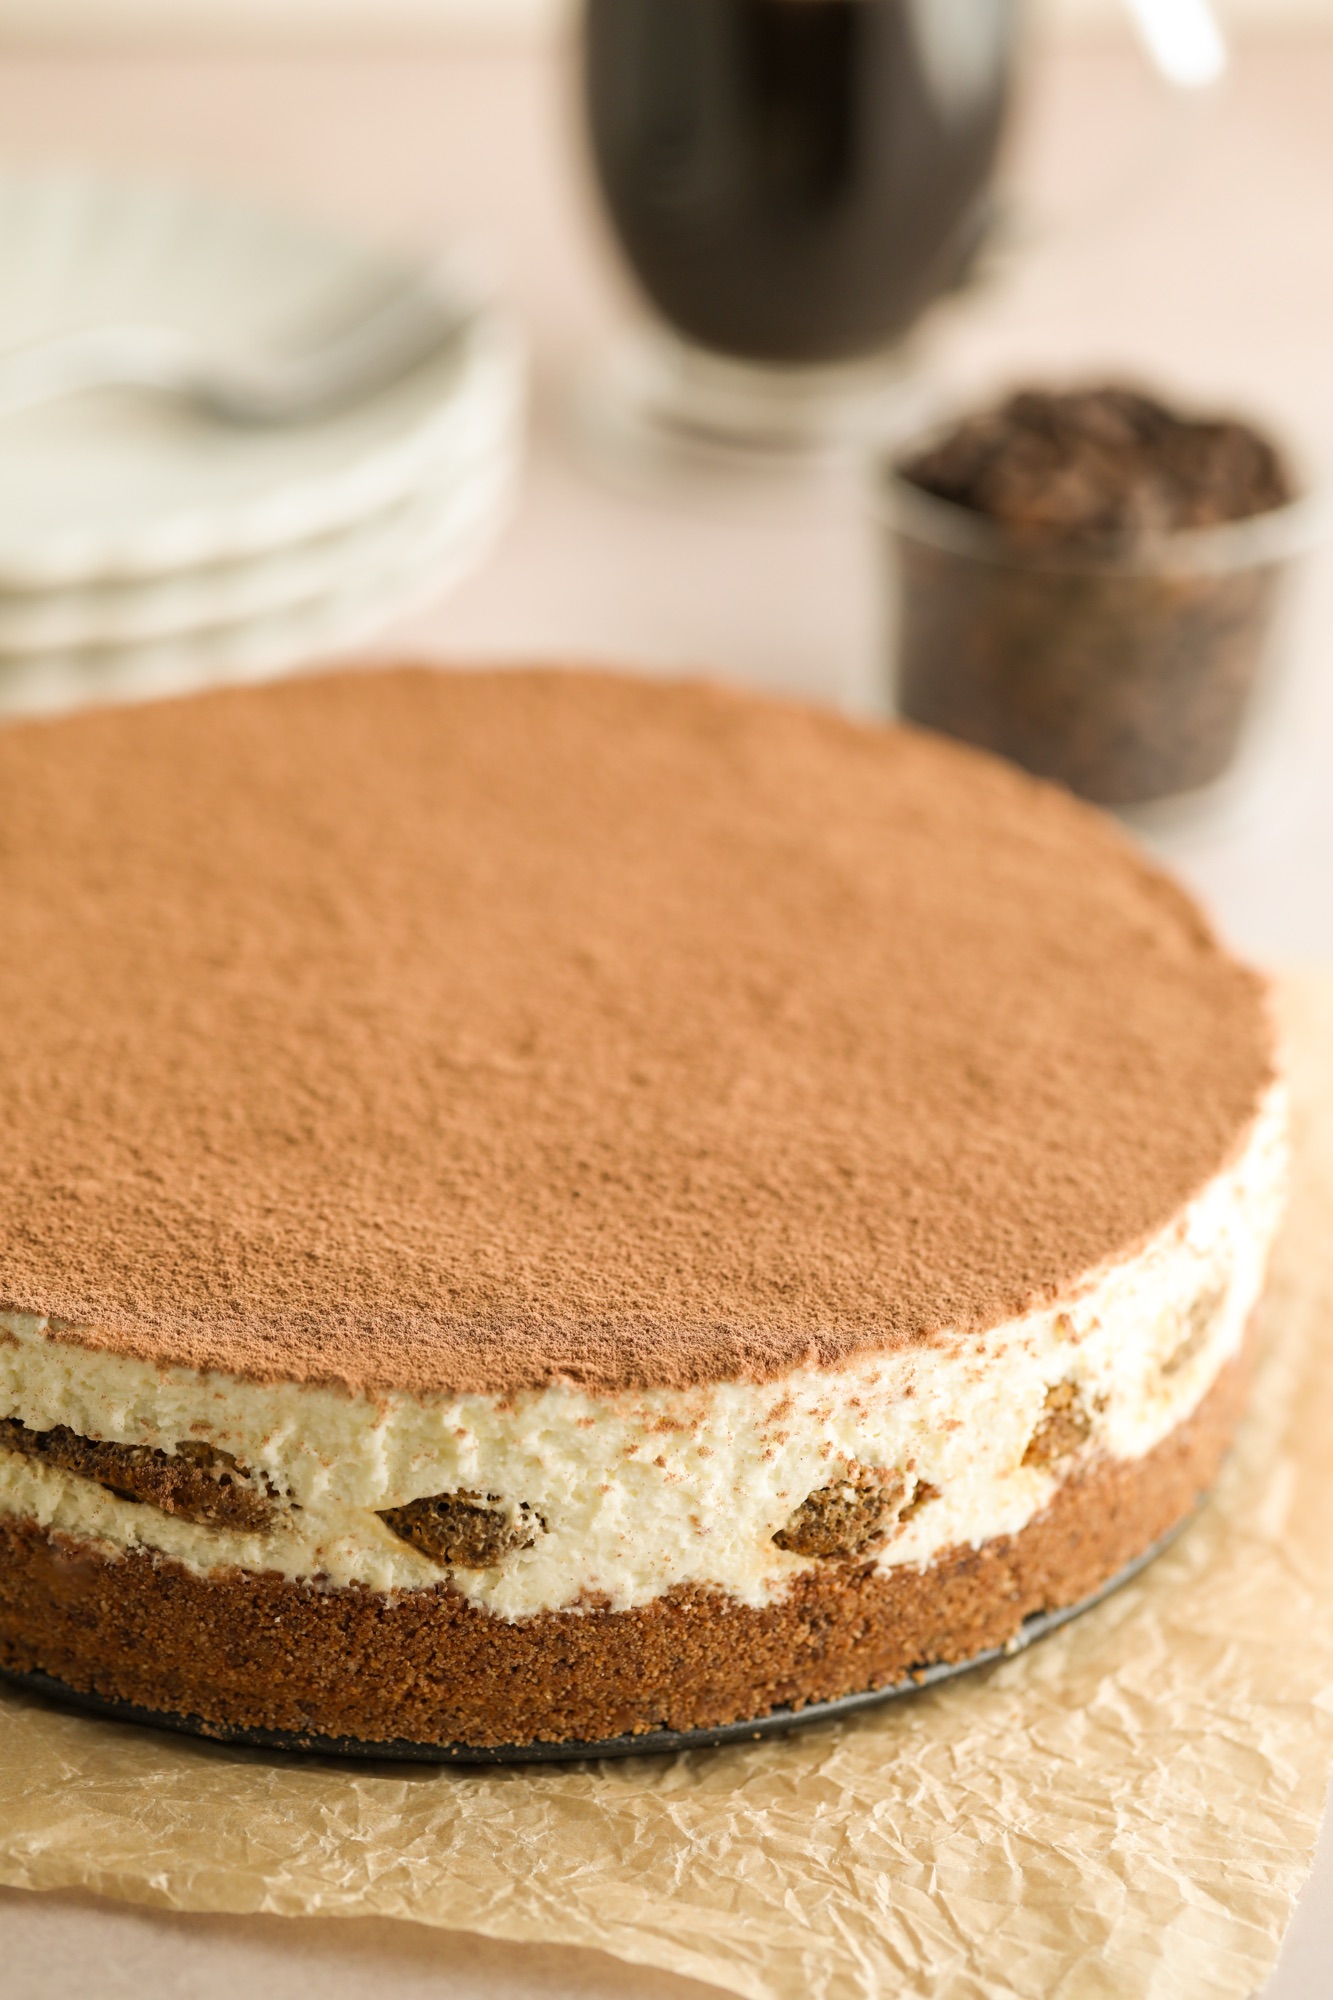
Pipe another layer of filling on top of the ladyfingers and use an offset spatula to level it out again, tapping it on the counter again as well.
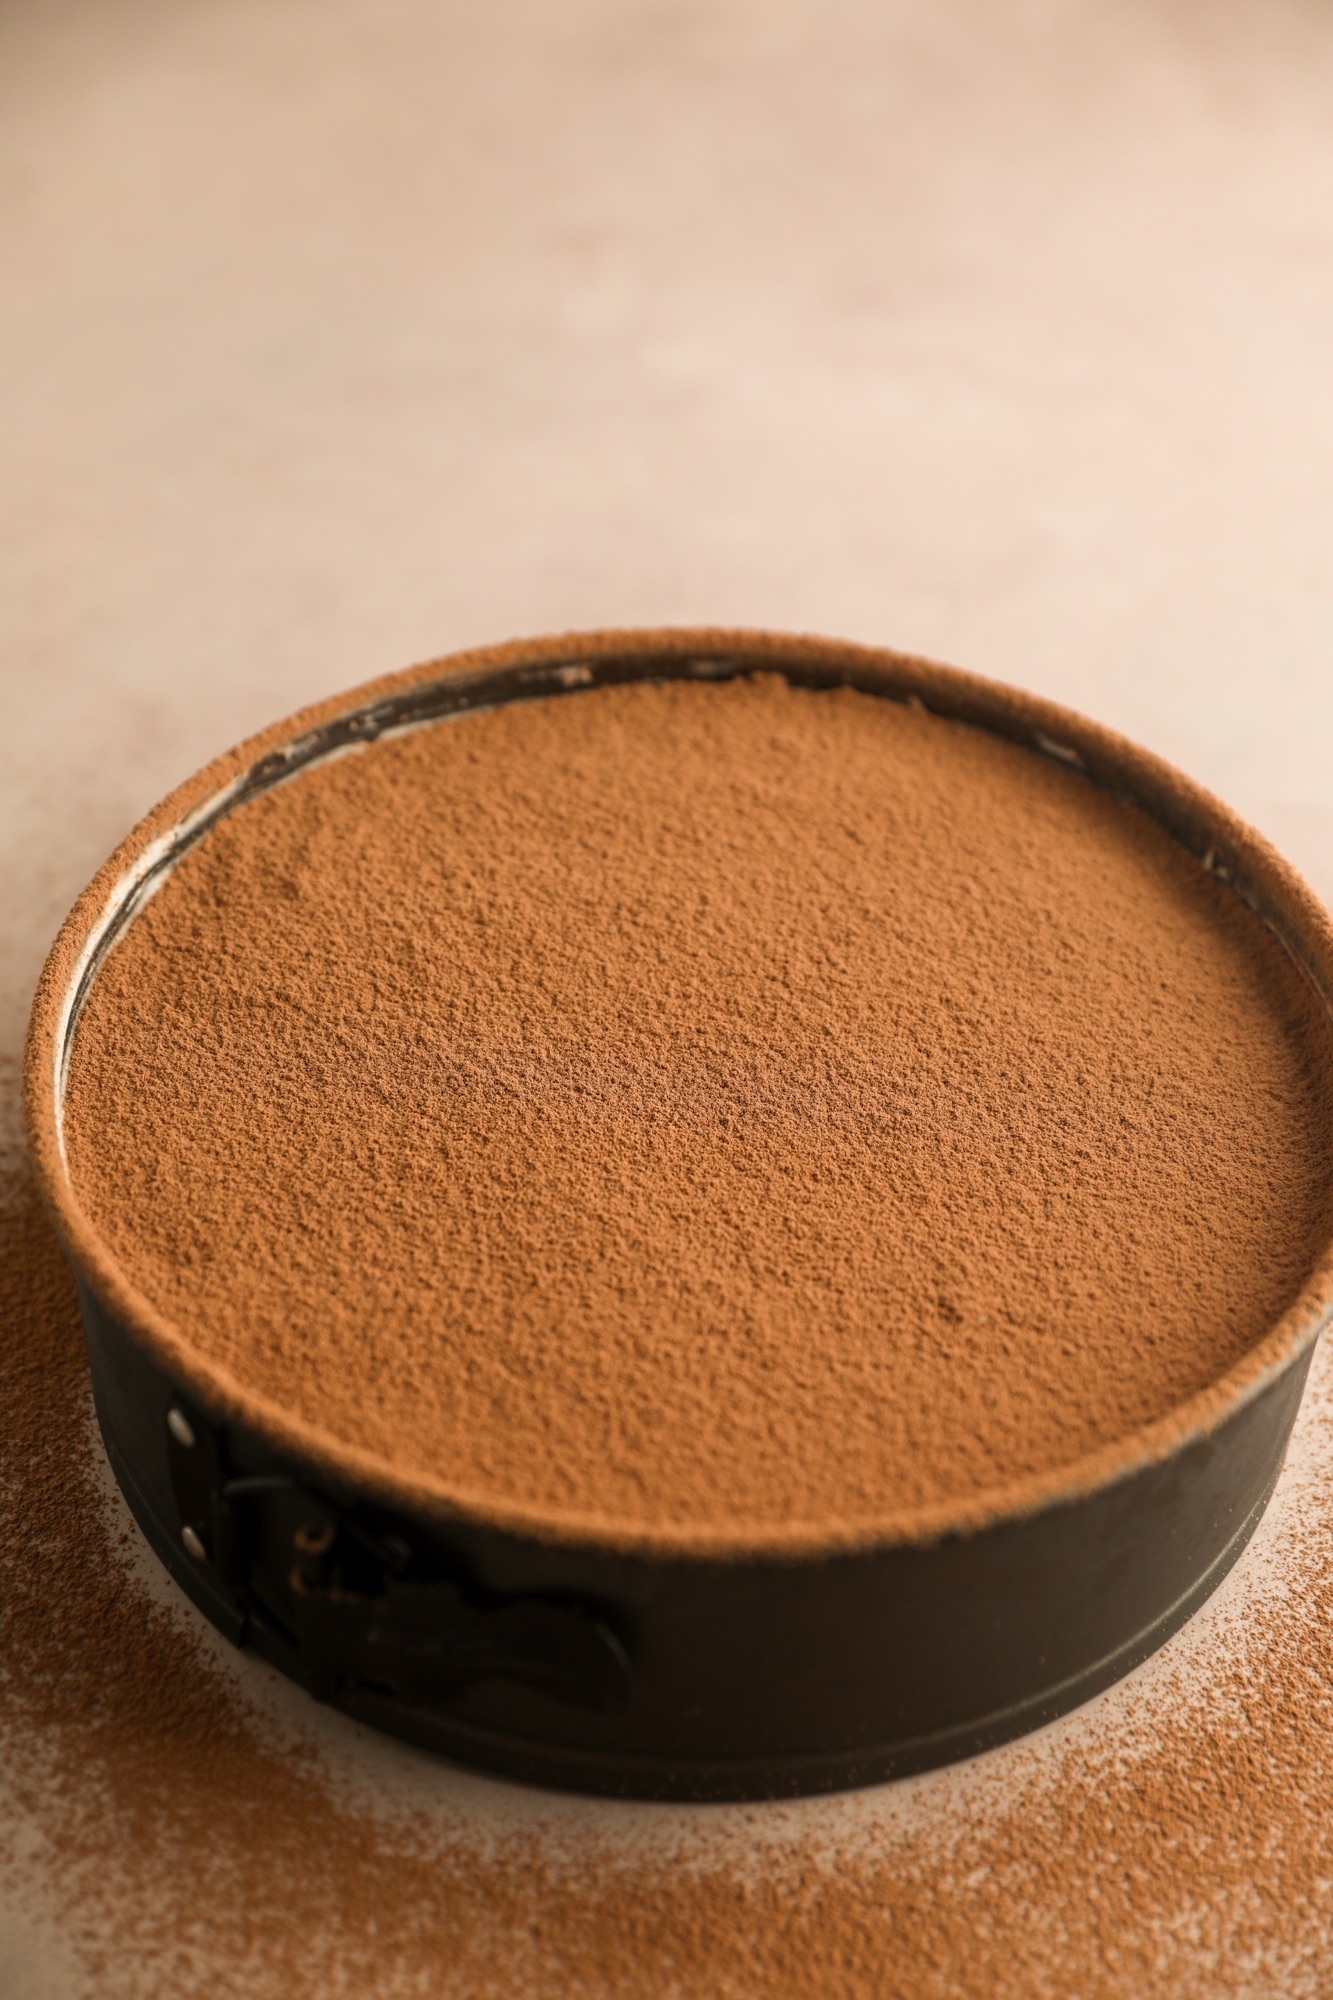
Dust the top with an even layer of cocoa powder. Place the cheesecake in the fridge to chill for 8 hours, if not overnight. I like to let it set slightly before I very carefully cover the pan in plastic wrap, being careful not to touch the top of the cheesecake.
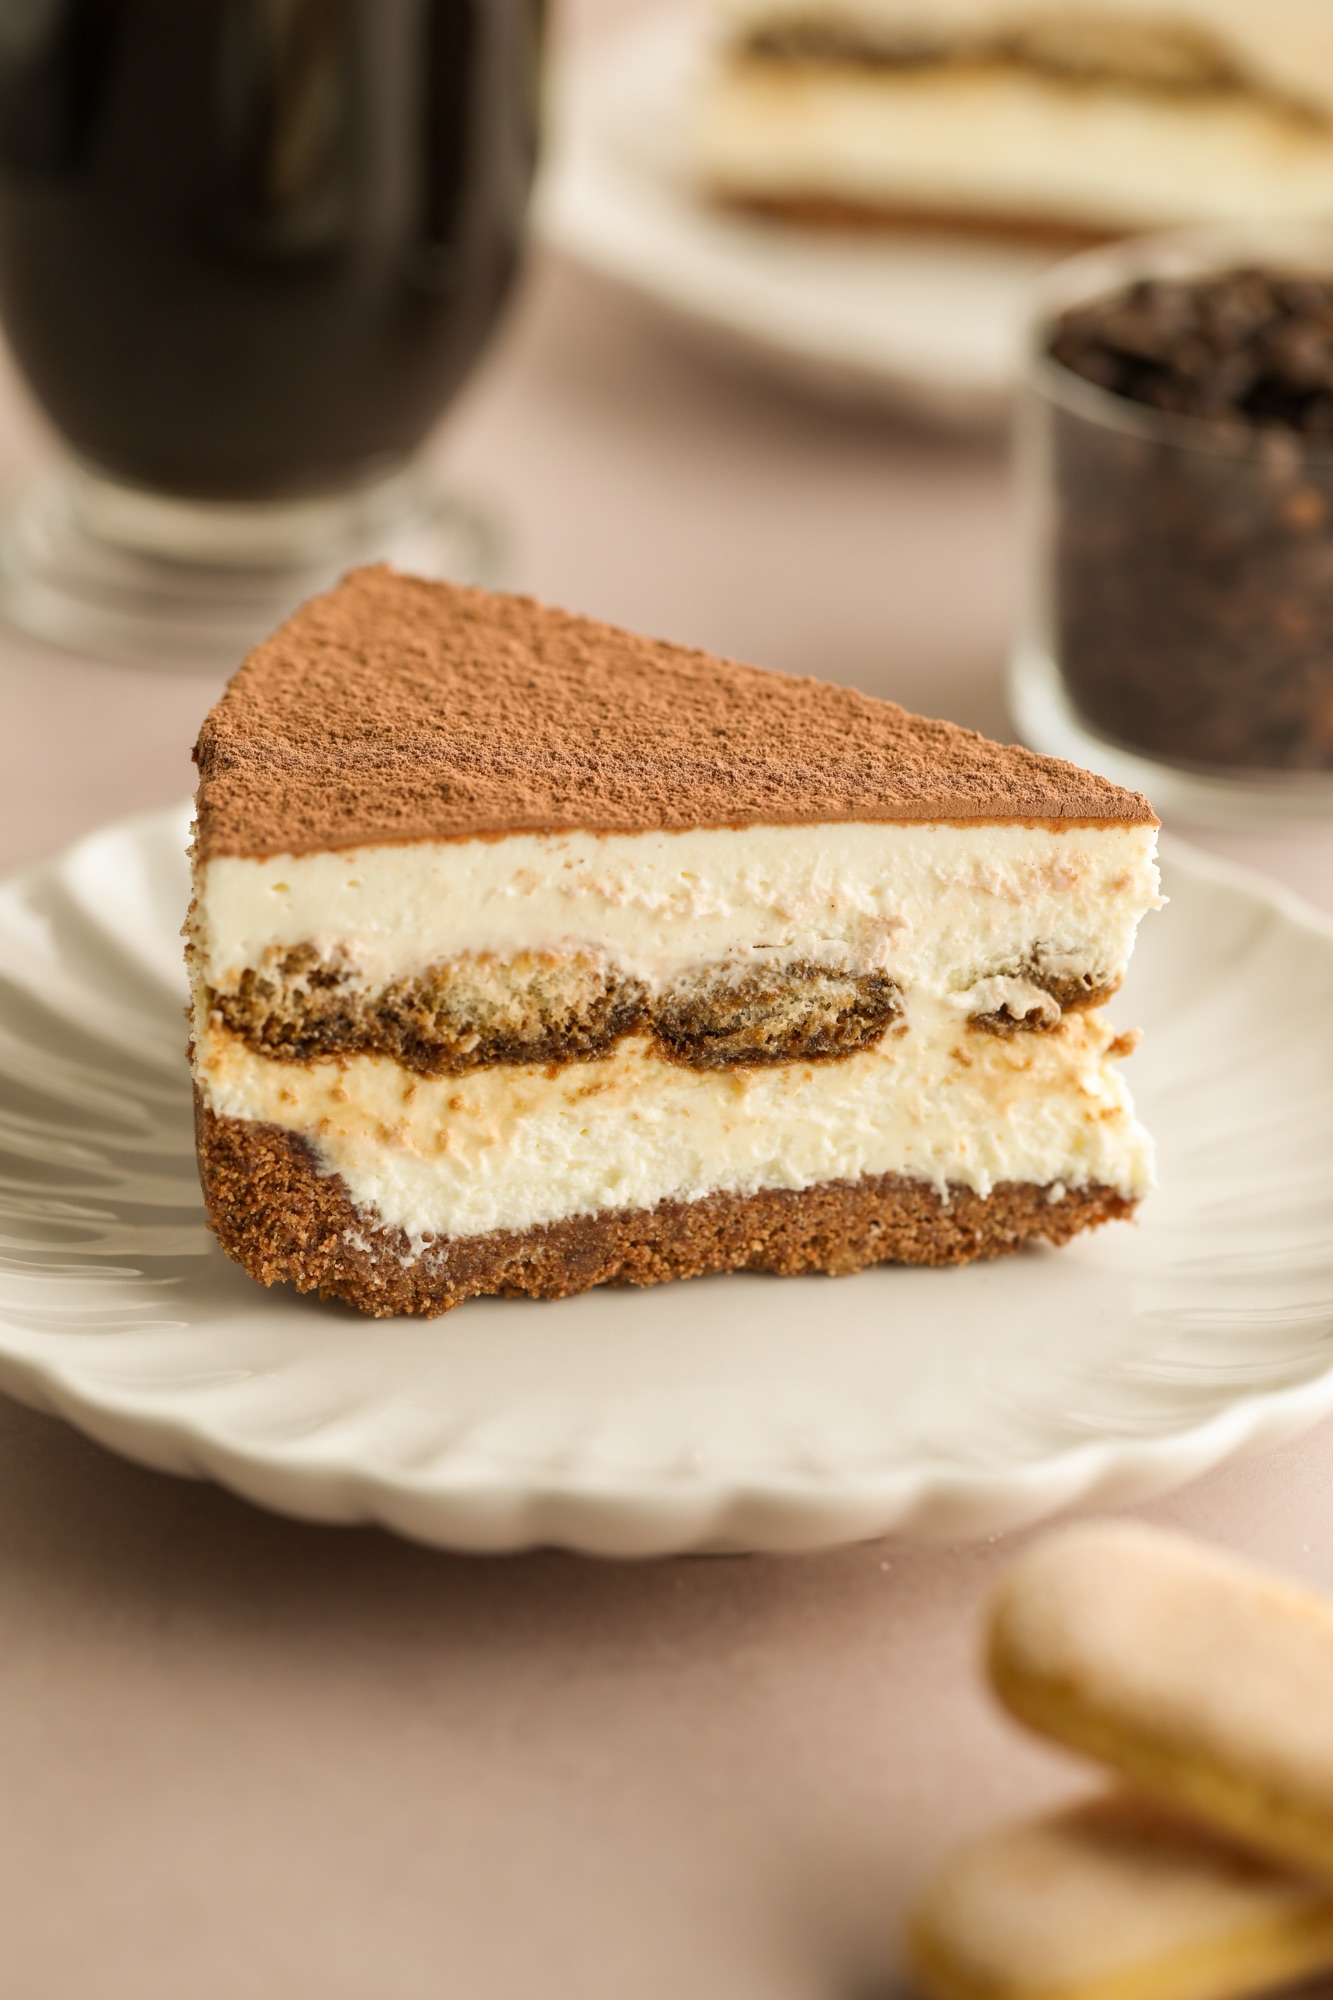
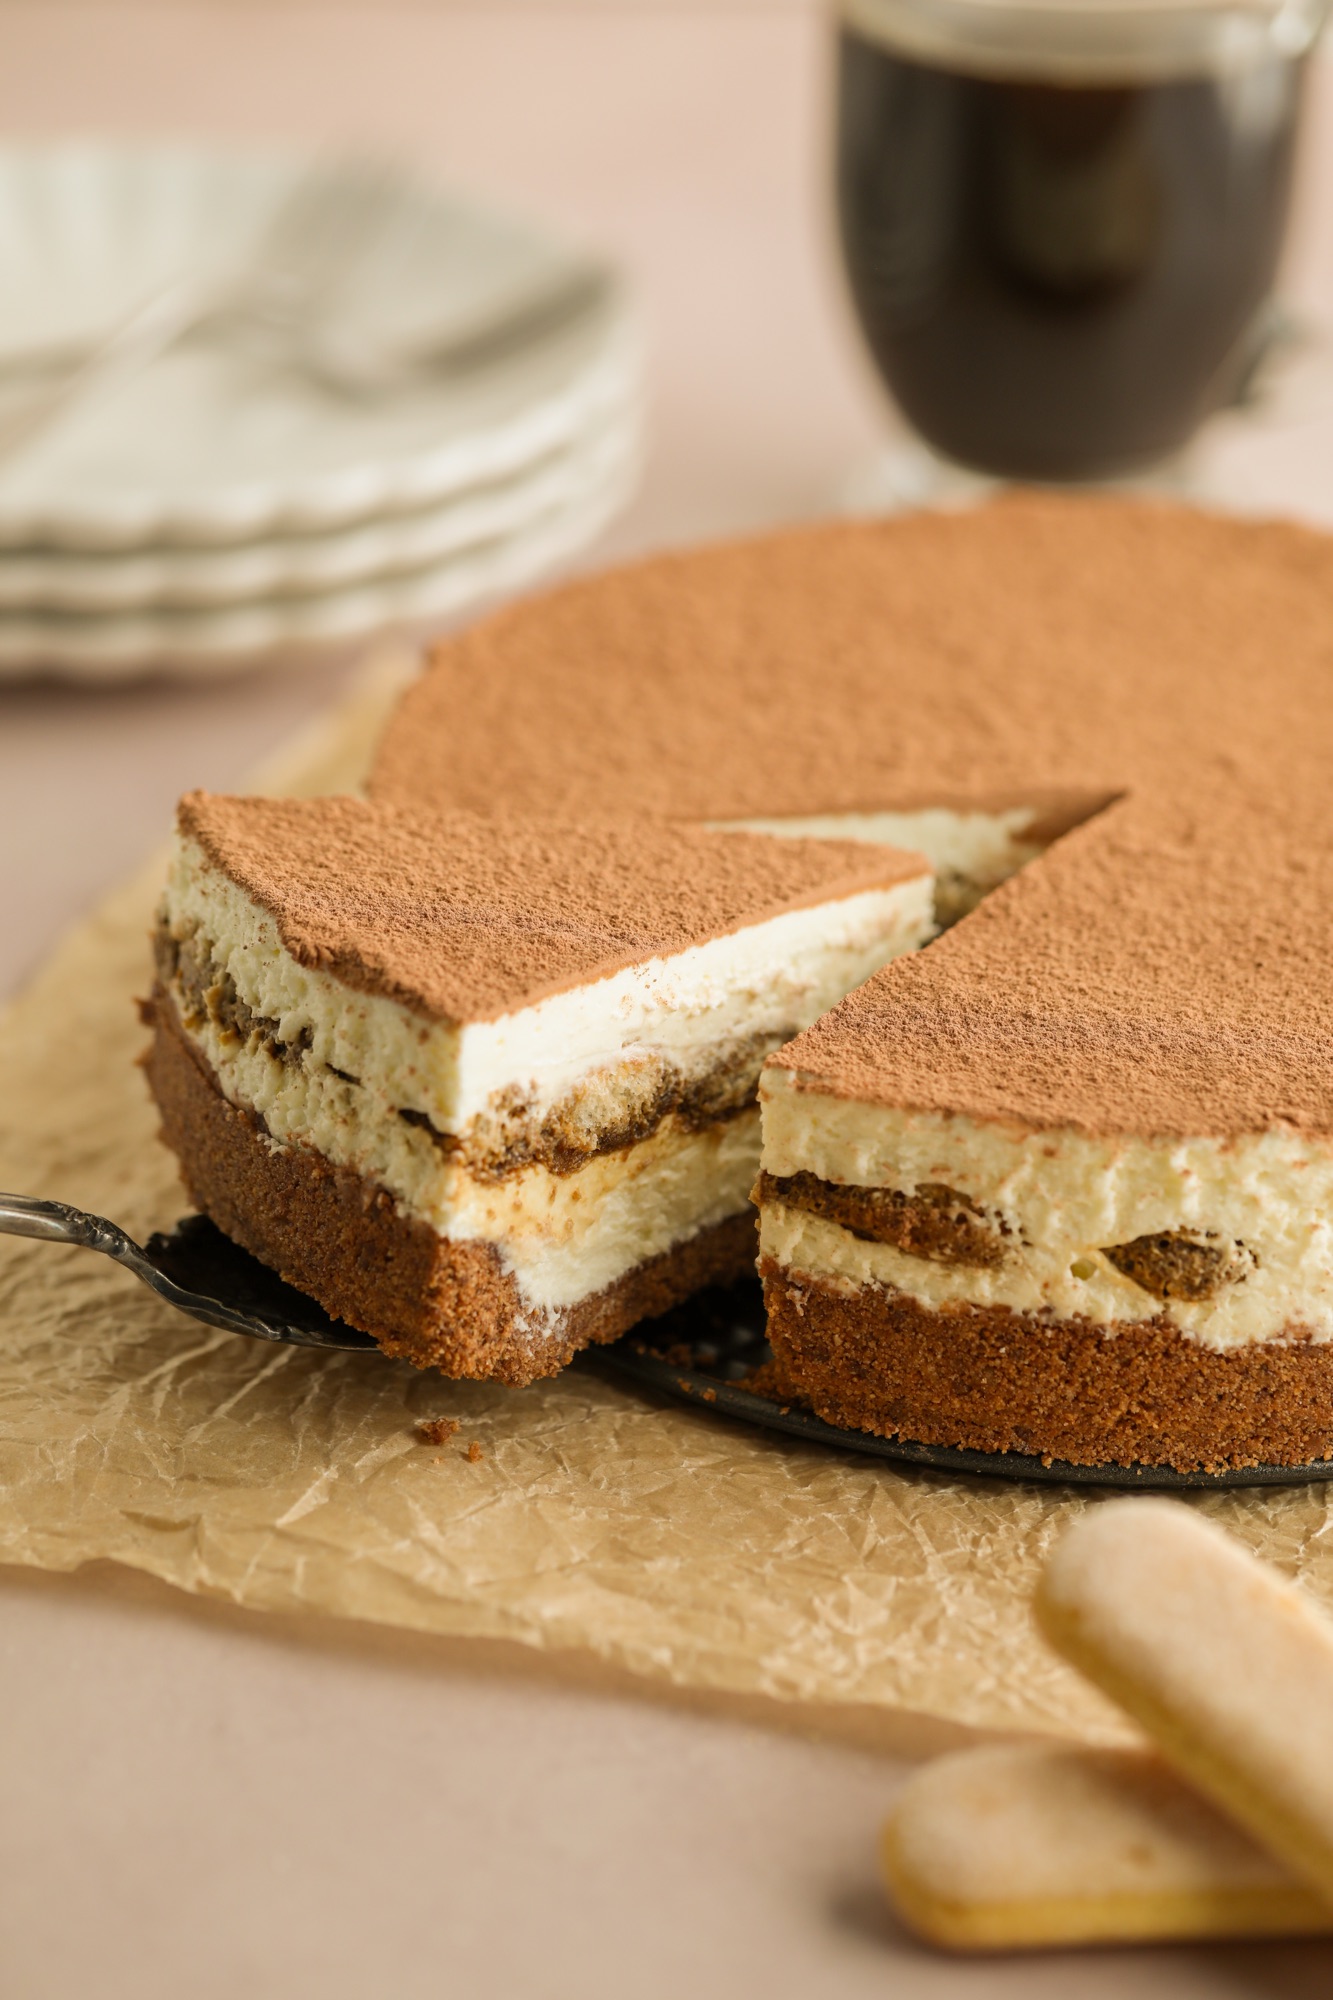
Carefully run a butter knife along the sides of the pan. Place the pan on top of a small jar or cup and gently open the pan, pushing the sides of the pan down off of the base to release it. Slice and serve. Enjoy!
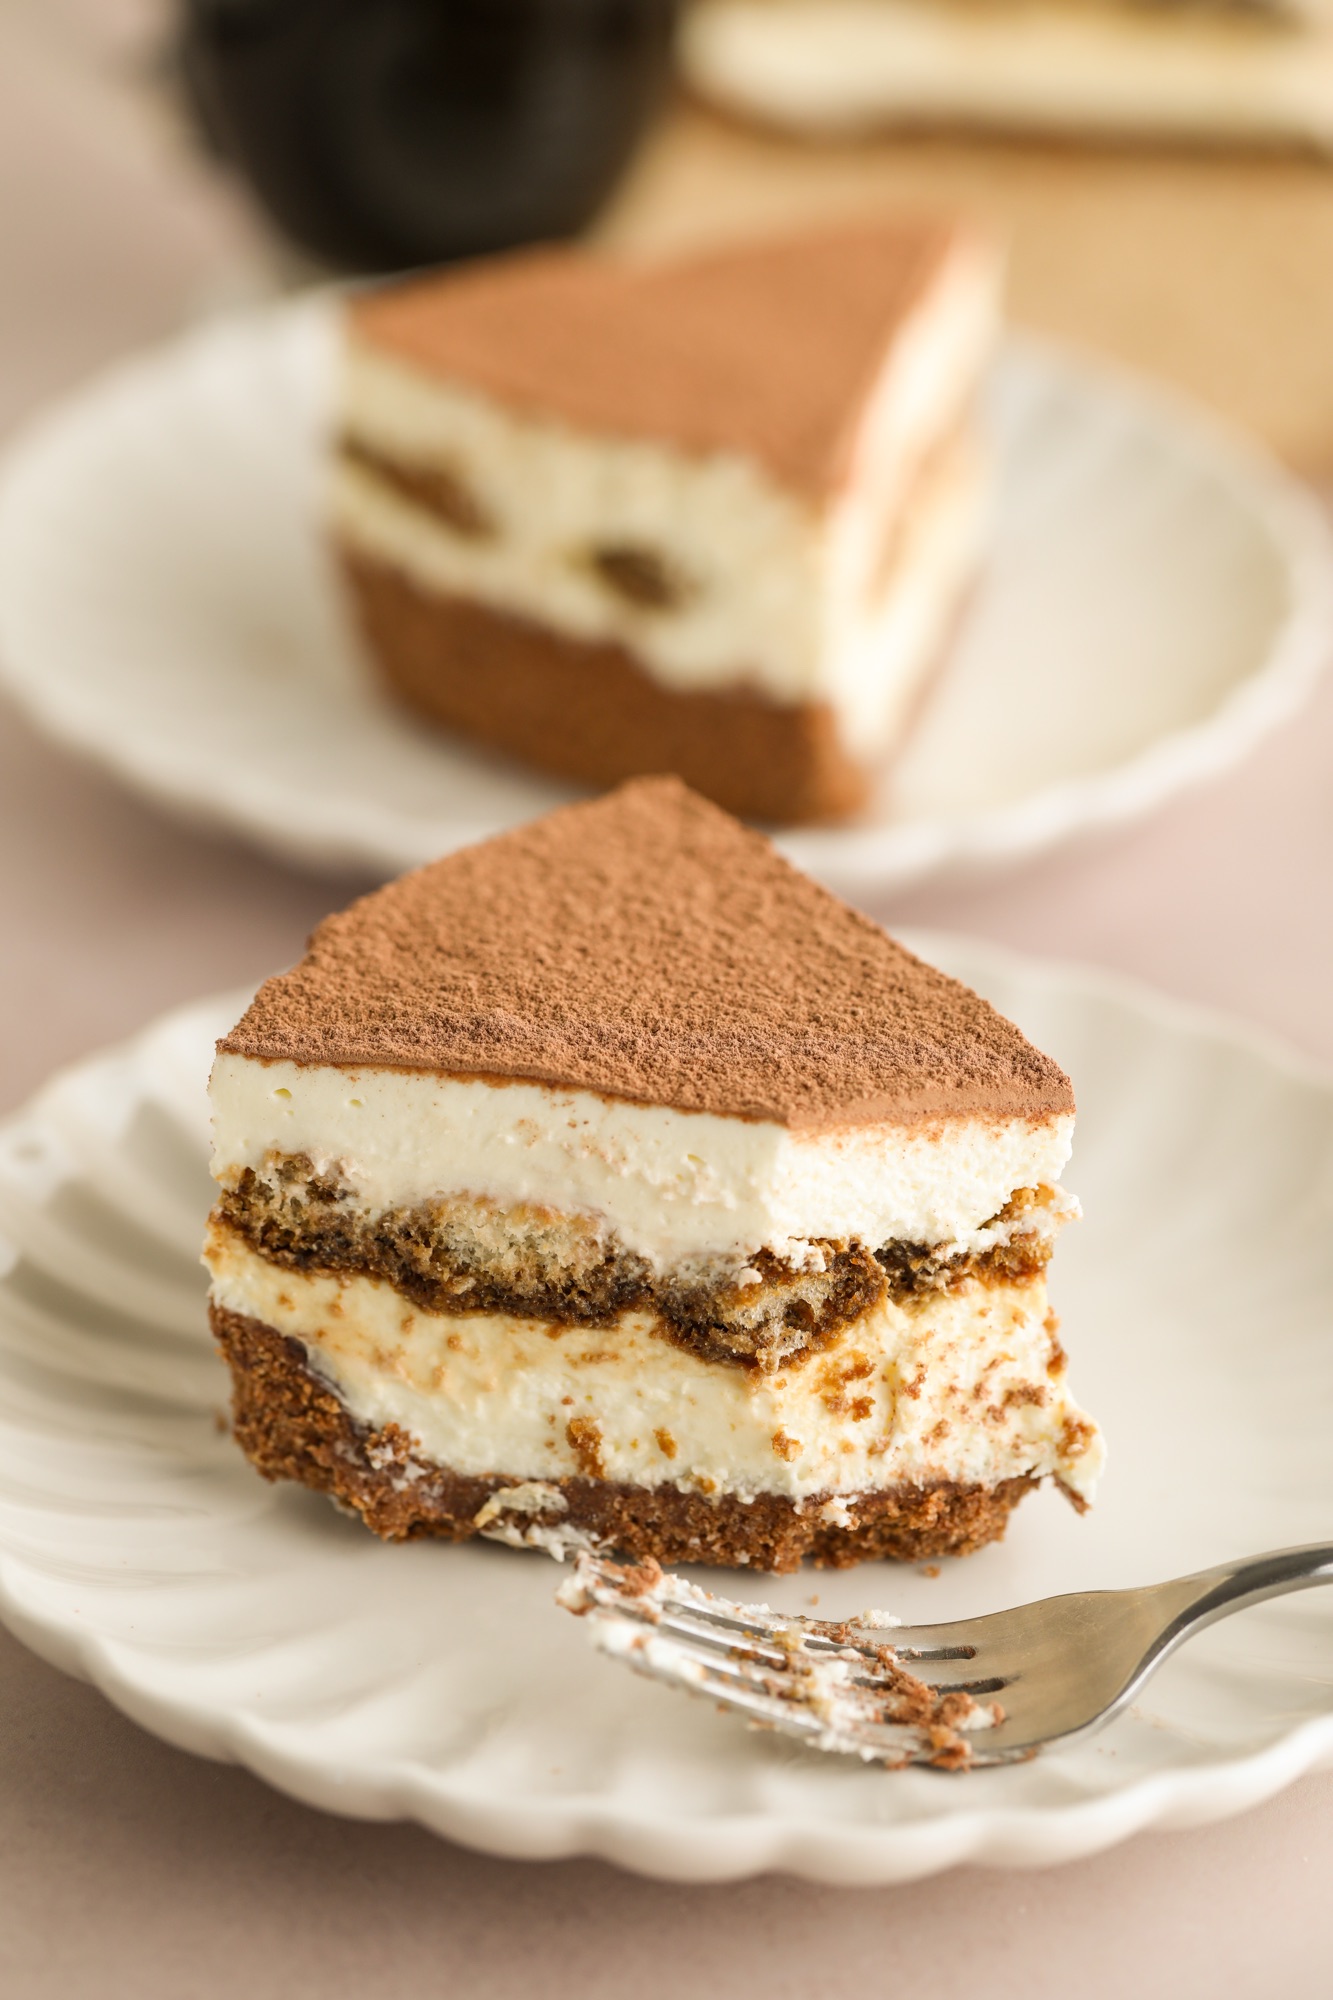
No Bake Tiramisu Cheesecake
This No-Bake Tiramisu Cheesecake combines two classic desserts into one rich and creamy treat! With layers of coffee-soaked ladyfingers, a smooth mascarpone cheesecake filling, and a generous dusting of cocoa powder, every bite is packed with delicious tiramisu flavor.
- Prep Time: 30 minutes
- Chill Time: 8 hours
- Total Time: 8 hours and 30 minutes
- Yield: 8-12 servings
- Category: Dessert
Ingredients
Chocolate Crust
- 275 grams (18 whole) graham crackers
- 21 grams (¼ cup) unsweetened cocoa powder
- 75 grams (6 tbsp) granulated sugar
- 141 grams (10 tbsp) unsalted butter, melted
Filling
- 16 oz cream cheese, softened
- 8 oz mascarpone, cold
- 149 grams (¾ cup) granulated sugar
- 1 tsp vanilla extract
- 227 grams (1 cup) heavy cream
Assembly
- 1 cup hot water
- 2-3 tablespoon espresso powder
- Half a 7 oz package of ladyfingers
Instructions
Chocolate Crust
- Blend graham crackers in a food processor until they are a fine, sandlike consistency. Add in sifted cocoa powder, sugar, and melted butter and blend until the crumbs start to clump together.
- Spray a 9" springform pan with cooking spray and pour in the crumbs. Use a small measuring cup sprayed with cooking spray to carefully press the crumbs down until they cover the bottom of the pan and are compact. Place the pan in the freezer to chill.
Assembly
- Whisk together the hot water and espresso in a small bowl until the espresso has dissolved. Let cool.
Filling
- Use a stand mixer or handheld mixer with a large bowl to beat together the cream cheese, mascarpone, sugar, and vanilla on high speed for 2 minutes. Scrape down the sides of the bowl.
- In a separate bowl, whip the heavy cream on medium-high speed until stiff peaks form.
- Gently fold the whipped cream into the cream cheese mixture until it is fully combined. Be careful not to overmix.
- Transfer the filling to a piping bag. Pipe half of the filling onto the crust in a flat, level layer. Level with an offset spatula. Tap the pan on the counter a few times to remove air bubbles.
- Quickly dip each lady finger in the espresso mixture, one at a time, briefly letting any excess drip off before adding them in an even layer on top of the filling. You'll need to cut some to fit in smaller spots.
- Pipe another layer of filling on top of the ladyfingers and use an offset spatula to level it out again, tapping it on the counter again as well.
- Dust the top with an even layer of cocoa powder.
- Place the cheesecake in the fridge to chill for 8 hours, if not overnight. I like to let it set slightly before I very carefully cover the pan in plastic wrap, being careful not to touch the top of the cheesecake.
- Carefully run a butter knife along the sides of the pan. Place the pan on top of a small jar or cup and gently open the pan, pushing the sides of the pan down off of the base to release it. Slice and serve. Enjoy!
Notes
Cheesecake can be kept in an airtight plastic container or plastic wrap in the fridge for up to 5-7 days.



You must be logged in to post a comment.