
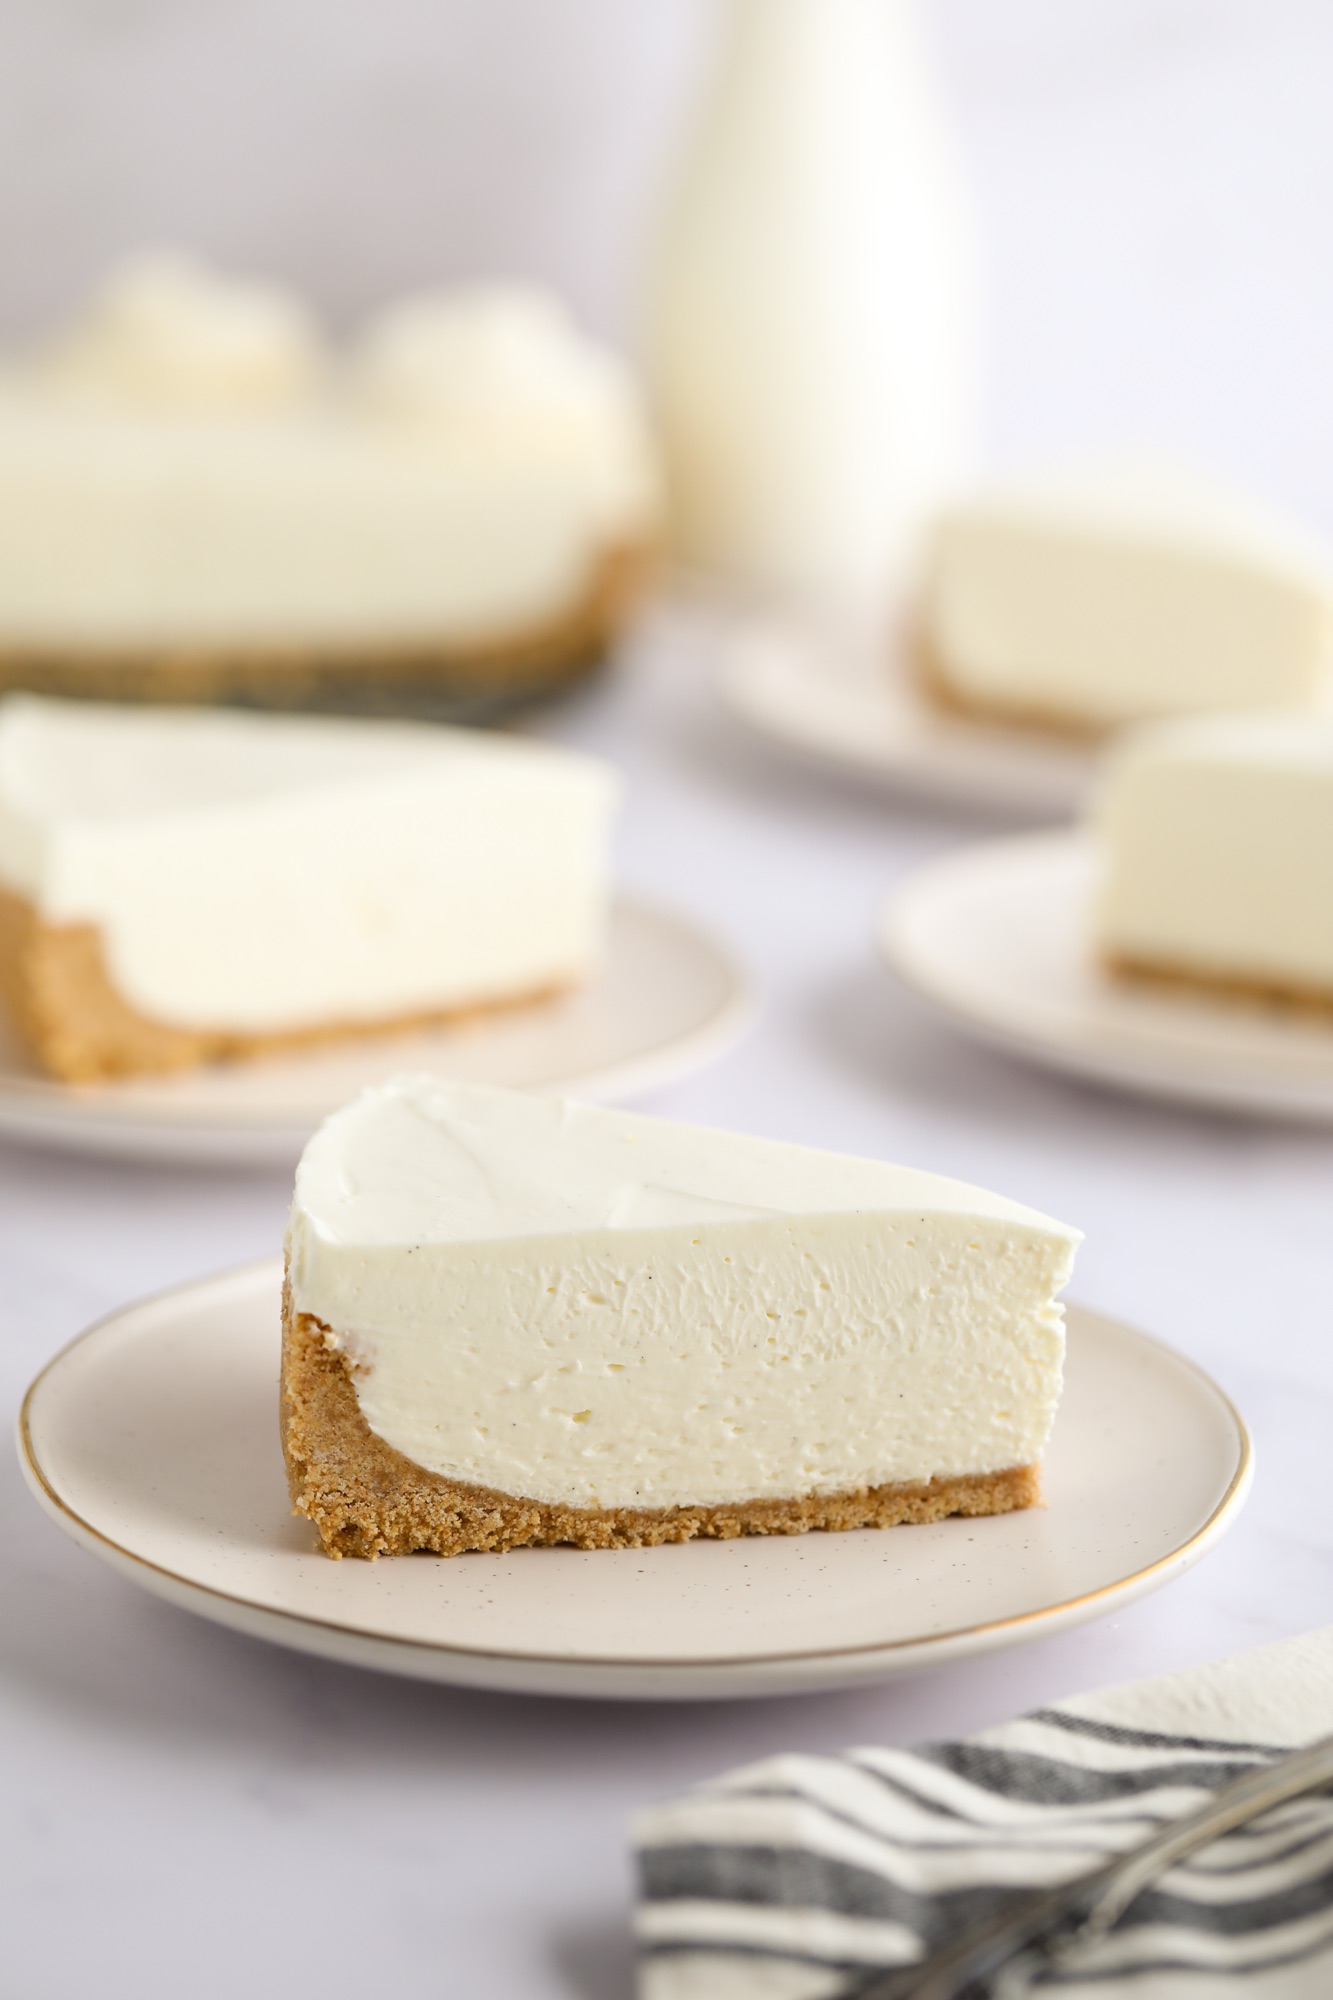
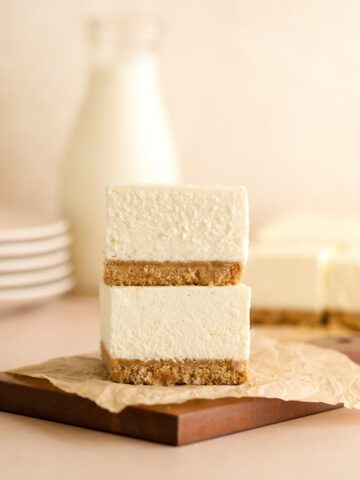
This No Bake Cheesecake is rich and creamy with the most delicious cream cheese filling and buttery crust. It's lighter than a baked cheesecake and it's chilled to the perfect texture. Every bite easily leaves you wanting more.
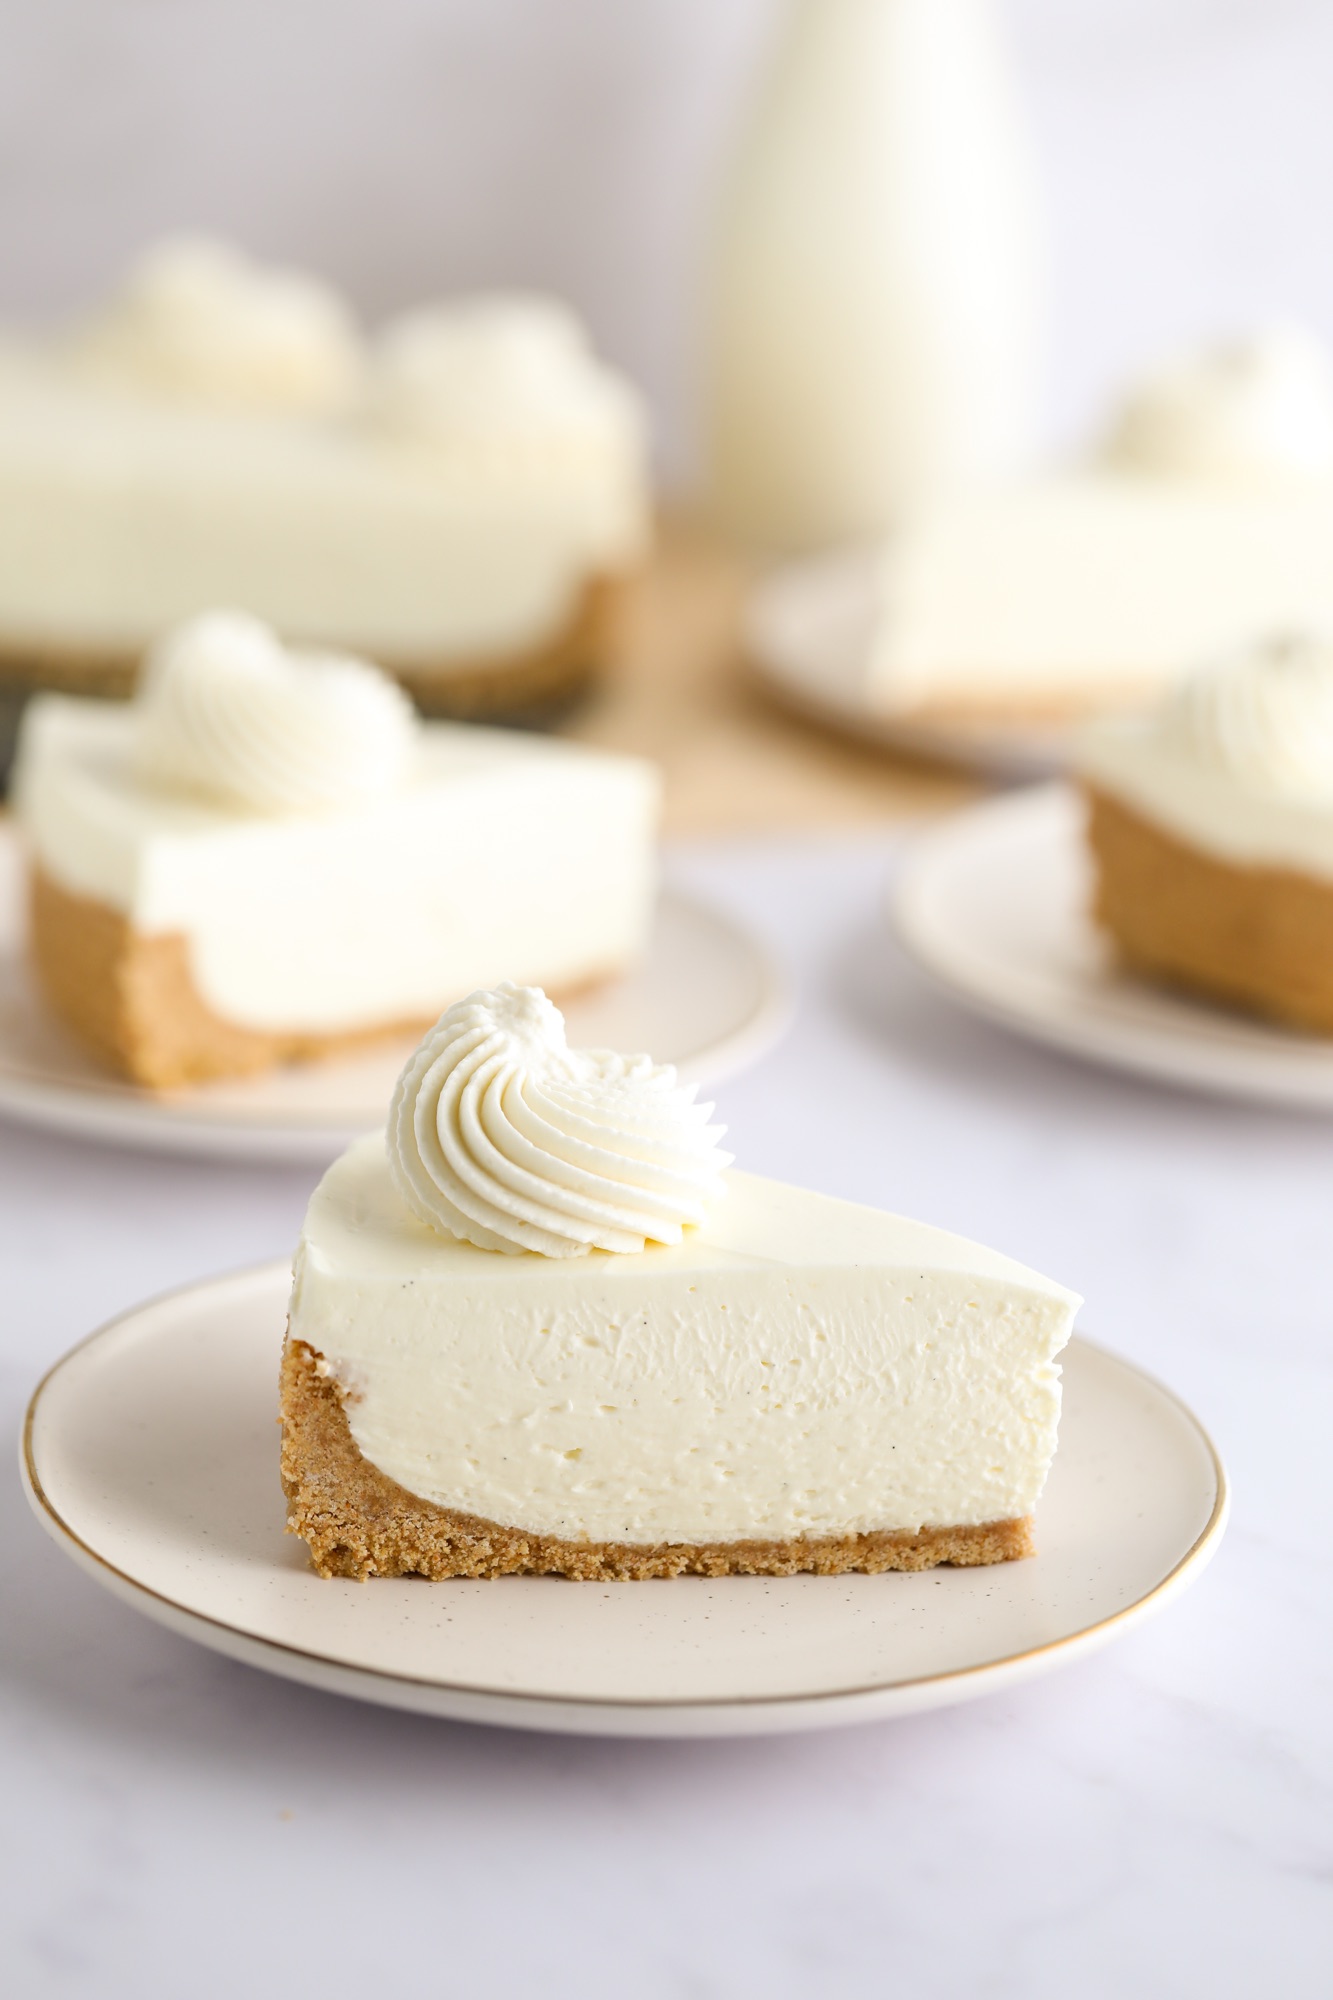
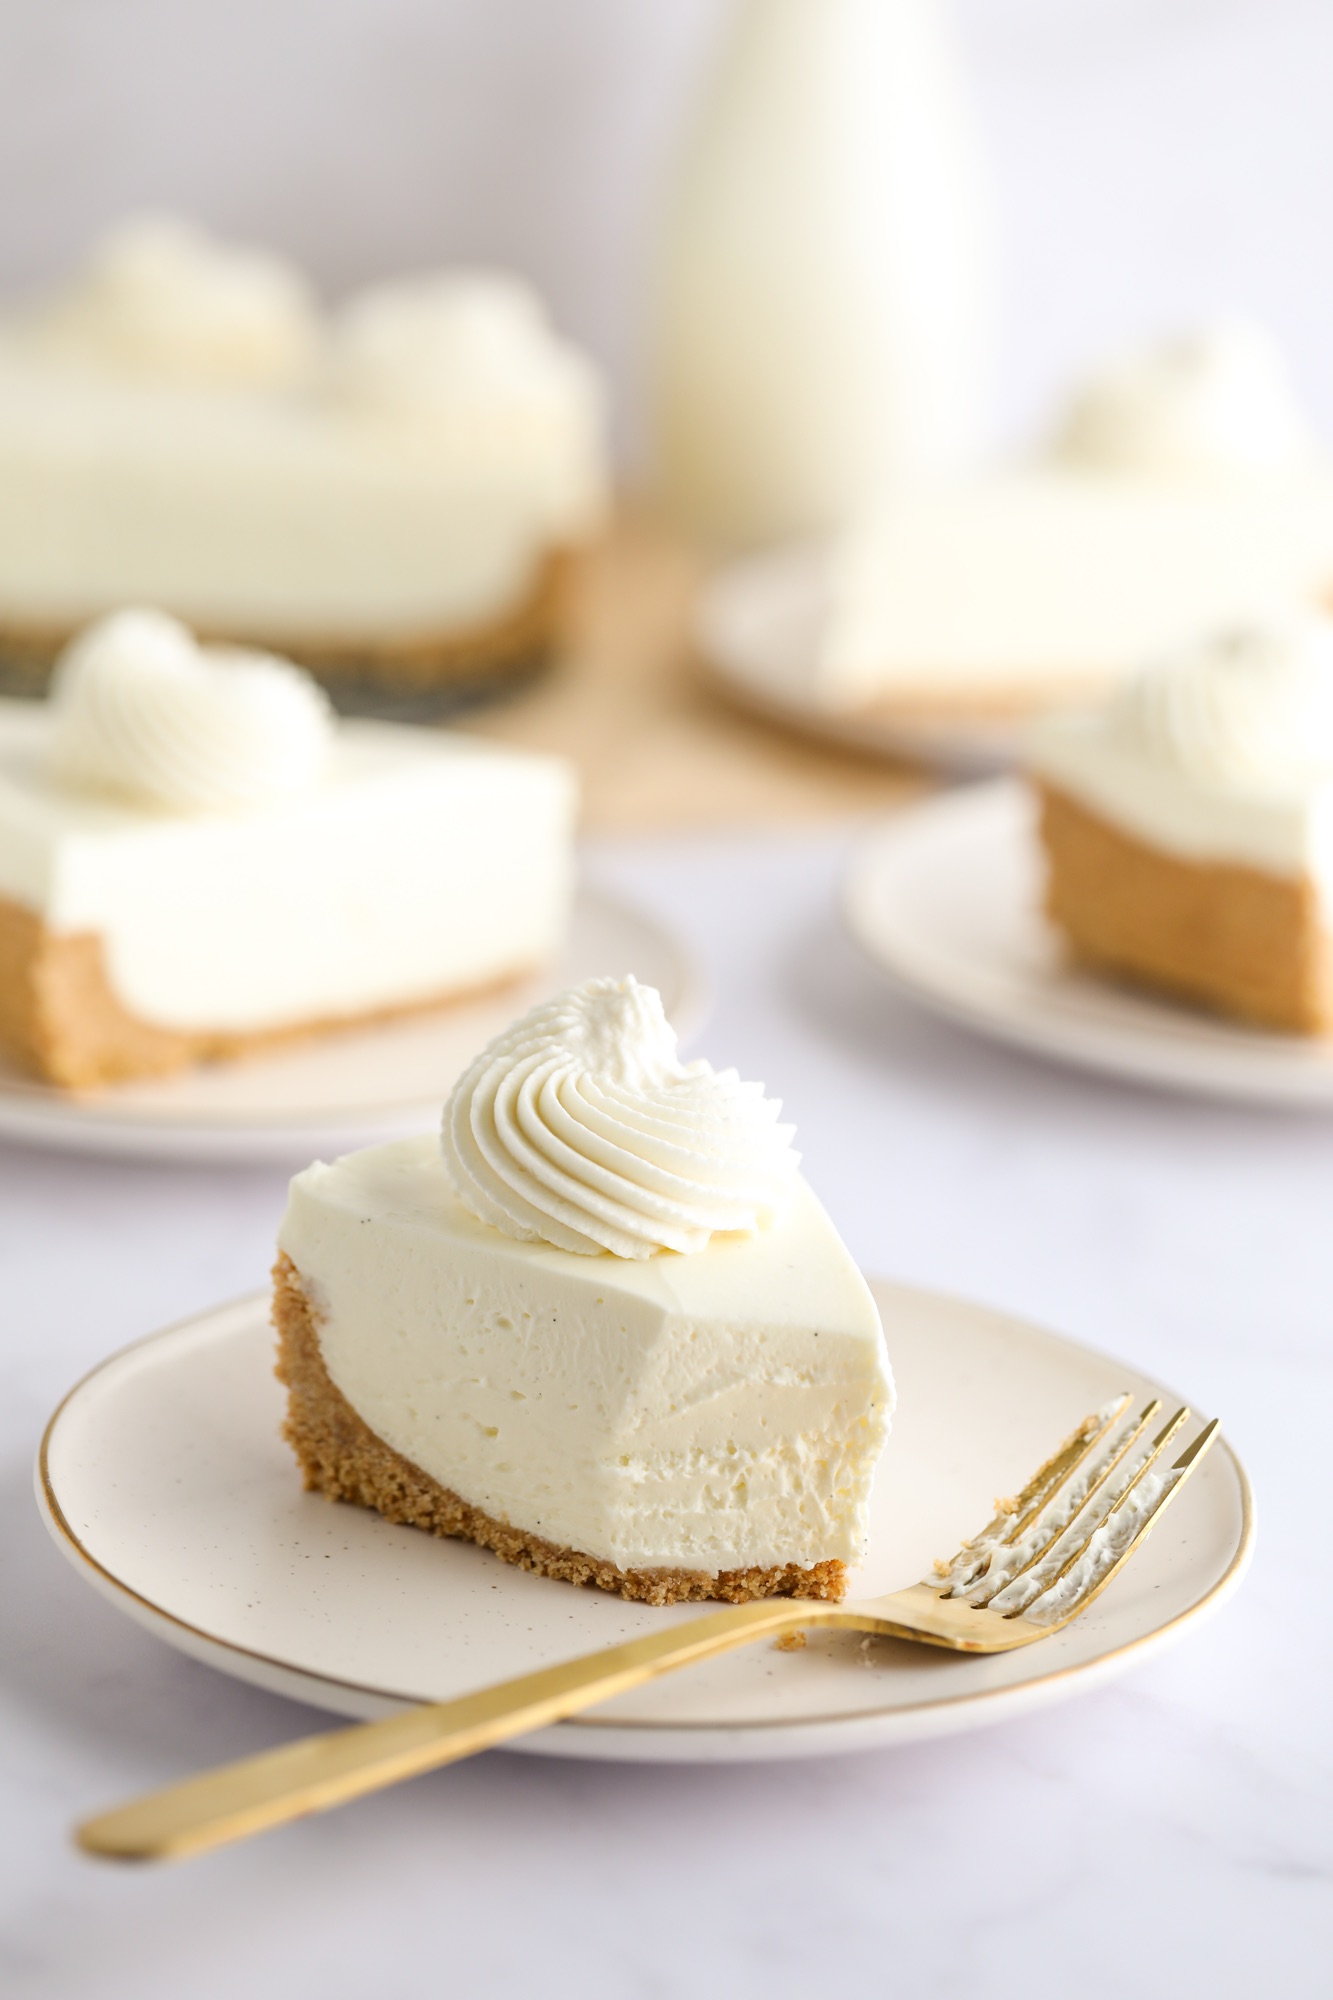
This cheesecake is made in a 9" springform pan. The crust is easy to make and comes together quickly. It chills while you make the filling and then the whole cheesecake chills for at least 8 hours, if not overnight, before being topped with whipped cream and served.
A FEW NOTES BEFORE WE GET STARTED
- Room Temperature Ingredients:
- Cream Cheese: It’s important that the cream cheese is softened. Make sure to leave it out before you start baking so it has time to soften.
- Measuring Your Ingredients:
- I strongly encourage that you use a kitchen scale to measure your ingredients and ensure that you have the most accurate measurements possible.
- However, if you don’t have a scale on hand and will be using cup measurements, make sure to use the “spoon and sweep” method when measuring to avoid packing in too much of any dry ingredient.
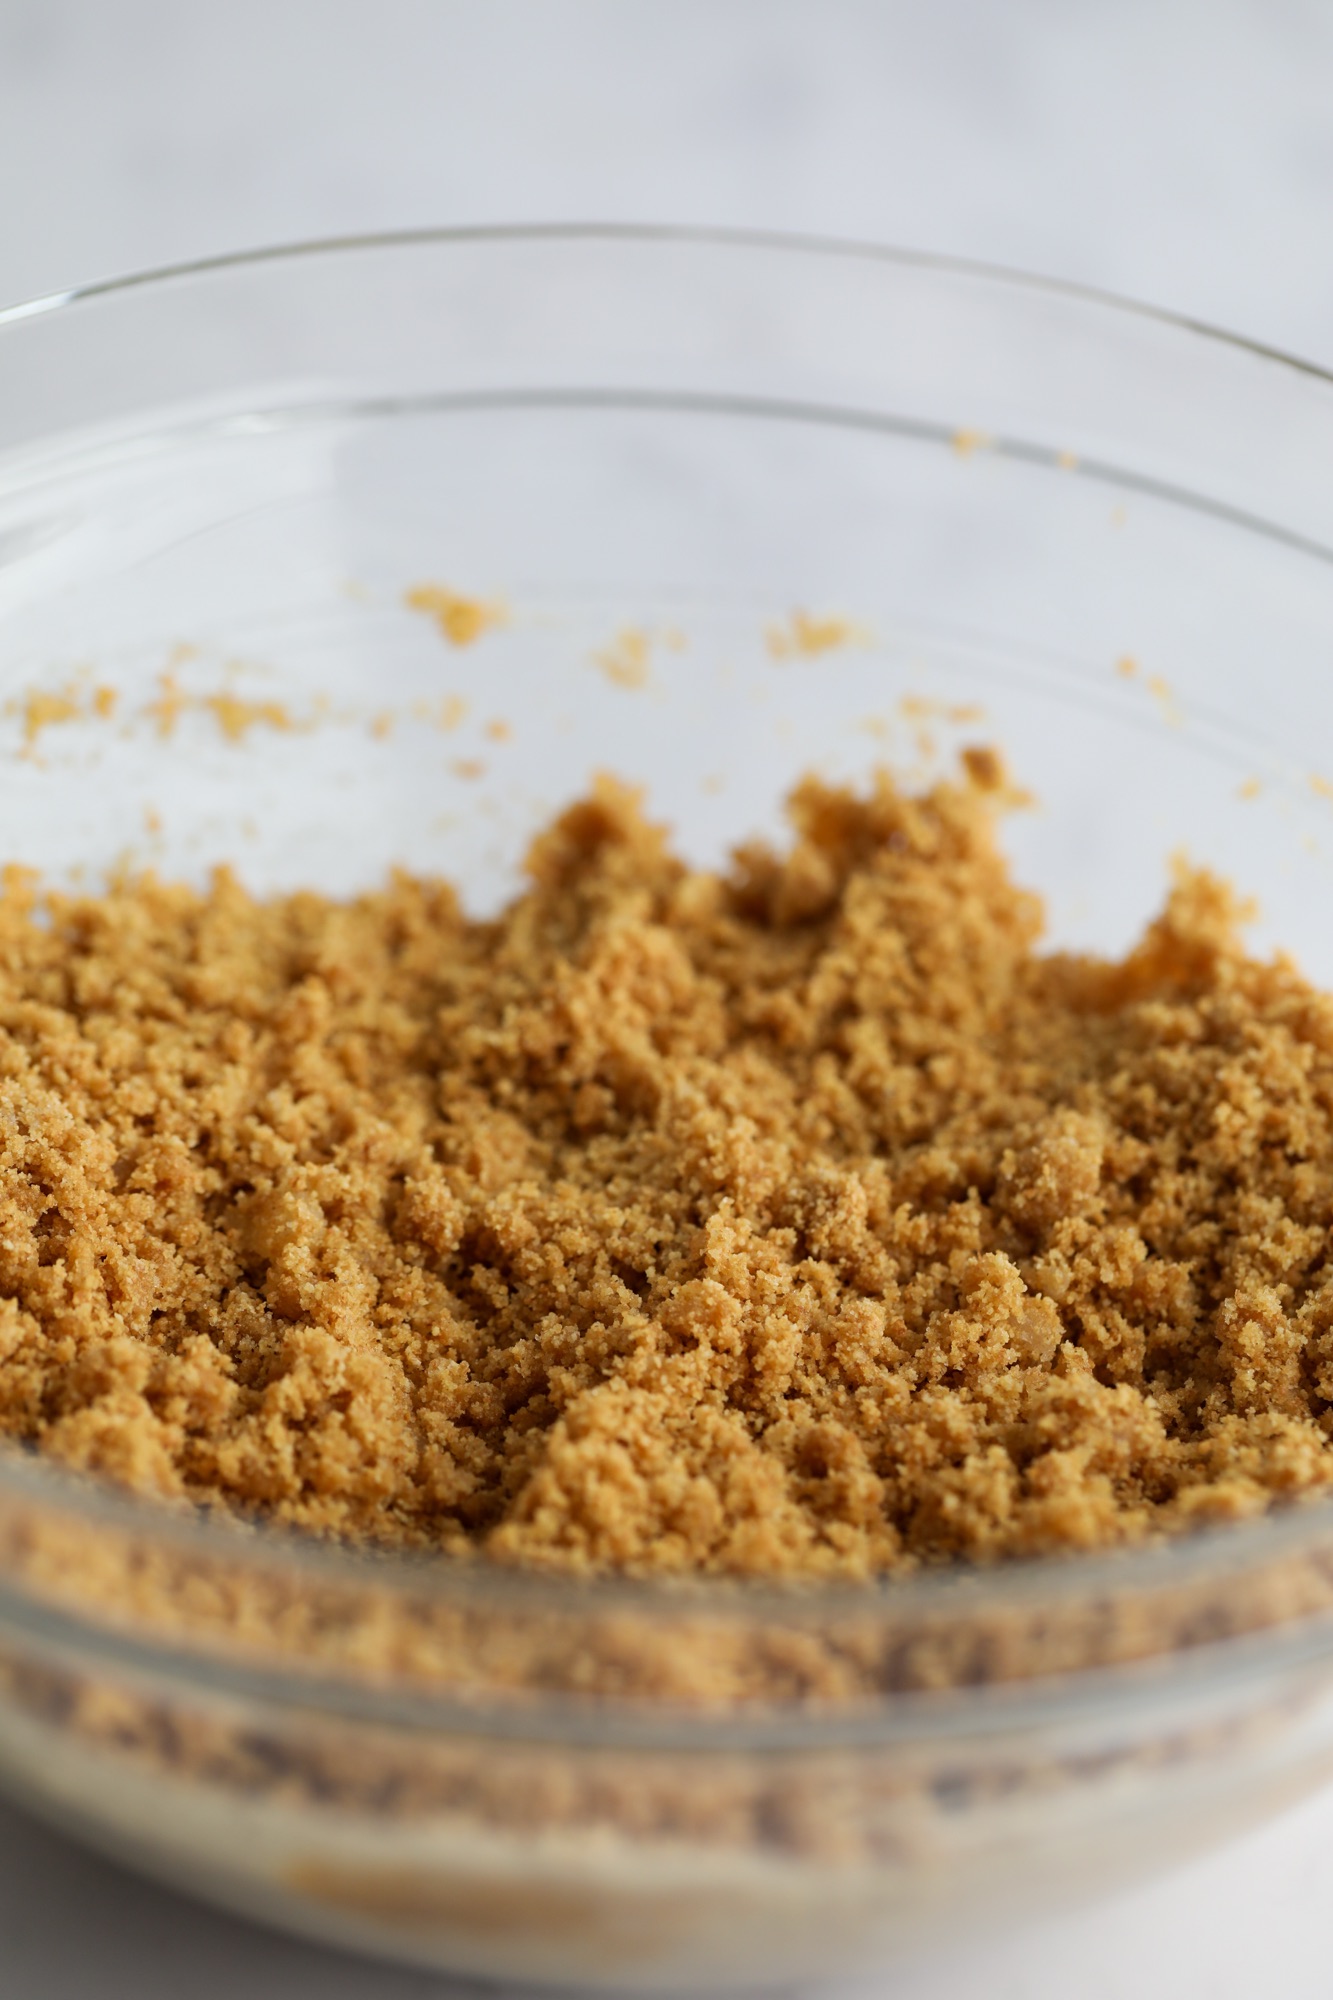
Blend graham crackers in a food processor until they are a fine, sandlike consistency. Add in melted butter and sugar and blend until the crumbs start to clump together.
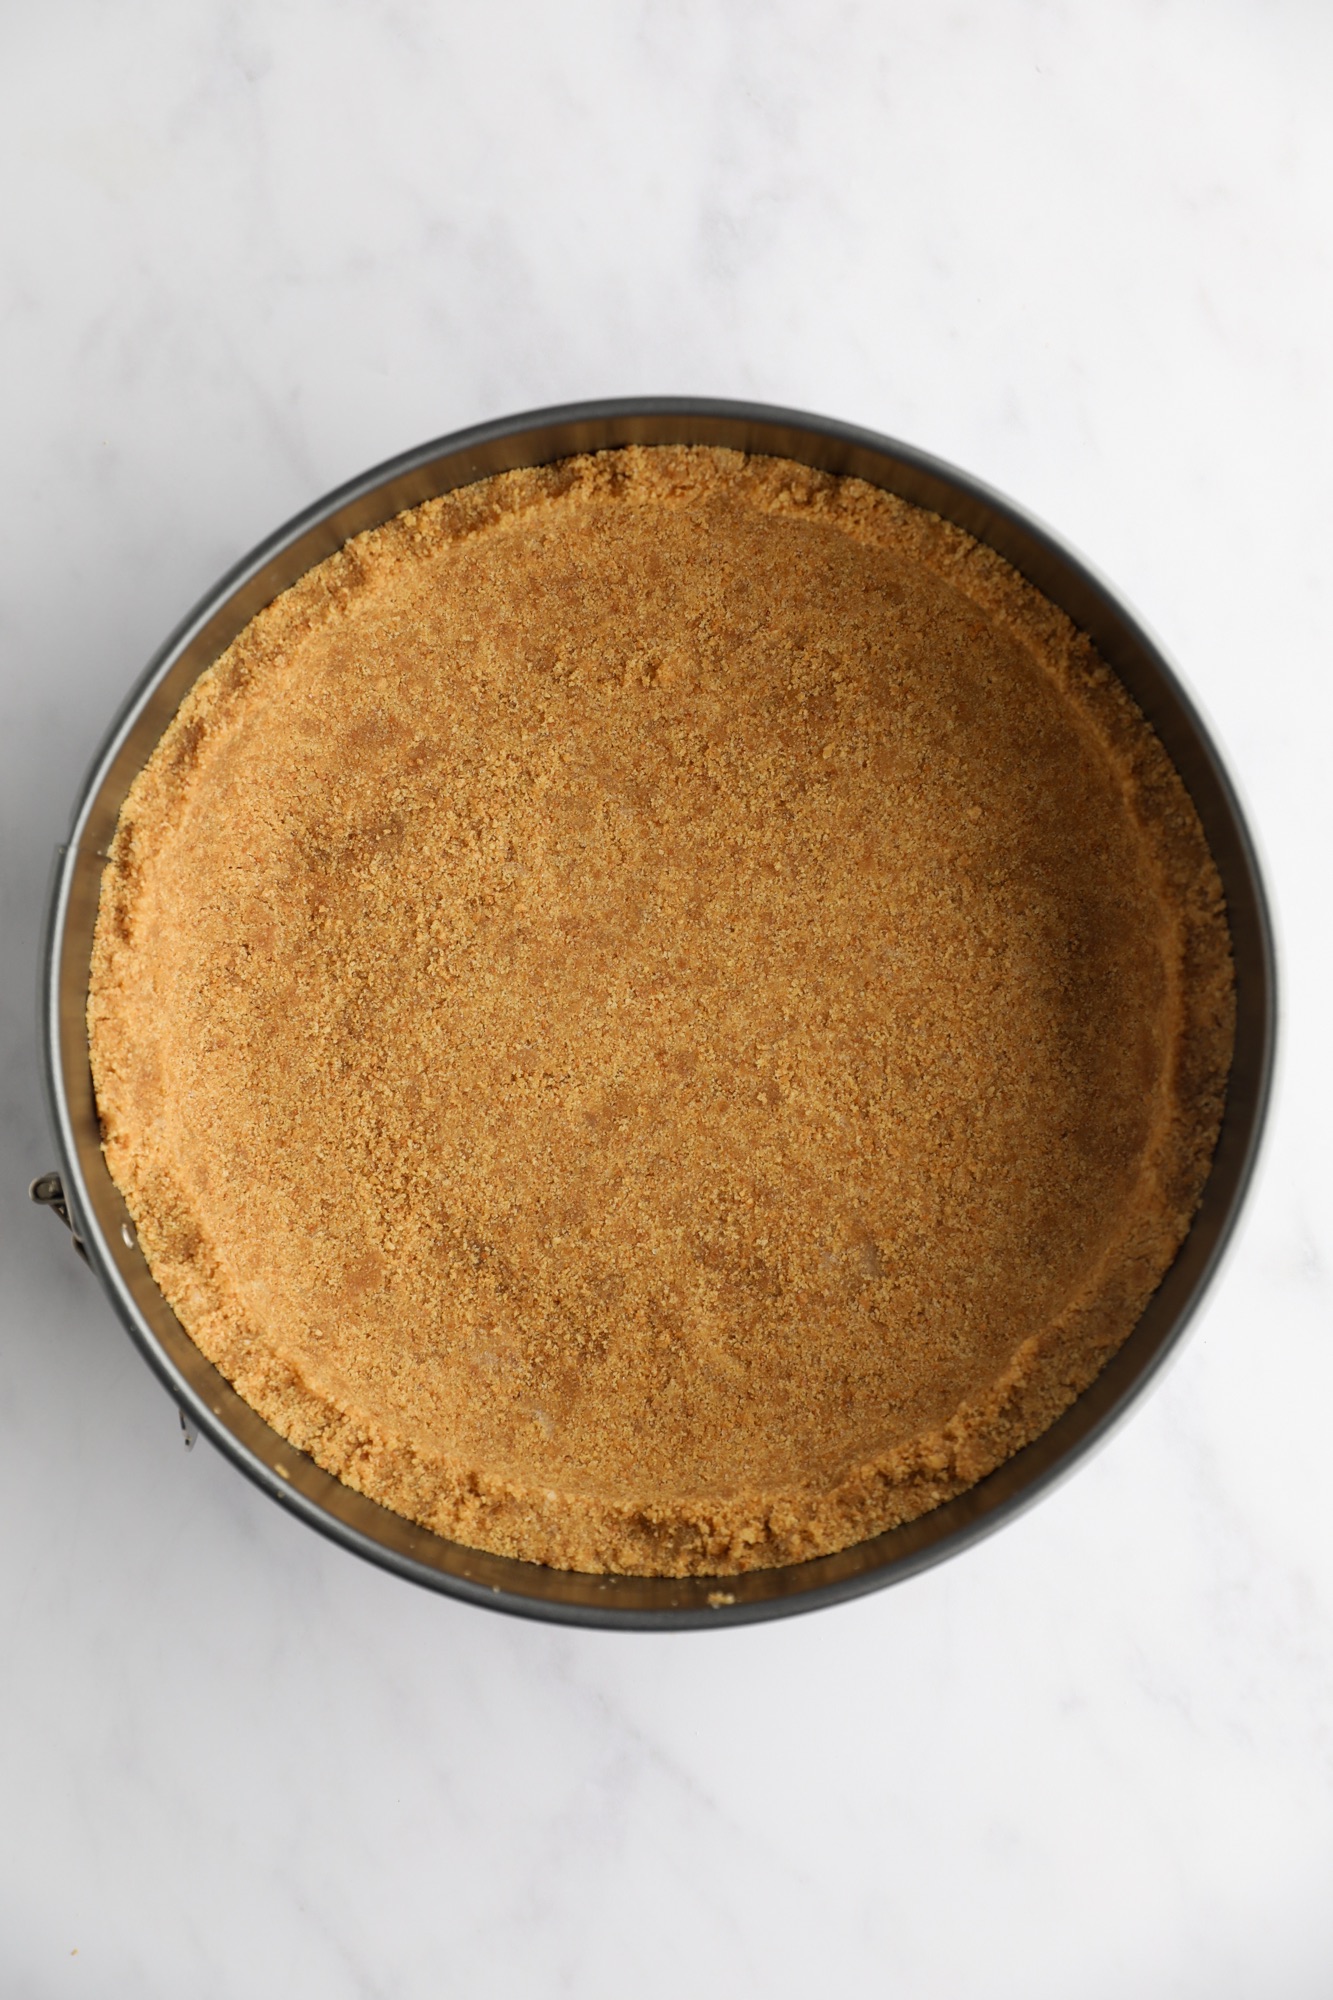
Spray a 9" springform pan with cooking spray and pour in the crumbs. Use a small measuring cup sprayed with cooking spray to carefully press the crumbs down until they cover the bottom of the pan and are compact. Place the pan in the freezer to chill.
Use a stand mixer or handheld mixer with a large bowl to beat together the cream cheese and sugar on high speed for 2 minutes. Scrape down the sides of the bowl.
Add sour cream and vanilla and continue to mix on high for 1 minute. Scrape down the sides of the bowl. Set aside.
In a separate bowl, whip the heavy cream on medium-high speed until stiff peaks form. Gently fold the whipped cream into the cream cheese mixture until it is fully combined. Be careful not to overmix.
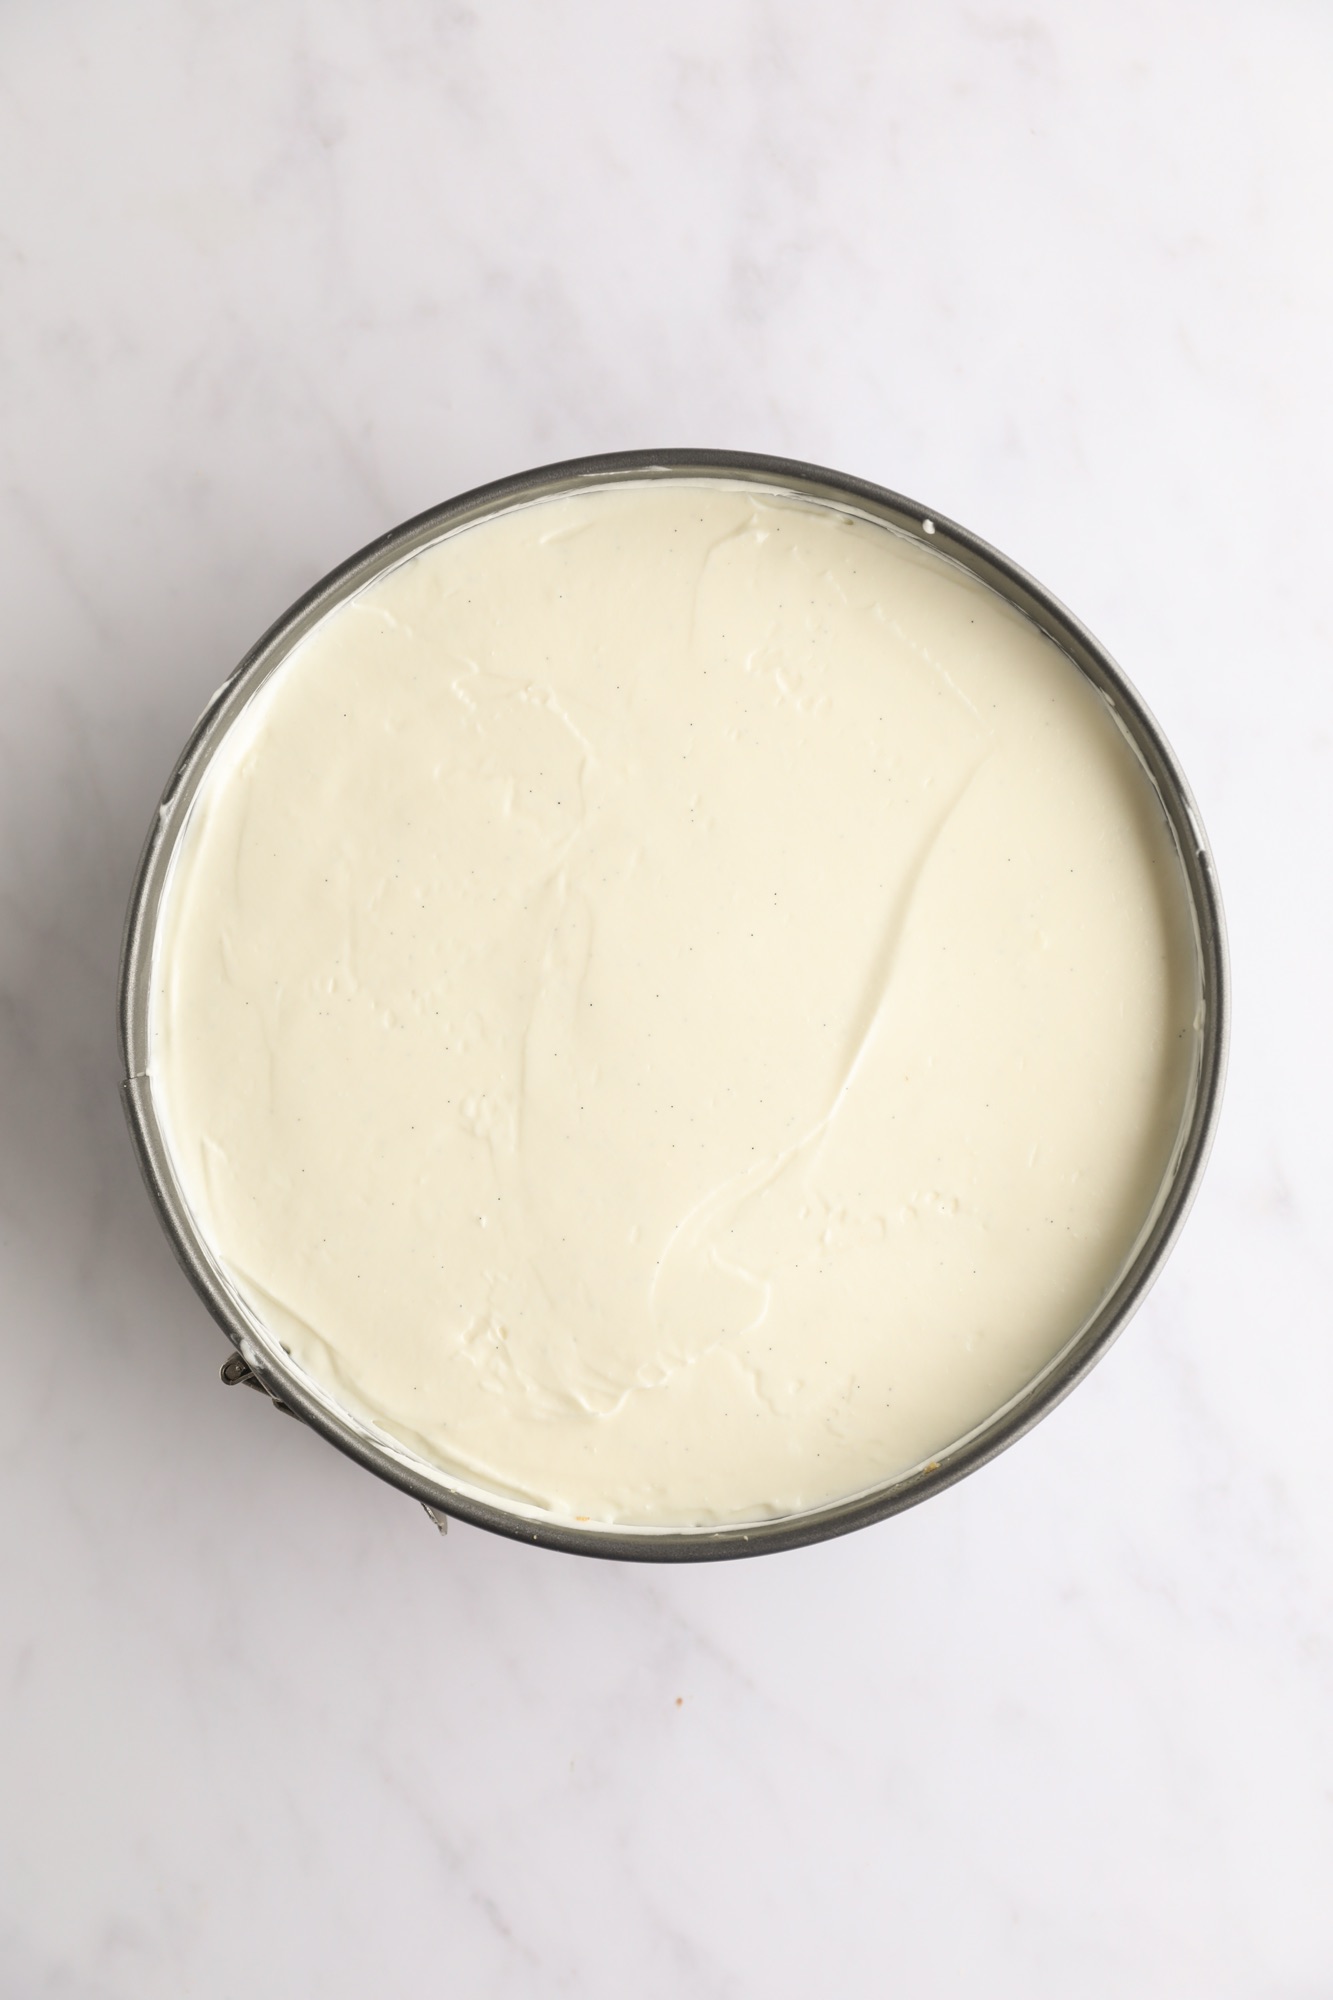
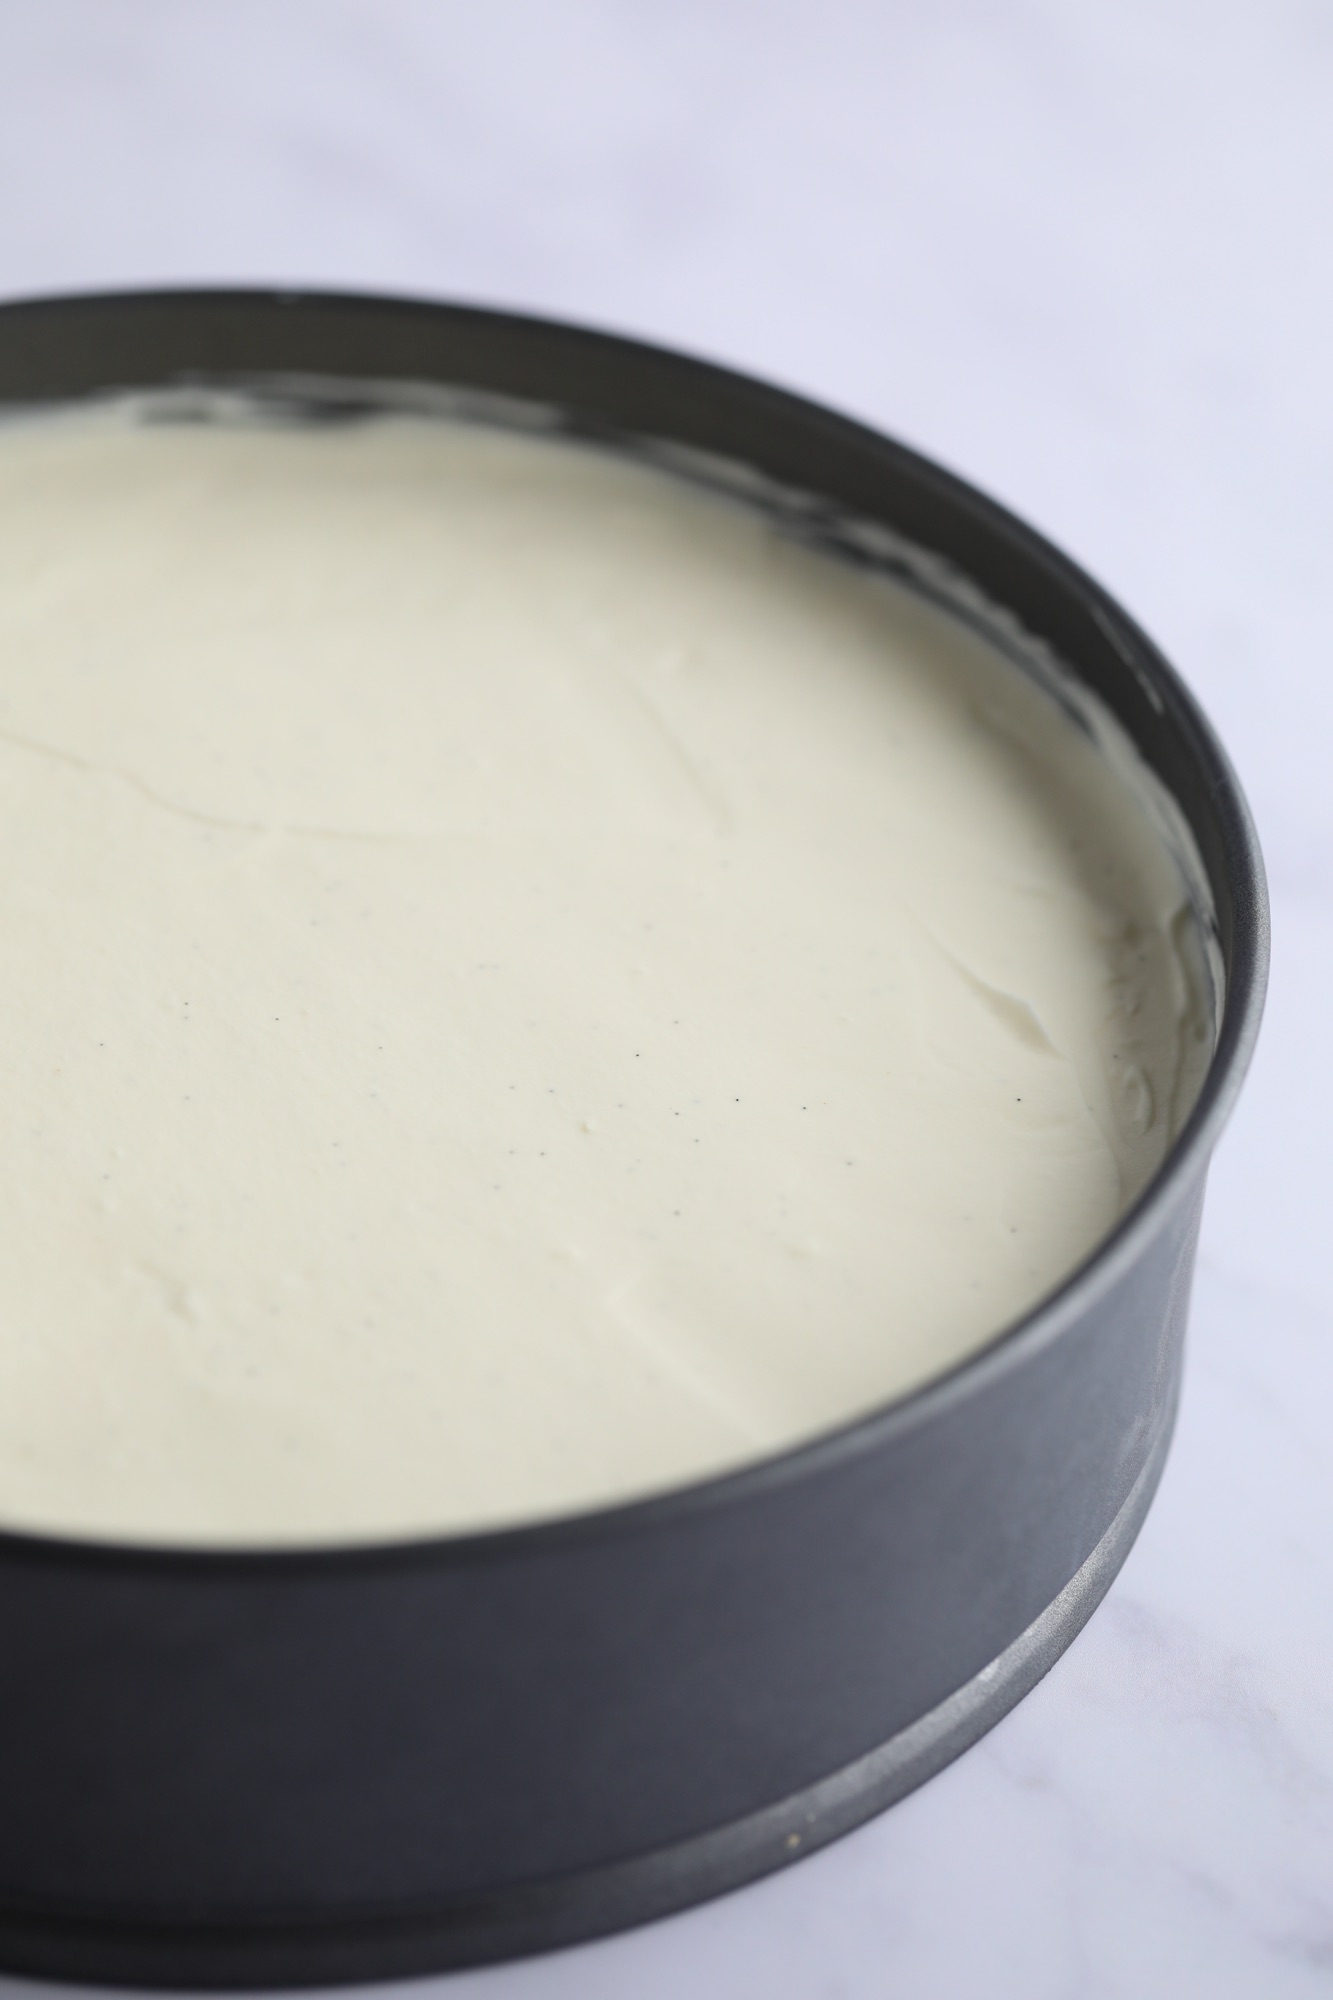
Carefully pour the batter on top of the graham cracker crust and use an offset spatula to spread it out so it is level. Tap the pan on the counter a few times to remove air bubbles.
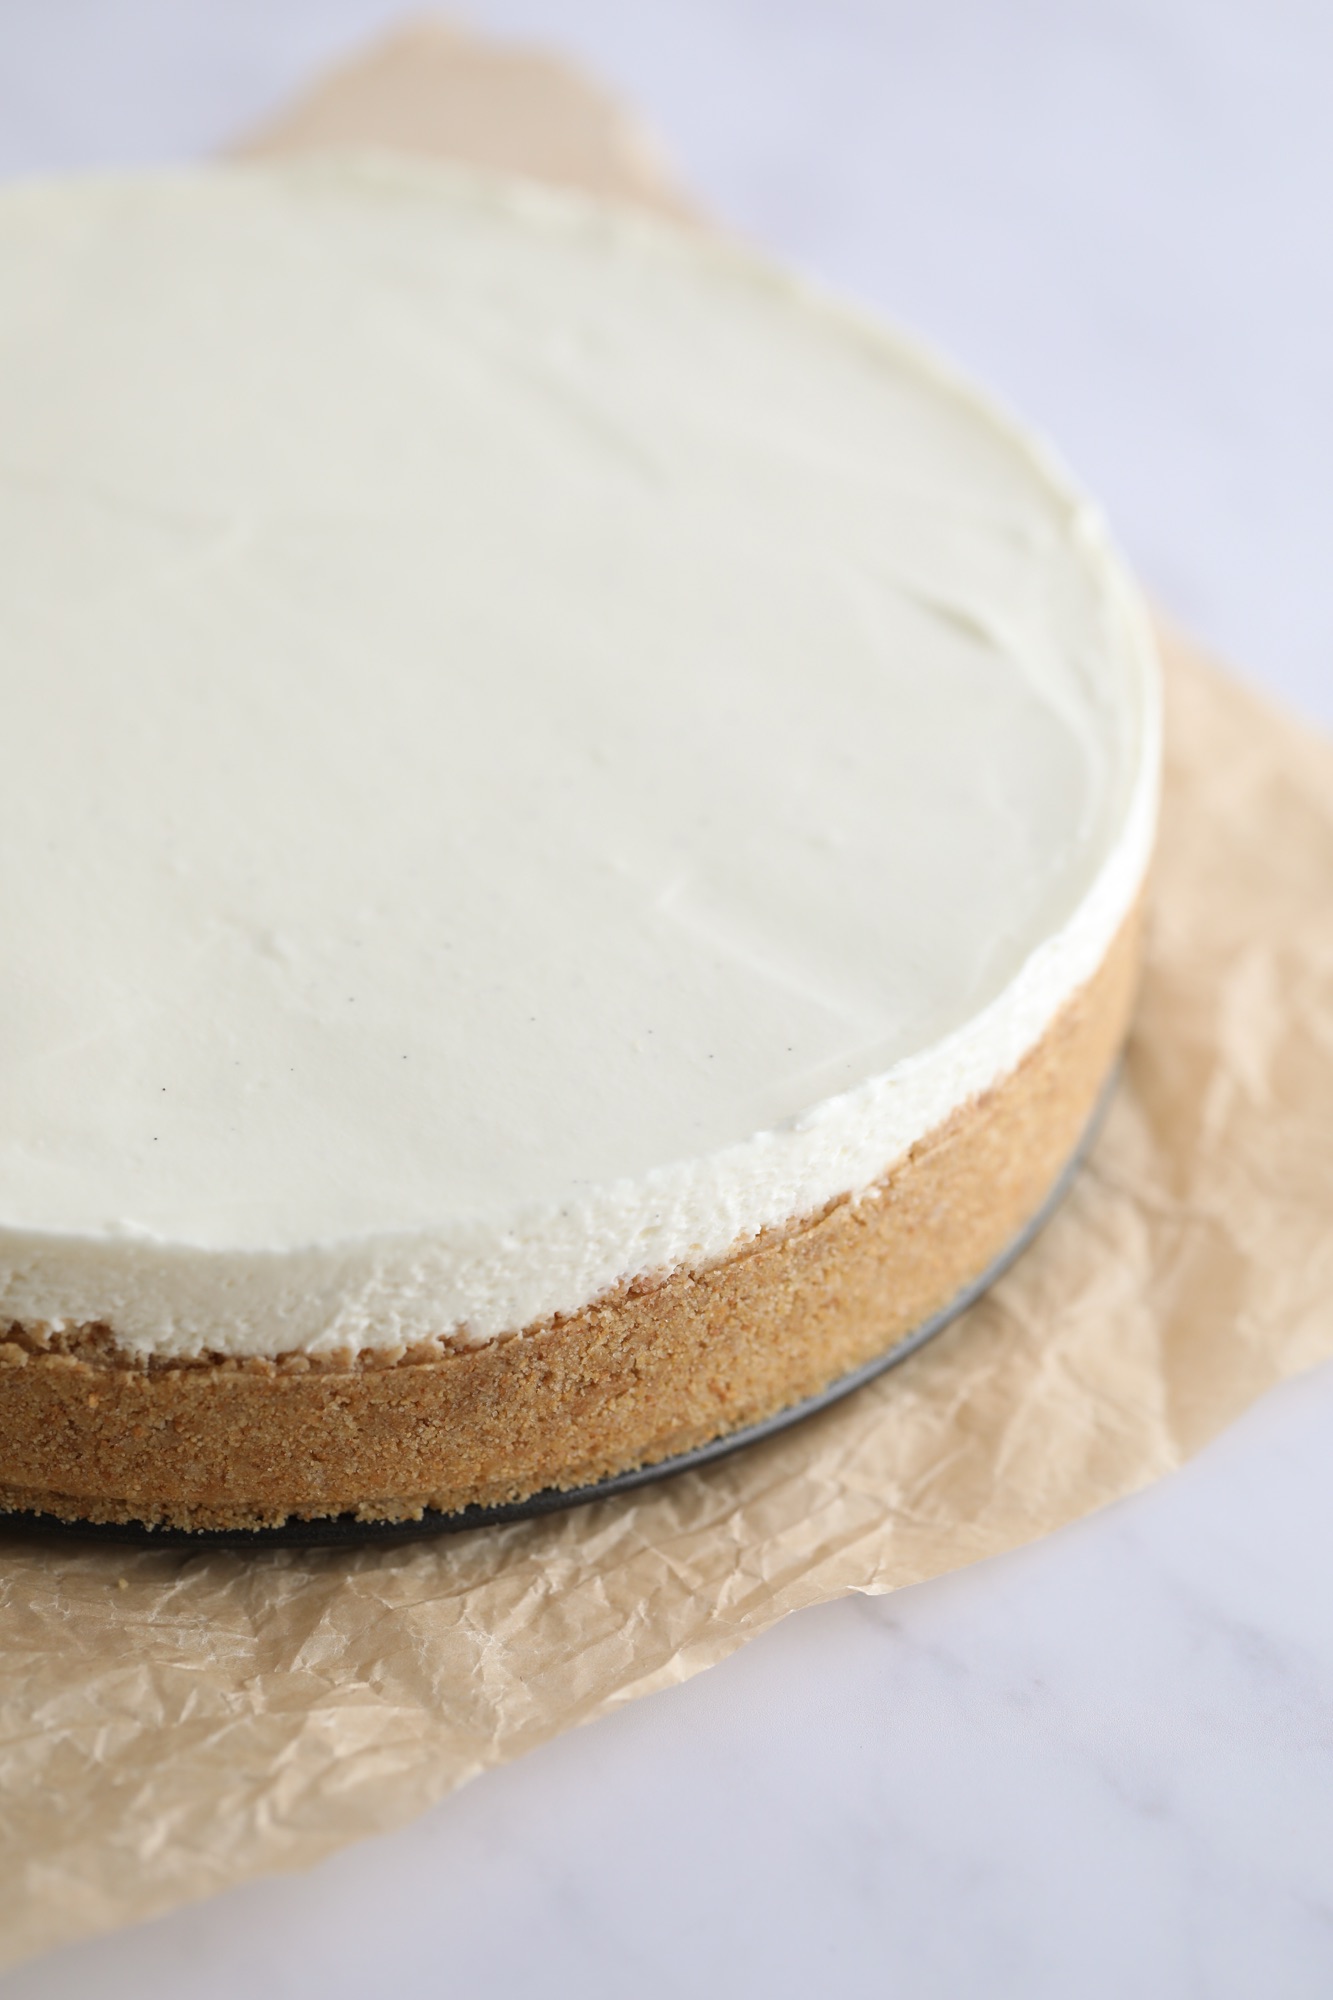
Place the cheesecake in the fridge to chill for 8 hours, if not overnight. I like to let it set slightly before I very carefully cover the pan in plastic wrap, being careful not to touch the top of the cheesecake.
Measure the cold water and gelatin into a small bowl. Mix with a spoon and let sit for about 3 minutes. Place in the microwave for about 4-5 seconds to melt it again. Set aside.
Mix the cream on high with a handheld mixer until somewhat stiff peaks have formed. Add in the powdered sugar, vanilla, and gelatin and continue to mix on high until stiff peaks have formed.
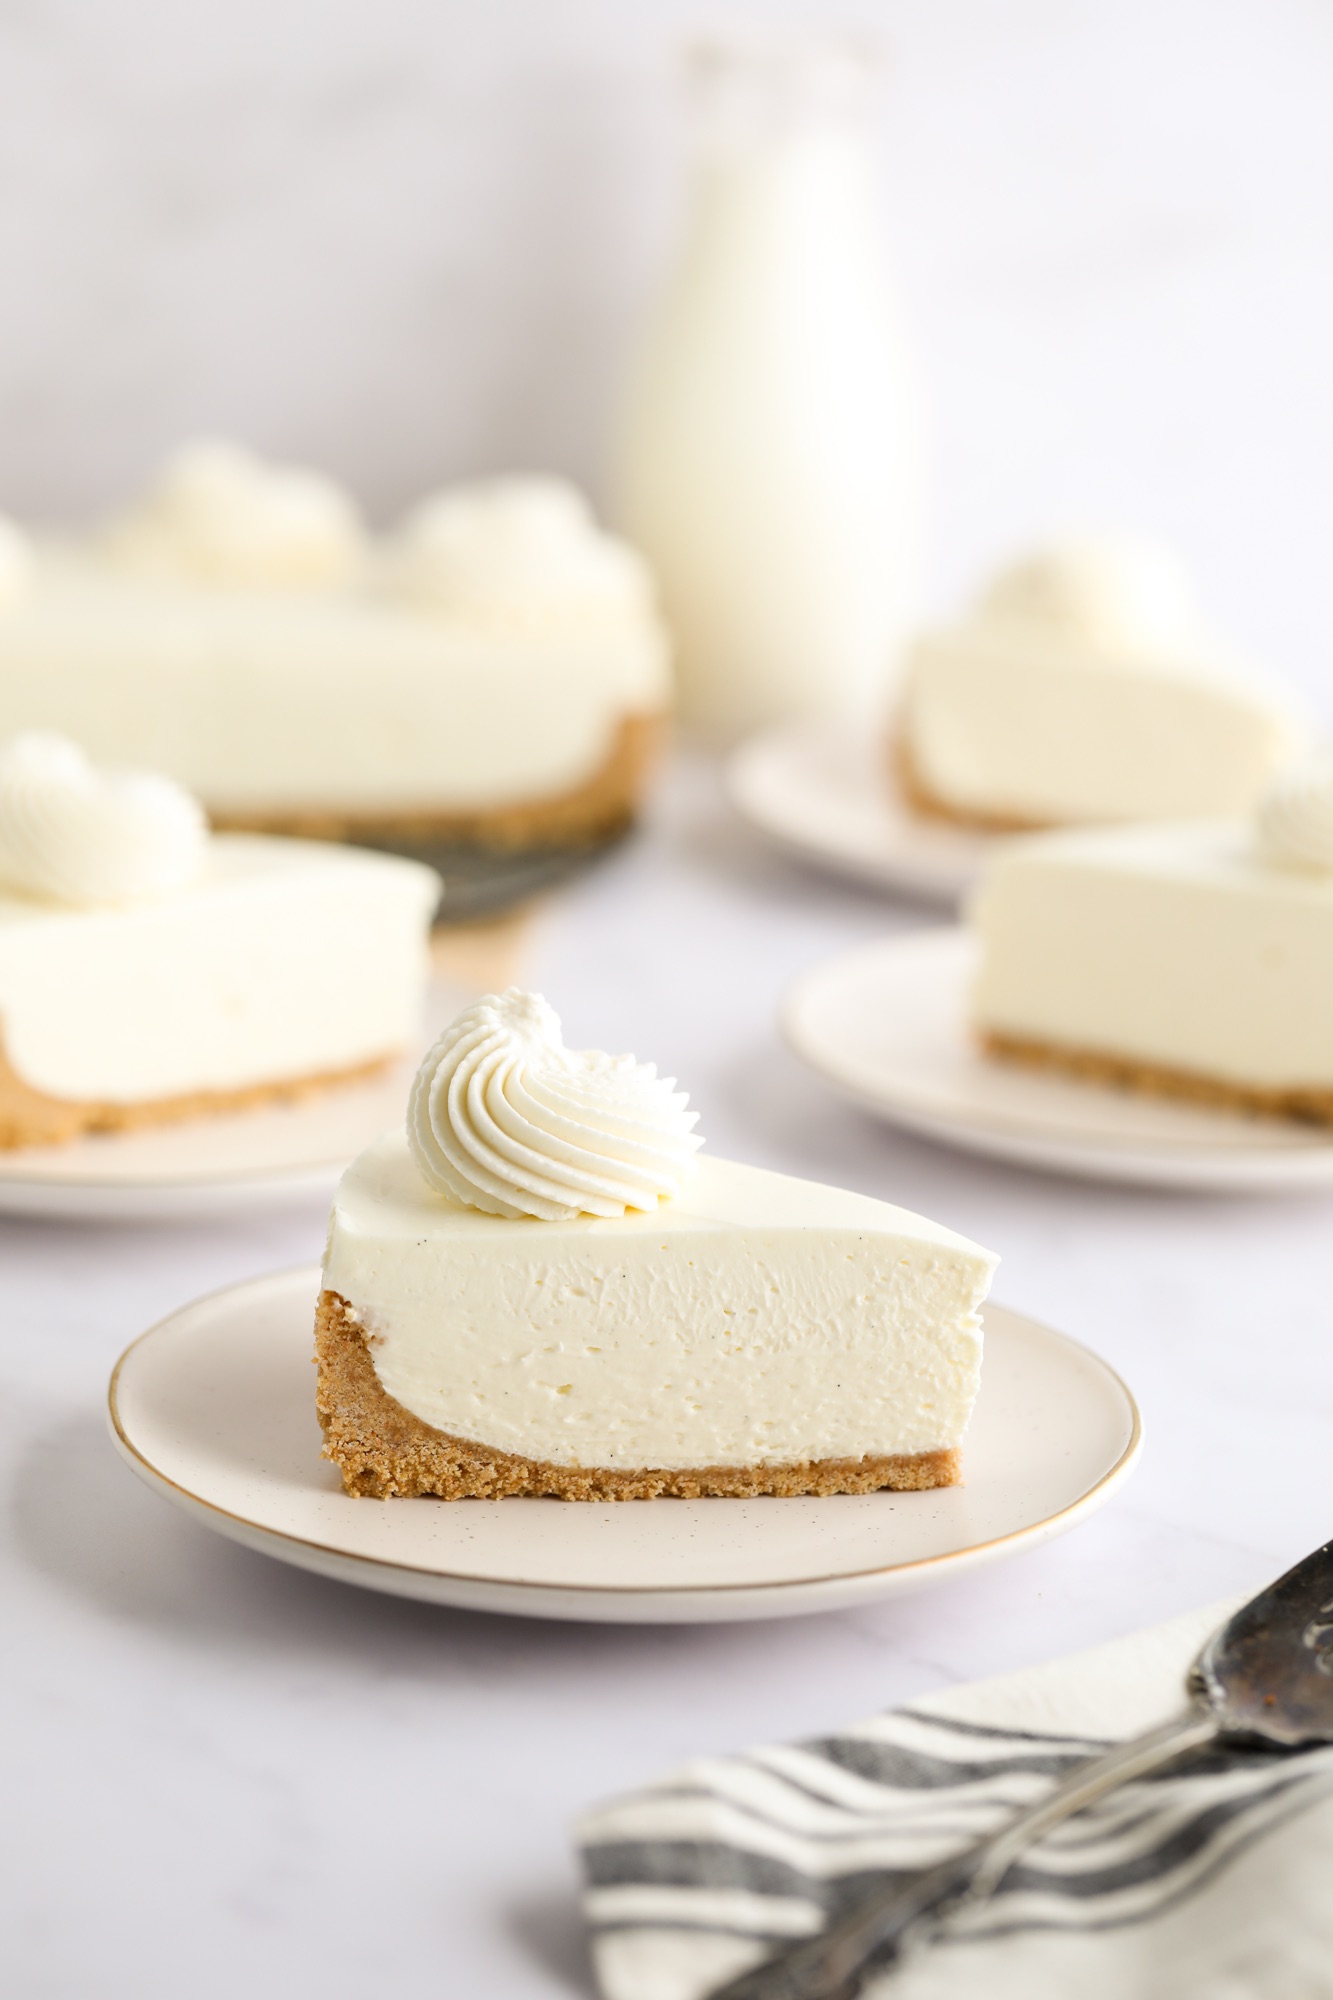
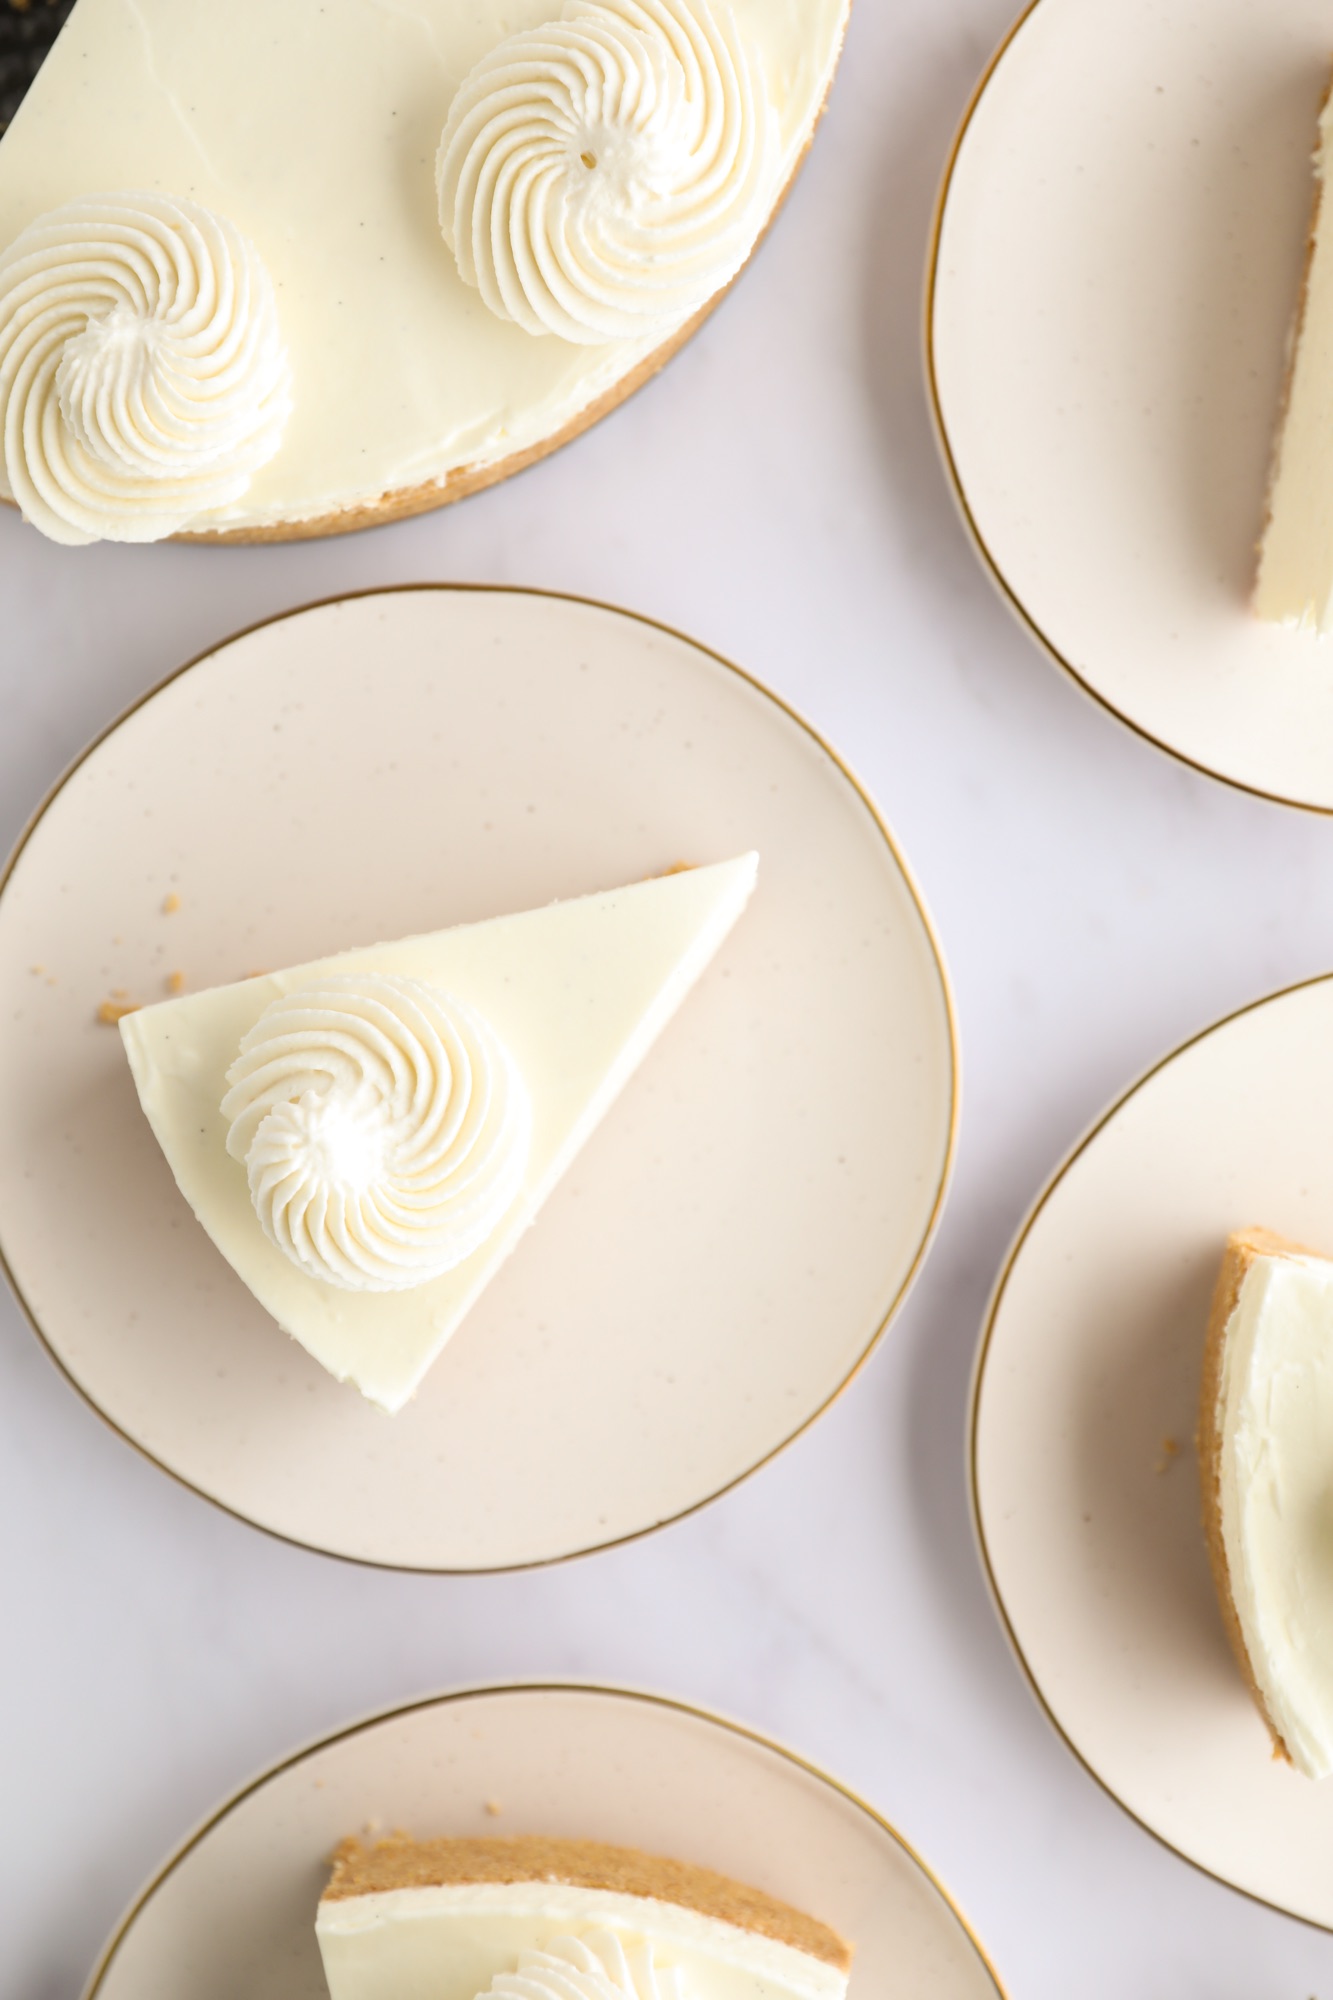
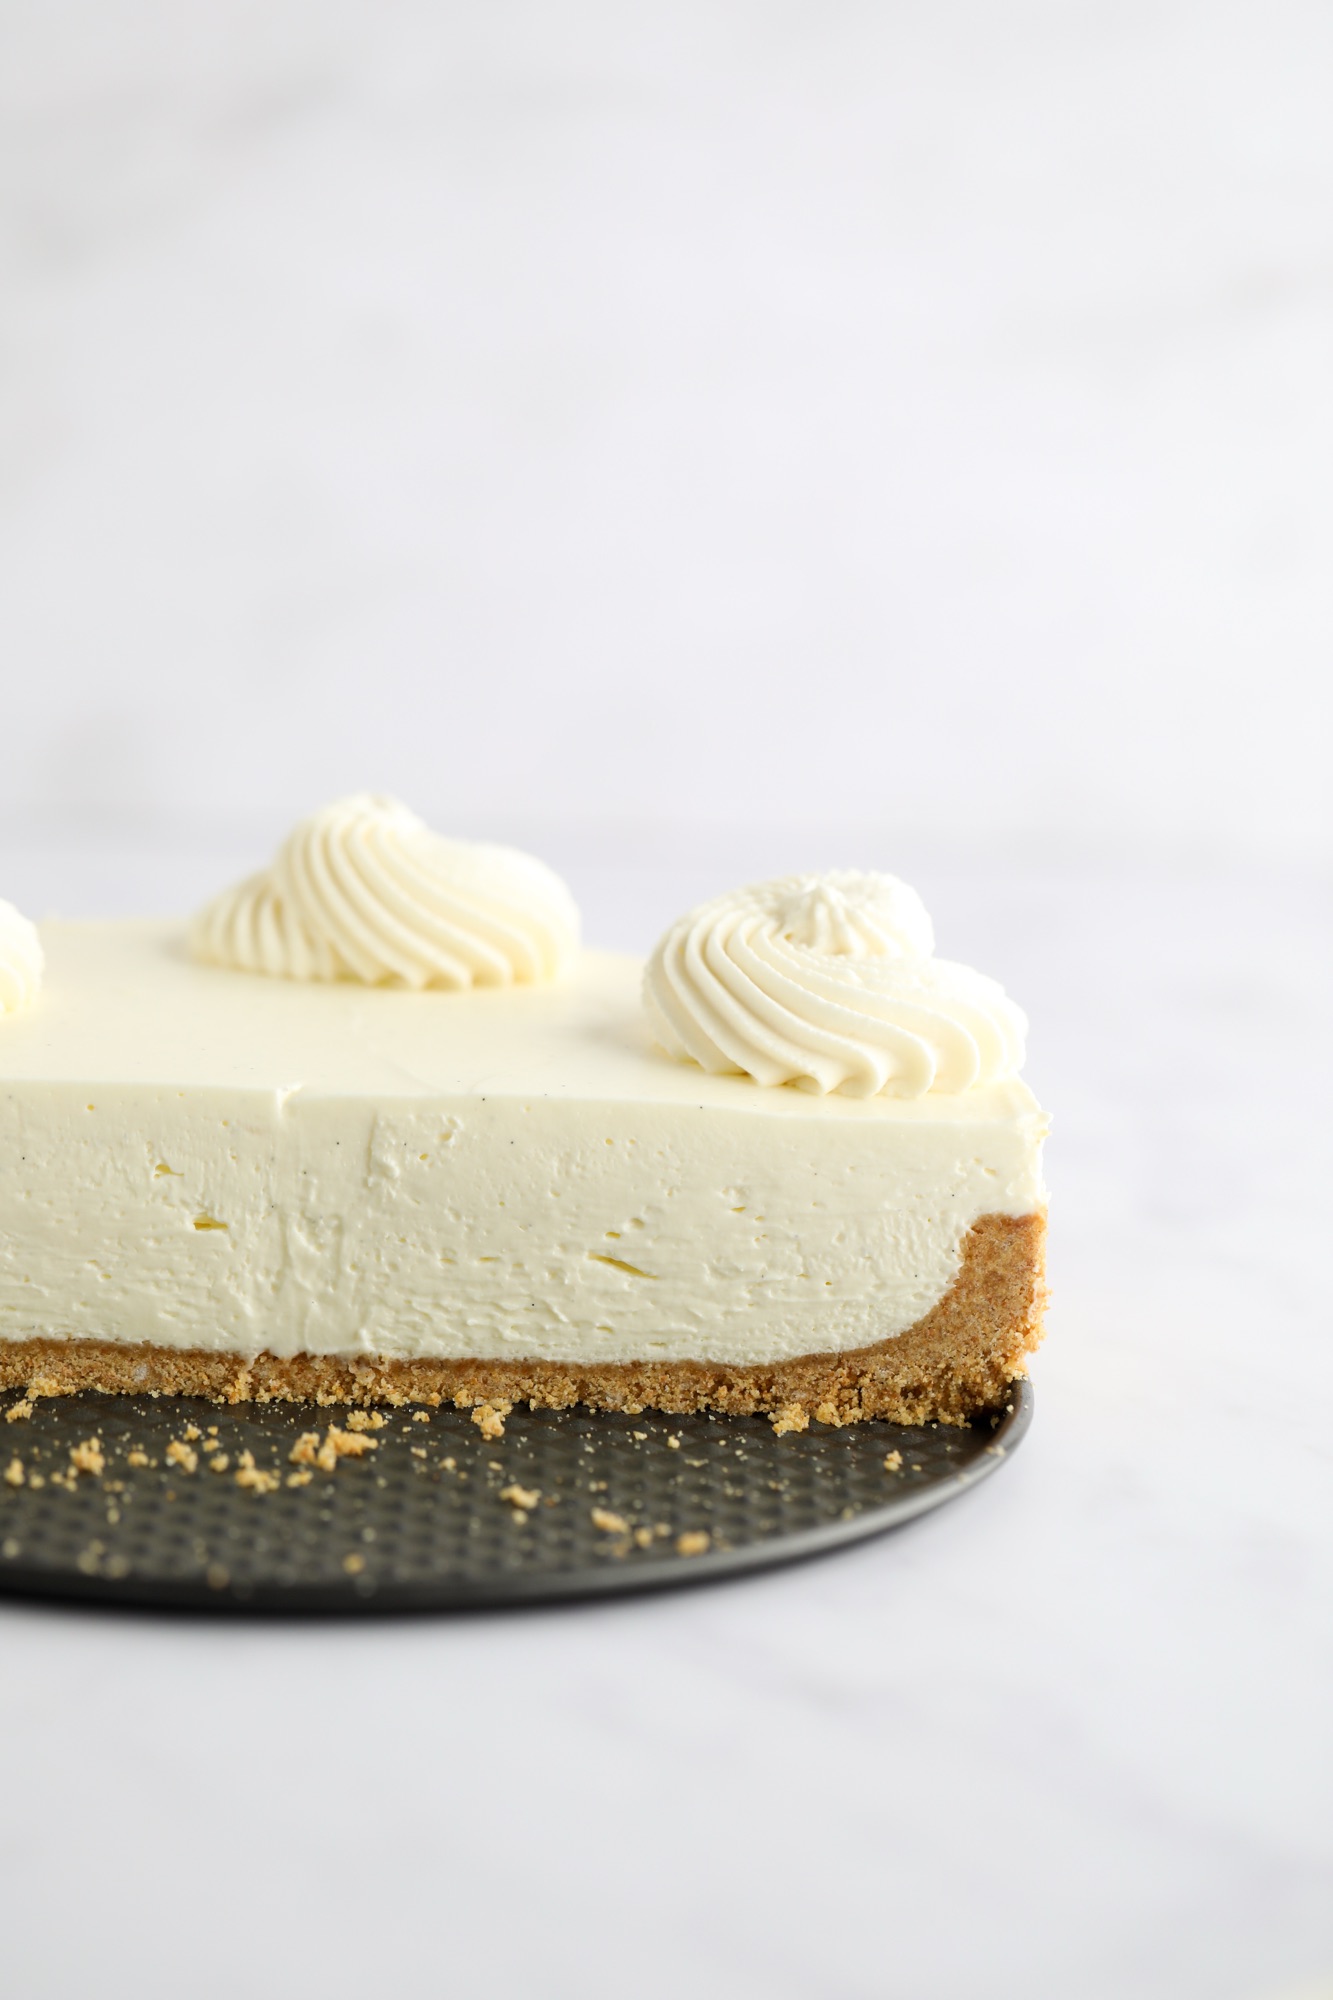
Transfer the whipped cream to a piping bag fitted with an Ateco 867 or similar piping tip. Pipe 8 swirls around the edges of the cheesecake for 8 slices. You'll want to start in the center and then do a tight swirl over that until you reach the top of where you started. Cut the cheesecake into slices and serve. Enjoy!
PrintNo Bake Cheesecake
This No Bake Cheesecake is rich and creamy with the most delicious cream cheese filling and buttery crust. It's lighter than a baked cheesecake and it's chilled to the perfect texture. Every bite easily leaves you wanting more.
- Prep Time: 30 minutes
- Chill Time: 8 hours
- Total Time: 8 hours and 30 minutes
- Yield: 8-12 servings
Ingredients
Graham Cracker Crust
- 275 grams (18 whole) graham crackers
- 75 grams (6 tbsp) granulated sugar
- 127 grams (9 tbsp) unsalted butter, melted
Cheesecake
- 24 oz cream cheese, softened
- 149 grams (¾ cup) granulated sugar
- 75 grams (⅓ cup) sour cream
- 1 tsp vanilla extract
- 283 grams (1 ¼ cup) heavy cream
Stabilized Whipped Cream
- 4 tsp cold water
- 1 tsp unflavored gelatin
- 227 grams (1 cup) heavy cream
- 28 grams (¼ cup) powdered sugar
- 1 tsp vanilla
Instructions
Graham Cracker Crust
- Blend graham crackers in a food processor until they are a fine, sandlike consistency. Add in melted butter and sugar and blend until the crumbs start to clump together.
- Spray a 9" springform pan with cooking spray and pour in the crumbs. Use a small measuring cup sprayed with cooking spray to carefully press the crumbs down until they cover the bottom of the pan and are compact. Place the pan in the freezer to chill.
Cheesecake
- Use a stand mixer or handheld mixer with a large bowl to beat together the cream cheese and sugar on high speed for 2 minutes. Scrape down the sides of the bowl.
- Add sour cream and vanilla and continue to mix on high for 1 minute. Scrape down the sides of the bowl. Set aside.
- In a separate bowl, whip the heavy cream on medium-high speed until stiff peaks form.
- Gently fold the whipped cream into the cream cheese mixture until it is fully combined. Be careful not to overmix.
- Carefully pour the batter on top of the graham cracker crust and use an offset spatula to spread it out so it is level. Tap the pan on the counter a few times to remove air bubbles.
- Place the cheesecake in the fridge to chill for 8 hours, if not overnight. I like to let it set slightly before I very carefully cover the pan in plastic wrap, being careful not to touch the top of the cheesecake.
Stabilized Whipped Cream
- Measure the cold water and gelatin into a small bowl. Mix with a spoon and let sit for about 3 minutes. Place in the microwave for about 4-5 seconds to melt it again. Set aside.
- Mix the cream on high with a handheld mixer until somewhat stiff peaks have formed. Add in the powdered sugar, vanilla, and gelatin and continue to mix on high until stiff peaks have formed.
Assembly
- Transfer the whipped cream to a piping bag fitted with an Ateco 867 or similar piping tip. Pipe 8 swirls around the edges of the cheesecake for 8 slices. You'll want to start in the center and then do a tight swirl over that until you reach the top of where you started.
- Cut the cheesecake into slices and serve. Enjoy!
Notes
- Cheesecake can be kept in an airtight plastic container or plastic wrap in the fridge for up to 5-7 days.
- If you prefer to not use gelatin in your whipped cream in order to make it more stabilized, you can try a basic whipped cream recipe, but it won't be stiff enough to pipe. You can combine 226 grams (1 cup) heavy cream and 2 tablespoon sugar. Mix on high until stiff peaks are formed and spread on top of the cheesecake with an offset spatula.



You must be logged in to post a comment.